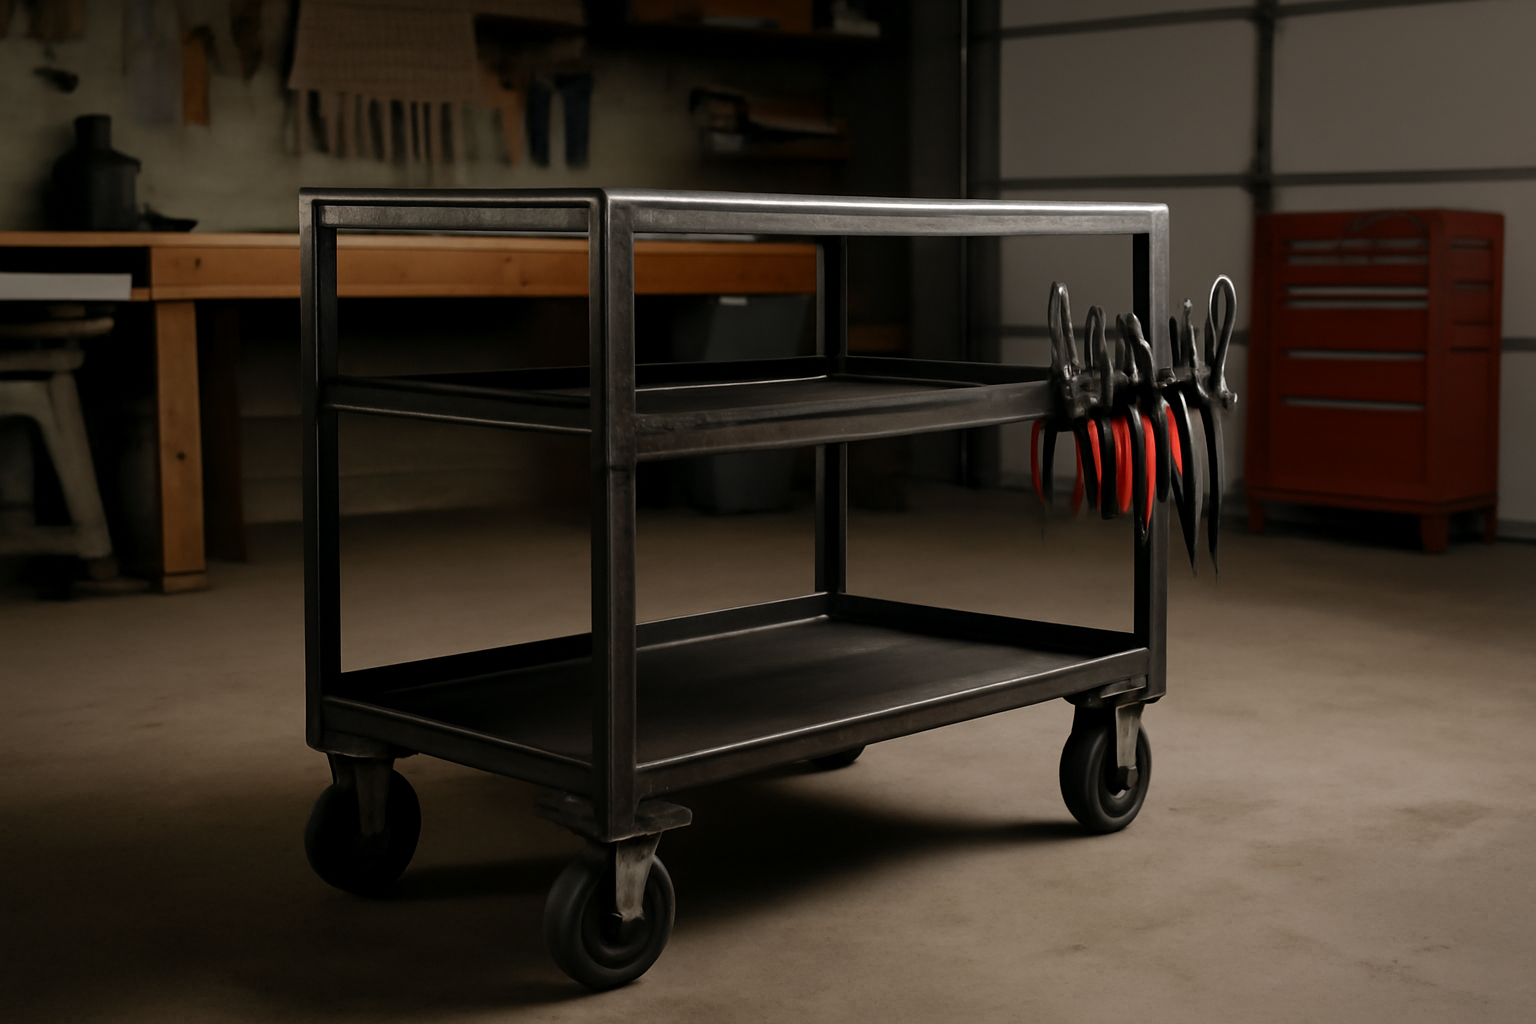
I’ve got a bad habit of saving every scrap of steel that comes through my shop. Drops from plasma cuts, leftover square tube from a trailer build, flat bar I stripped off an old gate — it all piles up. Last spring, I finally put that pile to work and built a rolling shop cart from scrap steel in a single weekend. The project cost me about $35 in new hardware and consumables, and it’s now the hardest-working piece of furniture in my two-car garage. If you’ve been eyeing those $300 store-bought carts and thinking there has to be a better way, there is. Building a rolling shop cart from scrap steel is one of the most satisfying weekend projects you can tackle — and I’m going to walk you through exactly how I did it.
The biggest misconception I hear is that a scrap build means a sloppy build. That’s just not true. In my experience, working with what you have forces better planning and tighter execution than starting with fresh material. You can’t hide sloppy cuts when your pieces are already cut-to-length. This cart ended up square, solid, and rolls smoother than anything I’ve pulled off a showroom floor. Here’s what 12 years in a two-car garage taught me about turning leftovers into something genuinely useful.
What Scrap Steel Works Best for a Rolling Shop Cart
Not every scrap piece belongs on this build. I dug through my rack and sorted by section type. For the main frame, I wanted 1-1/2 inch square tube with a 1/8-inch wall — strong enough to carry 400 pounds without deflecting, light enough that the cart doesn’t weigh a ton empty. Most of my drops came from a gate and fence job I did two summers ago. If you don’t have square tube, 1-inch angle iron can work, but expect to add gussets at every corner for comparable rigidity.
Flat bar is your friend for shelf supports and tie-downs. I used 1/8-inch by 1-inch flat bar to build the rails that hold my plywood shelf decks. Anything thinner than 1/8 inch tends to flex under a heavy toolbox, and I’ve watched 3/16-inch plate add serious weight for minimal gain. Stick with the middle ground. For gussets and small brackets, even 10-gauge sheet offcuts work fine since they’re not bearing primary loads.
Here’s what I pulled from my rack for this specific build:
- Four legs cut to 34 inches from 1-1/2 inch square tube (1/8-inch wall)
- Four horizontal stretchers at 24 inches for the width rails
- Four horizontal stretchers at 18 inches for the depth rails
- Eight shelf support rails from 1/8 x 1 flat bar, 18 inches each
- Corner gussets cut from 10-gauge sheet drops
Tools and Prep Before You Strike an Arc
I built this cart with a Lincoln Electric 210 MP running flux-core wire at 175 amps. That said, any MIG or flux-core setup rated above 140 amps will handle 1/8-inch wall tube without issue. If you’re running a smaller 110-volt machine at the edge of its capacity, drop to short-circuit transfer and run a slower travel speed. Per AWS D1.1 structural welding guidelines, you want full fusion on these joints — partial penetration on a load-bearing leg-to-stretcher joint is a failure waiting to happen.
Prep is where most hobbyists lose time, and honestly, it’s where I used to lose it too. I now spend 40 percent of my total project time on prep and maybe 30 percent on actual welding. Clean your scrap. Mill scale, surface rust, and old paint all contaminate your weld pool. I hit every piece with a 4-1/2 inch angle grinder running a 40-grit flap disc, then wiped with acetone before tacking. That step alone takes a cart weld from ugly and porous to clean and consistent.
You’ll also need a good welding square and a flat reference surface. I use my welding table — a 3/8-inch plate top I built a few years back — but two sawhorses with a known-flat piece of 3/4-inch MDF work in a pinch. Getting your frame square before you weld full passes is the entire ballgame. Clamp it, check diagonal measurements, and then tack. Don’t full-weld until every diagonal reads within 1/16 inch of its opposite.
Building the Rolling Shop Cart From Scrap Steel: Step by Step
I built both shelf frames first, then connected them with the four legs. This approach lets you get two perfectly square rectangles on a flat surface before you introduce the vertical dimension. Tack all four corners of each shelf frame, check square, then run 1-inch stitch welds at each joint. I don’t full-weld these perimeter joints — stitch welding reduces heat distortion dramatically and still exceeds the strength requirements for a shop cart under normal loading.
Next, stand the legs and clamp them to both frames using a combination square as a reference. I tacked one leg at a time, checking plumb with a small level on two faces of each leg before moving to the next. However, don’t trust your eye here — I did that once on my first cart build, and the whole thing racked like a parallelogram when I was done. Had to cut the tacks, re-clamp, and start over. That cost me three hours. Use a level, every time, on every leg.
Once all four legs were tacked and the cart stood level on the floor, I added the corner gussets. These are small triangular pieces, roughly 2 inches per side, cut from 10-gauge drops. Specifically, I placed one gusset at each leg-to-top-frame junction, inside the frame. As a result, the top shelf carries weight without relying solely on the fillet welds at the butt joints. That’s the kind of structural thinking that separates a cart that lasts from one that cracks after a year of abuse.
Installing the Shelf Decks and Casters
I cut two shelf decks from 3/4-inch Baltic birch plywood — 24 by 18 inches each. These drop into the flat bar rails I welded inside each frame. The rails create a 3/4-inch lip all around, so the plywood can’t slide out even without fasteners. That said, I still ran two 1-1/4 inch self-tapping screws up through the flat bar into the plywood from underneath on each shelf. It takes two minutes and eliminates any chance of the deck lifting under load.
For casters, I spent $28 on four 3-inch swivel casters with a 300-pound-per-caster rating — two locking, two free-rolling. I welded 3/8-inch plate pads to each leg bottom and drilled them for the caster bolt patterns. Total capacity on these four casters is 1,200 pounds, which is overkill for a shop cart but gives me peace of mind when I’m stacking heavy stock on the bottom shelf. Mount your locking casters diagonally opposite each other, not side by side, so the cart parks stable from any direction.
Finishing and Surface Protection for Long-Term Durability
Raw steel in a garage rusts. That’s not a maybe — it’s a when. I gave the completed cart a pass with a wire wheel to knock off any spatter and weld slag, then hit it with a self-etching primer. I use Rust-Oleum Professional primer from a rattle can for small projects like this. Two light coats, 15 minutes between, and a full 24-hour cure before topcoat. Trying to rush that cure is how you end up with bubbling paint six months later. I learned that the hard way on a parts stand I built in year two.
For the topcoat, I went with Rust-Oleum Gloss Black enamel — again, rattle can, two coats. The whole cart cost about $12 in paint. In my experience, glossy surfaces are easier to wipe clean in a shop environment than flat or satin finishes. Grinding sparks, cutting fluid, and general grime wipe right off a gloss surface. The plywood shelves got two coats of water-based polyurethane for the same reason.
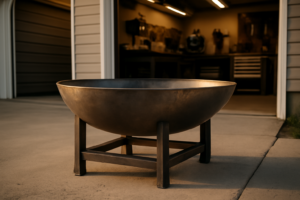
A Natural Upgrade: Adding a Fire Table Burner Insert to a Similar Build
Here’s where things get interesting. After I finished the shop cart, my wife asked if I could build an outdoor fire table using the same scrap steel approach. Same square tube frame, same welding process — but this time with a gas burner insert instead of a plywood shelf. That project introduced me to the Stanbroil 48 x 14 Inch Rectangle Drop-in Fire Pit H-Burner Pan, and I’ve been recommending it ever since.
The Stanbroil insert is built from 304 stainless steel — the same grade used in commercial kitchen equipment — and it’s rated to 185,000 BTU max. That’s serious heat output for a DIY table. The H-burner design distributes flame evenly across the full 48-inch length, which matters when you’re sitting around a long rectangular table. I dropped it into a steel frame I built at 52 inches by 18 inches to leave a 2-inch reveal on each side, and it fit perfectly. The insert is designed for propane or natural gas with the appropriate regulator, and installation was straightforward following the manufacturer’s guidelines for gas appliance clearances.
The build process for that fire table used every skill I developed on the shop cart. Same corner-tack-then-gusset approach, same flat bar shelf rails (this time holding the burner pan instead of plywood), same caster setup for mobility. If you’re comfortable with the shop cart build, the fire table is a natural next project. The Stanbroil insert runs around $150 to $180 depending on timing, which is the single biggest cost in an otherwise scrap-steel build.
If your fire table budget is tighter, the OUSHENG Fire Pit Ring, 33-inch outer diameter, is worth a look. It’s a round wood-burning liner insert rather than a gas burner, so it suits a different table design — but at a lower price point, it’s a solid DIY starting point if you want to build a round fire table from scrap steel instead of a rectangular one.
When to Call It or Upgrade Your Setup
This build is well within reach for anyone who has welded for six months or more. However, if you’ve never struck an arc, I’d suggest practicing on scrap T-joints and butt joints for at least a few sessions before attempting structural welds on a load-bearing frame. A cart that fails under a heavy grinder or a loaded toolbox is a safety hazard, not just an inconvenience. OSHA general industry guidelines (29 CFR 1910.212) address machine guarding and stability for equipment in shops — while those apply to commercial environments, the underlying logic is sound for any workspace.
If you’re welding with a machine under 120 amps on 110-volt power, the 1/8-inch wall square tube may push your equipment. In that case, drop to 14-gauge (0.083-inch wall) tube for the frame, reduce your shelf loading expectations, and skip the caster pads in favor of bolt-on caster plates. The cart will still work well for lighter loads. That said, I’d rather you know the limitation upfront than discover it when a weld fails under load.
If you find yourself wanting more capacity, a larger work surface, or integrated drawer slides, that’s when investing in pre-cut laser profiles or a better steel order makes sense. Scrap builds have a ceiling, and that’s fine — they’re not meant to replace a purpose-built cabinet shop cart. They’re meant to cost $35 and last a decade, which is exactly what this one is on track to do.
Final Thoughts on Building a Rolling Shop Cart From Scrap Steel
A rolling shop cart built from scrap steel is one of those projects where the build itself teaches you more than the finished product is worth. You practice squaring a frame. You learn how heat distortion wants to fight you. You figure out that prep takes longer than welding and matters twice as much. After 12 years of garage builds, this cart is still one I’d put in front of a new fabricator as a first real-world project — not a practice bead, not a bracket, but something you’ll actually use every single day.
Total cost on my build came to about $63: $28 for casters, $12 for paint, $15 for bolts, self-tappers, and acetone, and roughly $8 in consumables (wire and grinding discs). The steel was all scrap. The time was one Saturday and about four hours on Sunday morning. That is genuinely hard to beat for a piece of shop furniture that will carry a full toolbox on the top shelf and a 60-pound anvil block on the bottom without complaint.
Start with your scrap rack. Sort by section type, pull your square tube and flat bar, and commit to the layout before you cut anything. The planning phase is where this project lives or dies — not at the welder. Get that right, and the rest follows naturally. Good luck, and send me a photo when you’re done.
This post contains affiliate links. As an Amazon Associate, I earn from qualifying purchases at no extra cost to you.