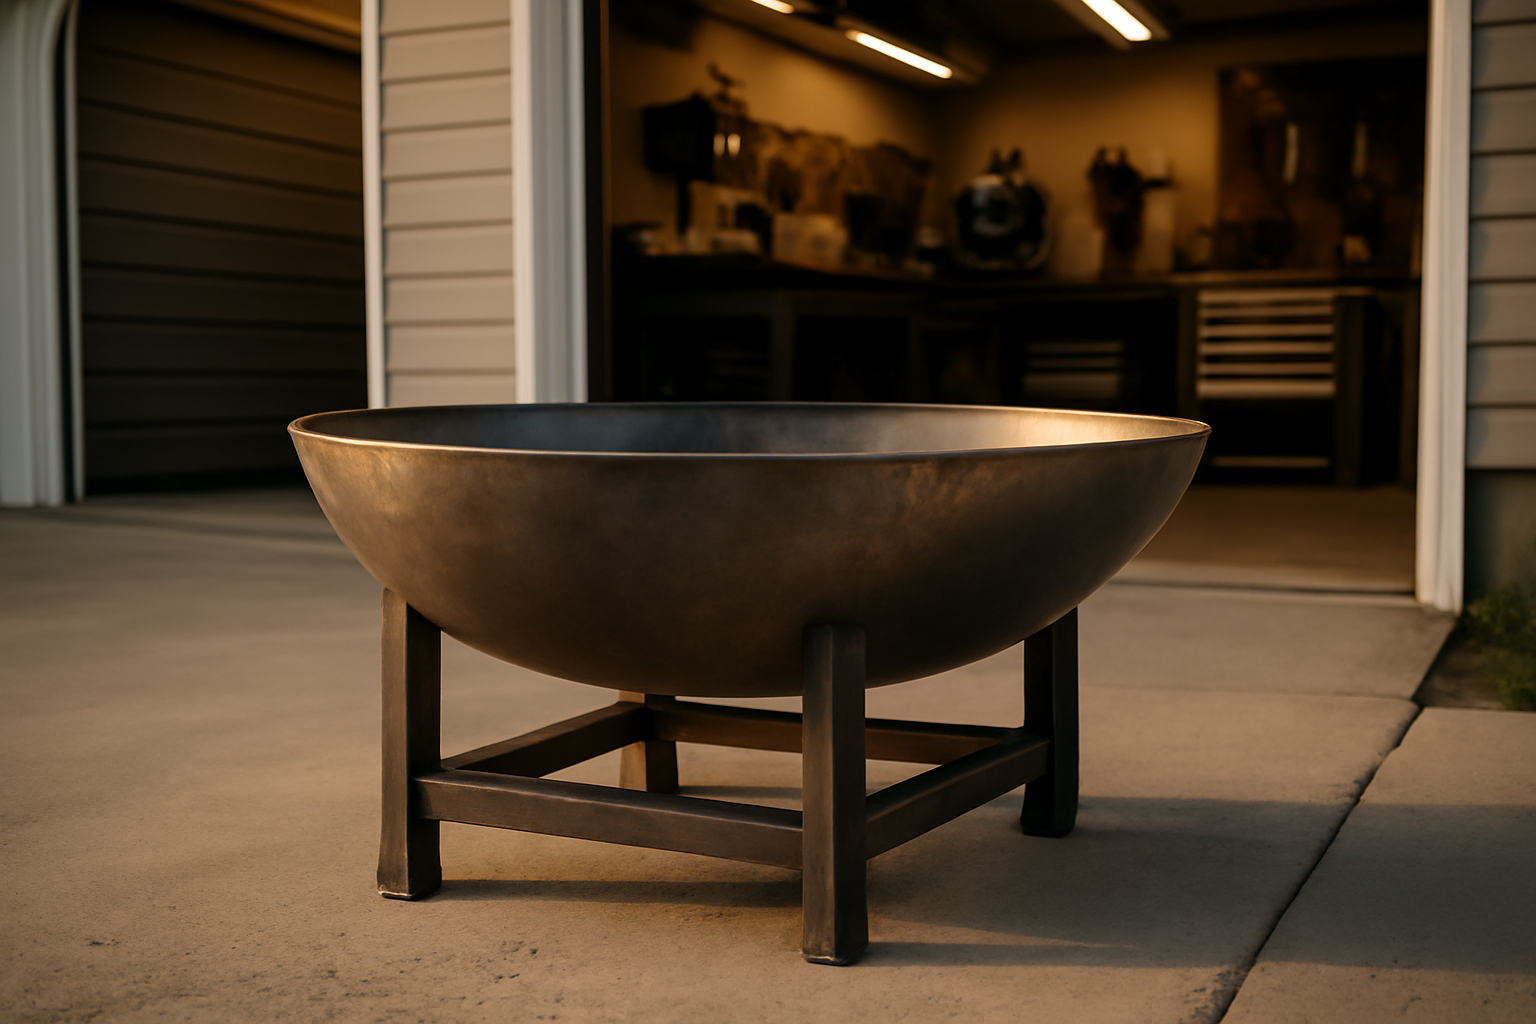
Want to know why your homemade steel fire pit ends up looking like it melted after one season? Uneven heat distribution across a metal surface that’s too thin and poorly supported. That is exactly what happened to mine, twice, before I finally figured out what actually stops the warping.
The second attempt failed more gradually than the first, but it still failed. What that second pit taught me was crucial though — my approach had merit, but the details were all wrong. Only when I got to build number three did the pieces come together properly. That third pit has weathered four seasons and countless fires while sitting flat on my back deck, and I can tell you exactly which decisions made the difference. Everything in this post comes from those three builds, including the costly mistakes I made getting there.
Whether you are fabricating a custom steel fire pit in your own two-car shop or welding one from scratch, this breakdown covers material specs, structural design, welding methodology, and a product I actually use myself. Straight mechanics — nothing fancy, just what holds up.
Why Steel Warps in the First Place
Warping cannot be fought without understanding its source. When steel gets hot, it grows. When it cools, it contracts. Simple physics. The real problem emerges in fire pits because heat does not arrive uniformly across the whole structure. The center bottom of the combustion bowl takes the brunt of radiant heat from the flames. The outer perimeter and the support legs experience significantly less temperature rise. This creates uneven expansion — the heated section wants to expand while the cooler sections push back against it.
Nowhere for that trapped tension to go except into permanent deformation. A flat bottom plate curves upward in the middle. A box-shaped firebox twists at the seams and racks at the corners. Thinner material and larger open spans amplify the problem dramatically. My original pit was built from 10-gauge sheet — approximately 0.135 inches in thickness. That choice seemed solid while I was laying it out on the workbench. Once flames started burning beneath it, the material behaved like a thin metal chip, bowing up from the heat stress.
Welding adds its own layer of trouble on top of thermal cycling. As each weld cools, it shrinks, dragging the base metal toward the bead. Run a long continuous weld across a big flat surface without considering the order and direction of your passes, and you have already loaded that plate with internal stress before the first fire. Actual flame just releases what the welding already put there. Both sources — thermal expansion cycles plus welding residual stress — need to be addressed to get a pit that stays flat.
Material Selection and Plate Thickness for Steel Fire Pit Warp Prevention
Once the second pit failed, I stripped back to first principles and looked hard at what materials actually work. For the bottom of the combustion chamber or fire bowl, I now use no less than 3/16-inch steel plate — which works out to roughly 0.1875 inches thick, or about equivalent to 7-gauge. Realistically, I lean toward 1/4-inch steel for any section wider than 18 inches. Sure, it costs more and adds weight. However, the jump in stiffness cuts thermal deflection significantly. Extra material mass also functions as a thermal reservoir, spreading the temperature more evenly rather than letting one spot get too hot.
The vertical sections and perimeter walls are different — 10-gauge or 12-gauge sheet is adequate. These areas do not receive the concentrated radiant load that the bottom does, plus they get structural support from corner welds and any reinforcement bracing like angle iron. Starting with my third build, I run a continuous 1.5-inch by 1.5-inch angle iron band completely around the base plate perimeter. This single decision outperformed every other modification I tried between pit number two and pit number three.
Regarding steel grade: basic A36 mild steel works and is what most home fabricators reach for. However, sourcing hot-rolled plate or even AR400 when available gives you a measurable edge under repeated thermal stress. I discovered this lesson the hard way after my second attempt — cold-rolled material carries pre-existing internal stress from the mill rolling process itself, making it more susceptible to movement when exposed to fire heat. Hot-rolled is less flashy, but functionally superior for fire applications.
A Note on Corten Steel
Weathering steel, called Corten by most makers, appears regularly in fire pit design discussions. It forms a stable oxide coating that shields the base material underneath. From a looks perspective and durability against outdoor weather, it performs great. However, it is not exempt from warping — the same thickness requirements and reinforcement framework still apply. Corten also runs 30 to 50 percent pricier than A36 at typical steel distributors. For someone building in a home garage, a well-designed A36 pit beats an expensive Corten pit with poor geometry every single time.
Design Geometry: The Changes That Actually Fixed My Warp Problem
Structure shape carries as much weight as material selection when it comes to preventing warp. Those first two pits followed the same template — four walls bolted down to one flat bottom, with four legs at the corners. It was straightforward to build and visually clean. However, a large unsupported flat plate under direct heat is arguably the worst possible structural shape for staying dimensionally stable. Professional engineers avoid this problem by using gussets, stiffening ribs, and flanges to increase rigidity without bulk. The exact same thinking fixes fire pits.
My third pit incorporated three specific geometry adjustments. First, the bottom plate span does not exceed 24 inches in either direction — if I wanted a larger burning area, I would bisect it with a welded rib of 1/4-inch flat bar down the center line. Second, that perimeter angle iron frame mentioned earlier acts exactly like a structural flange, resisting upward bowing almost completely. Third, I installed 1/4-inch gusset plates at all four corners where the legs attach to the frame, since those junction points are natural stress concentrators — the gussets distribute load across a bigger area.
Do not overlook drainage openings, though they do not directly stop warping. Punching or drilling 1/2-inch holes every 8 to 12 inches across the bottom plate lets rainwater drain instead of sitting inside. Pooled water accelerates oxidation, which eats away at the steel, which increases susceptibility to warping in future seasons. My working pit has seven 1/2-inch drain holes drilled in, and I slope the bottom plate about 1 to 2 degrees toward one corner to assist drainage. These seem like minor details, but they compound into serious long-term structural benefit.
Welding Sequence and Technique to Minimize Distortion
This area is where most hobbyist welders, myself at the start, run straight into trouble. The AWS D1.1 Structural Welding Code devotes whole sections to controlling distortion for good reason. You do not need the whole specification, but the underlying approach is straightforward: organize your welding in a sequence that distributes heat symmetrically around the neutral plane of your assembly. Practically speaking, do not finish one side completely before touching the other.
For a rectangular fire pit build, I apply a skip-weld pattern now. I tack all four corners, then lay down 2-inch stitch beads, jumping between opposing sides and moving outward from the center on each round. Between each pass, I let the steel temperature drop to where I can rest my hand near the weld zone without pain — approximately 300 to 400 degrees by touch, or I check with an inexpensive infrared temp gun from the garage. Critically, I never run longer than about 6 inches of consecutive bead on bottom plate attachment without switching to the opposite side.
Backstep welding deserves mention as another distortion-fighting method. Rather than welding continuously from left to right, you lay individual segments in the reverse direction of your overall movement — meaning the weld beads deposit right to left while you progress left to right. This distributes heat input more evenly and stops the “drawing” effect responsible for plate movement. The moment I switched to backstep technique for bottom plate attachment on pit three, the finished plate sat noticeably flatter on the inspection table post-cooling.
Pre-Heating and Post-Weld Cooling
When you are welding in a cold shop in December — because that is when garage time happens — bring the steel up to temperature first. For 1/4-inch plate, I heat the surrounding area with a propane torch until it reaches roughly 150 to 200 degrees Fahrenheit before striking the arc. This narrows the temperature gap between the molten weld and the surrounding metal, dramatically reducing weld-induced distortion. Let the finished weld assembly cool on its own in a warm location. Do not splash it with cold water or move it outside into freezing air. Gradual, unrestricted cooling permits internal stress to dissipate instead of locking into permanent shape change.
The Fire Pit Ring That Handles Uneven Heat Without Warping
A quality steel ring forms the backbone of a fire pit that stays level and does not flex under flame. Selecting the right ring profile and wall thickness separates a stable, permanently level base from another failed project gathering rust in the corner.
What works
- The unified welded structure holds together across infinite heating cycles—no fractures or delamination appearing partway through the season.
- Sufficient cross-sectional area to radiate heat uniformly across the floor surface, preventing localized hot spots that trigger warping.
- The measured bore diameter remains consistent enough that a cut-to-spec base plate rests evenly and does not rock side to side.
What doesn’t
- The rim edge can snag on a rake or fire iron handle if you are not paying attention, and it leaves a sharp mark to teach the lesson.
- Surface corrosion accelerates faster than thicker stock if moisture remains trapped inside over the off-season—water management must be planned from the beginning.
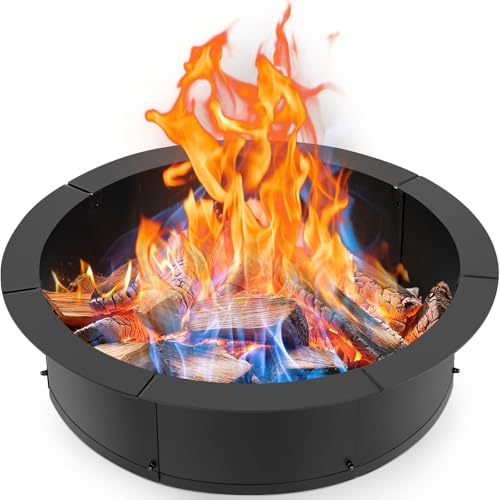
I almost went with a thinner, cheaper ring on my third build because I thought the savings weren’t worth the fuss, but I’d already seen what thin steel does under a real fire. INNOSTAGE 28 Inch Fire Pit Ring
Frequently Asked Questions
What thickness steel should I use for a fire pit bottom?
Use no less than 3/16-inch steel plate for the combustion chamber bottom. For any section wider than 18 inches, 1/4-inch steel is better because the extra stiffness cuts thermal deflection significantly and provides thermal mass that spreads heat more evenly across the surface.
How do I prevent my steel fire pit from warping?
Use thicker material (1/4-inch for wide sections), add a 1.5-inch by 1.5-inch angle iron frame around the base perimeter, keep the bottom plate span under 24 inches, install 1/4-inch gusset plates at corner legs, and use backstep welding technique to distribute heat symmetrically instead of loading stress into one side first.
Can I weld galvanized steel for a fire pit?
Never weld galvanized steel without forced ventilation and a respirator rated for metal fumes—zinc oxide causes metal fume fever with chills and aching. Grind the coating well back from the weld zone, or start with uncoated stock instead.
What welding sequence stops fire pit distortion?
Use skip-weld pattern: tack all four corners, lay 2-inch stitch beads jumping between opposing sides, and move outward from center each round. Never run longer than 6 inches of consecutive bead on bottom plate without switching to the opposite side. Let steel cool to 300 to 400 degrees between passes before continuing.
Sources and further reading
About This Article

Written by Garrett Dunn. Hobbyist metalworker and garage workshop builder. I restore old tools, weld custom furniture, and document my projects and mistakes so other makers can learn from both. More about this site.
Scope and limits. Garrett is a hobbyist metalworker, not a certified welder or machinist. Welding, grinding, and solvent work carry real injury risk — use the correct PPE and ventilation, and follow the manufacturer safety guidance for your own equipment.
Verify this against a primary source
Specifics change, and your situation may differ from the one described here. These are the authorities worth checking directly:
- OSHA — machine guarding, PPE and shop safety standards
- American Welding Society — welding procedure and safety standards