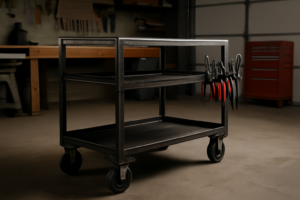
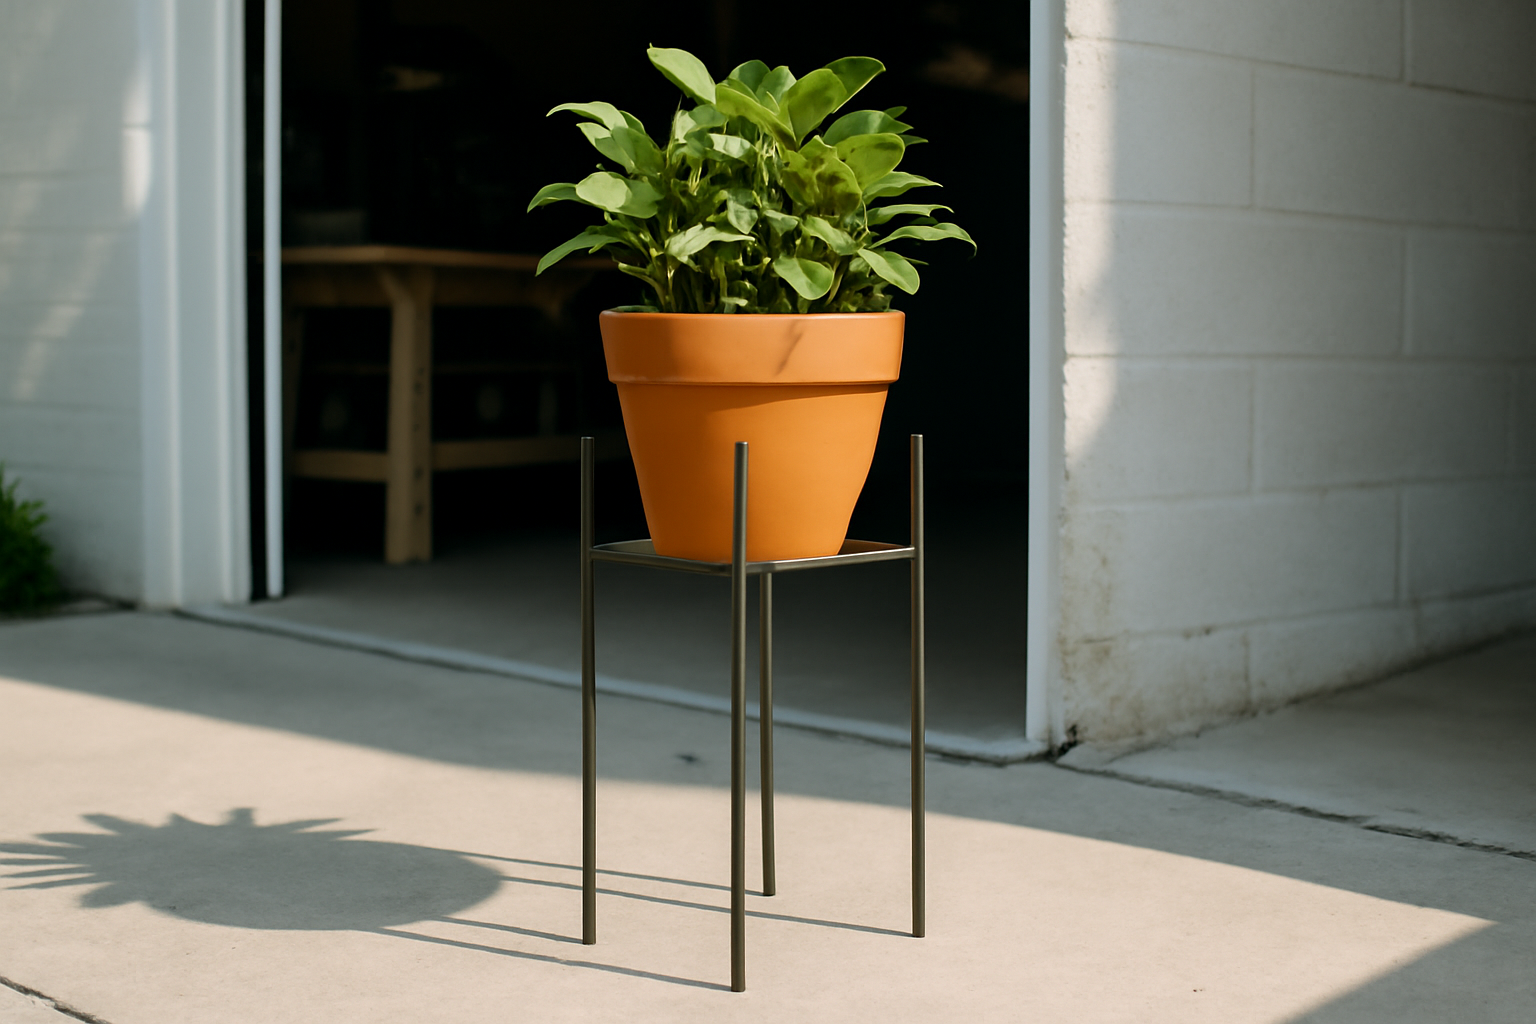
Over on the left side of my shop, tucked between the chop saw station and my welding bench, I keep a small collection of steel stands. The oldest one’s been holding a cast-iron planter on my back porch for twelve years now — nothing fancy, just square tubing I picked up for pocket change and welded together on a Saturday afternoon. People walk in, see it supporting a 40-pound pot without even a wobble, and immediately ask if I hired a fabricator. When I tell them I built it in my garage with basic equipment and no formal training, their response is always the same: “I had no idea that was even possible.” It is. And it’s easier than they think.
What I hear constantly is that welding demands a sprawling workshop, equipment that costs thousands, and probably some kind of certification hanging on your wall. That narrative keeps a lot of people stuck. The reality is completely different for straightforward structural work like this. You don’t need credentials or a fancy setup. If you can keep an arc lit for three solid seconds without punching a hole through your stock, you’re already qualified to build a plant stand that’ll outlast its original owner. I’m going to show you exactly how I approach this — every material choice, every measurement, every welding move, the whole finishing sequence. Nothing theoretical, nothing overdressed.
Everything I’m walking you through assumes you’re working in a garage, driveway, or compact shop space. I’ll keep the budget realistic and stick to tools that actually fit that environment. Let’s go.
Gather Your Materials and Equipment
Materials first. Square steel tubing at 1-inch width and 1/16-inch wall works beautifully for this — it’s manageable to handle, cuts without drama, and forgives the mistakes that come with learning. A standard 4-foot length runs $6–$8 at your local metal distributor or farm supply. To build a 12-inch by 12-inch top with an 18-inch height, you’re looking at ten linear feet total, which puts your steel cost right around $18.
On the equipment side, you need the absolute essentials: a flux-core MIG welder (I’ve trusted a Lincoln Electric 140 for over a decade — you’ll find new ones around $350), an angle grinder loaded with a cutoff disc, a speed square for checking your geometry, a handful of C-clamps, and proper welding gloves. This is not a project that demands TIG equipment or plasma technology. However — and I mean this seriously — a metal cutoff saw transforms your work quality. I grabbed mine used for $45, and the improvement in cut consistency alone paid for itself in the first two projects.
Ventilation is not optional. The American Welding Society (AWS) specifies a baseline air exchange of one cubic foot per minute for every square foot of enclosed welding area. My setup uses a fully open garage door plus a box fan positioned behind my position pushing exhaust away. Don’t skip this piece of the equation.
Dial In Your Welder First
Running 1/16-inch wall tube with flux-core electrode, my Lincoln 140 sits at voltage level 2 with wire feed around 40–45. That combination produces a tight, predictable bead that won’t blow through your metal. Every machine behaves slightly differently, so always lay down practice beads on scrap material before touching your actual workpiece. Increase wire speed if spatter is excessive; lower your voltage if you’re melting holes. This trial-and-error step takes ten minutes and prevents a ruined piece.
Measure, Cut, and Prepare Your Components
Early on, I made the rookie mistake of freehand-cutting legs without any reference. All four came out a different length. The finished stand rocked in three directions, and I spent nearly an hour grinding legs down to make it level. That taught me something: mount a stop block to your saw fence and cut each piece to the same dimension in a single locked setup. It eliminates length variation completely and takes less time than being sloppy.
Here’s your cutting list for the complete frame:
- Four support legs, each 18 inches long
- Four perimeter frame members at 12-inch length
- Four internal cross members measuring 10 inches (seated inside the outer frame)
After every cut, hit the edges with a flap disc on your grinder. Those sharp burrs aren’t just a pinch risk — they actually prevent your parts from sitting flush. Gaps at joints mean weak welds. Metal doesn’t lie about this. The tighter your joint tolerance, the deeper your weld fuses into the surrounding material.
Assemble your four outer frame members on a perfectly flat work surface (I use a piece of 3/4-inch MDF as my reference) and verify squareness using a speed square. Measure both diagonals — if they’re identical, your geometry is true. Apply a single 1-second tack weld at each corner before committing to your full runs. This gives you a chance to tap things into alignment if the frame starts drifting out of square.
Execute Your Welding Plan With Deliberate Heat Control
Sequence beats speed every time. When metal gets hot, it moves. Run all four corners of your perimeter frame back-to-back, and the final corner will shift as earlier passes cool and shrink. Instead, alternate diagonally: weld corner one, skip to corner three, then two, then four. That rotation spreads your heat energy across the entire assembly instead of cooking one area.
Once the top frame is cool and complete, flip it over onto your flat reference and position all four legs at the corners. Clamp them down. Use your speed square to confirm each leg sits perpendicular to the top. Tack-weld all four before running any full-length passes. This safety checkpoint takes thirty seconds and saves you from grinding out bad welds.
Full corner welds on the legs get the same heat-management strategy: opposite sides, then move to the next pair. For the internal cross members, I cut 45-degree angles on both ends using my grinder and a steady hand. They fit inside the frame perfectly and give you way more weld surface than a straight butt joint. Notched braces genuinely increase stand stiffness — worth five extra minutes of grinding prep.
Grinding, Cleaning, and Coating
Run a flap disc across all your welds — 40-grit for material removal, then 80-grit for smooth blending. Strip away mill scale, oil, and grinding residue with acetone or lacquer thinner. Apply self-etching primer next (Rust-Oleum’s aerosol version costs about $8 per can). Follow that with two coats of flat black topcoat paint. I’ve had this finish system on outdoor stands for over a decade without bubbling, peeling, or coating failure.
Real-World Performance Testing: The Fire Pit Pan Reference
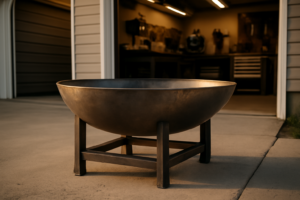
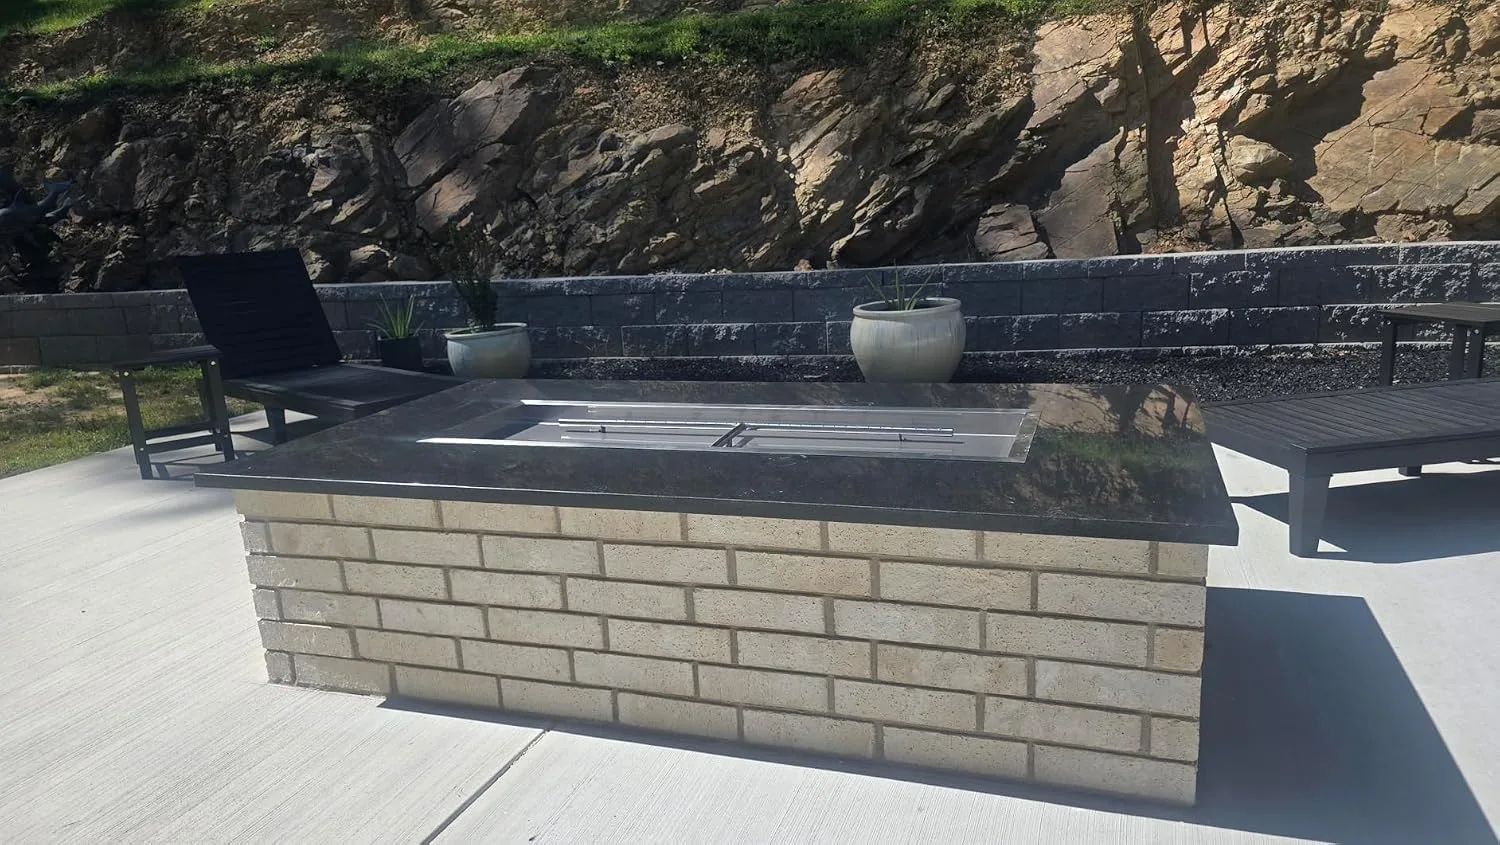
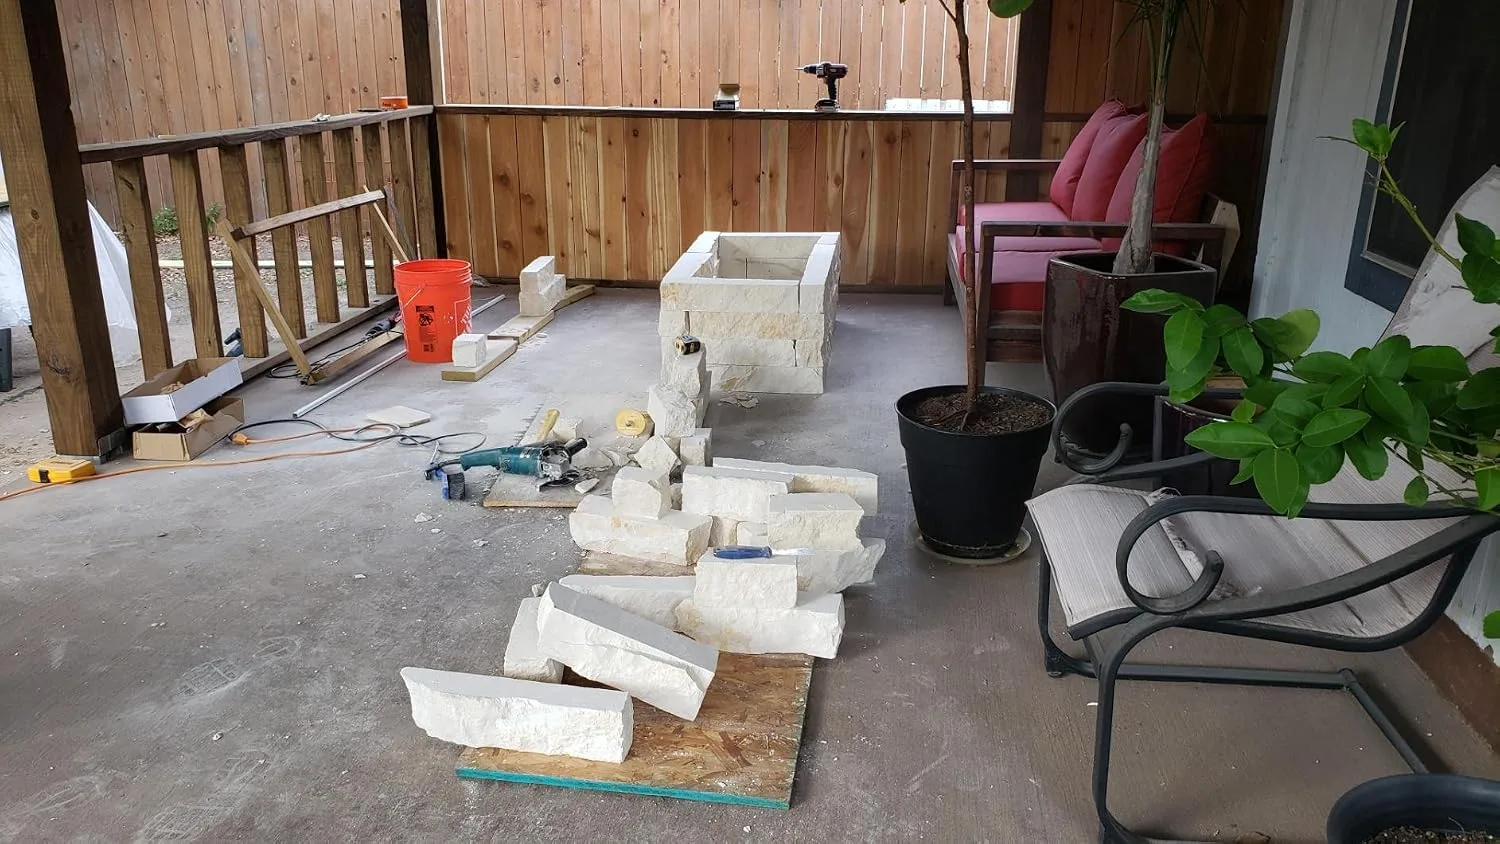
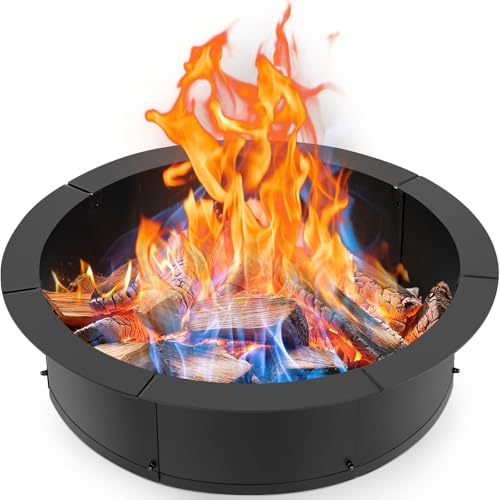
Building a welded steel structure teaches you something — you start paying attention to how other people weld. When you drop cash on a fire pit pan, you’re essentially getting a real-world case study in how thermal cycling, rust formation, and the actual weight of use treats welded steel. That Stanbroil unit is a legitimate stress test for understanding what your joints need to survive.
What holds up
- Welded corner seams maintain integrity through repeated freeze-thaw seasons; mine has been exposed outdoors through two winters and the bottom hasn’t fractured or peeled apart.
- The stock thickness means no warping under active flame; ash cleanup is straightforward because residue doesn’t bond to the surface the way thinner pans allow.
- Inspecting the manufacturer’s corner work on your bench shows you honest craftsmanship — it reveals exactly what your own welds need to achieve if you’re tackling similar builds.
What doesn’t perform
- The factory coating vaporizes during your first actual burn; this isn’t a defect, it’s just physics, and you shouldn’t expect aesthetics to survive active use.
- At this price tier, durability and function are the priority, not special surface treatment; bare steel oxidizes fast when moisture sits on it, so plan on occasional drying or embracing a natural patina.
The first time I fired mine up, I half-expected the seams to separate or the whole thing to warp — I’d seen cheaper pans fail in exactly that way. That didn’t happen, which told me something real about how this pan was built. If you’re looking to see how welded steel actually behaves, grab the Stanbroil 48 x 14 Inch Rectangle Drop-in Fire Pit H-Burner Pan and put it to work.
Frequently Asked Questions
What voltage and wire feed do I use for 1/16-inch wall tubing?
On a Lincoln 140 flux-core MIG welder, I set voltage to level 2 with wire feed around 40–45. This produces a tight, predictable bead that won’t blow through your metal. Every machine behaves differently, so always lay down practice beads on scrap before touching your actual workpiece.
How much does the steel cost for a plant stand?
Square steel tubing at 1-inch width and 1/16-inch wall runs $6–$8 per 4-foot length. For a 12-inch by 12-inch top with 18-inch height, you need ten linear feet total, which costs around $18 in steel alone.
What safety gear do I need before welding?
You need an auto-darkening helmet at the correct shade, cotton or leather clothing rather than synthetics, a clear floor, and an extinguisher within arm’s reach. Never weld galvanized steel without forced ventilation and a respirator rated for metal fumes, as zinc oxide causes metal fume fever.
How do I prevent my welds from warping during assembly?
Alternate your welds diagonally instead of running corners back-to-back. Weld corner one, skip to corner three, then two, then four. This rotation spreads heat energy across the entire assembly instead of cooking one area, preventing distortion as earlier passes cool and shrink.
Sources and further reading
About This Article

Written by Garrett Dunn. Hobbyist metalworker and garage workshop builder. I restore old tools, weld custom furniture, and document my projects and mistakes so other makers can learn from both. More about this site.
Scope and limits. Garrett is a hobbyist metalworker, not a certified welder or machinist. Welding, grinding, and solvent work carry real injury risk — use the correct PPE and ventilation, and follow the manufacturer safety guidance for your own equipment.
Verify this against a primary source
Specifics change, and your situation may differ from the one described here. These are the authorities worth checking directly:
- OSHA — machine guarding, PPE and shop safety standards
- American Welding Society — welding procedure and safety standards