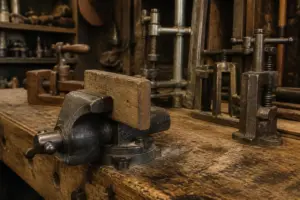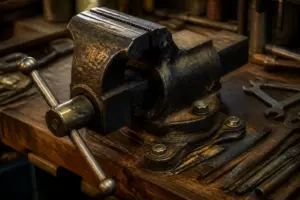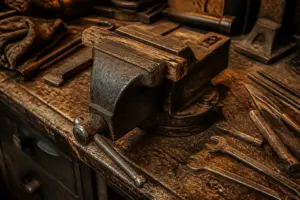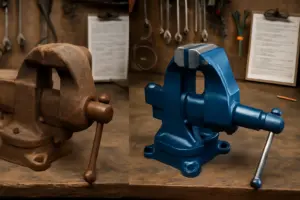
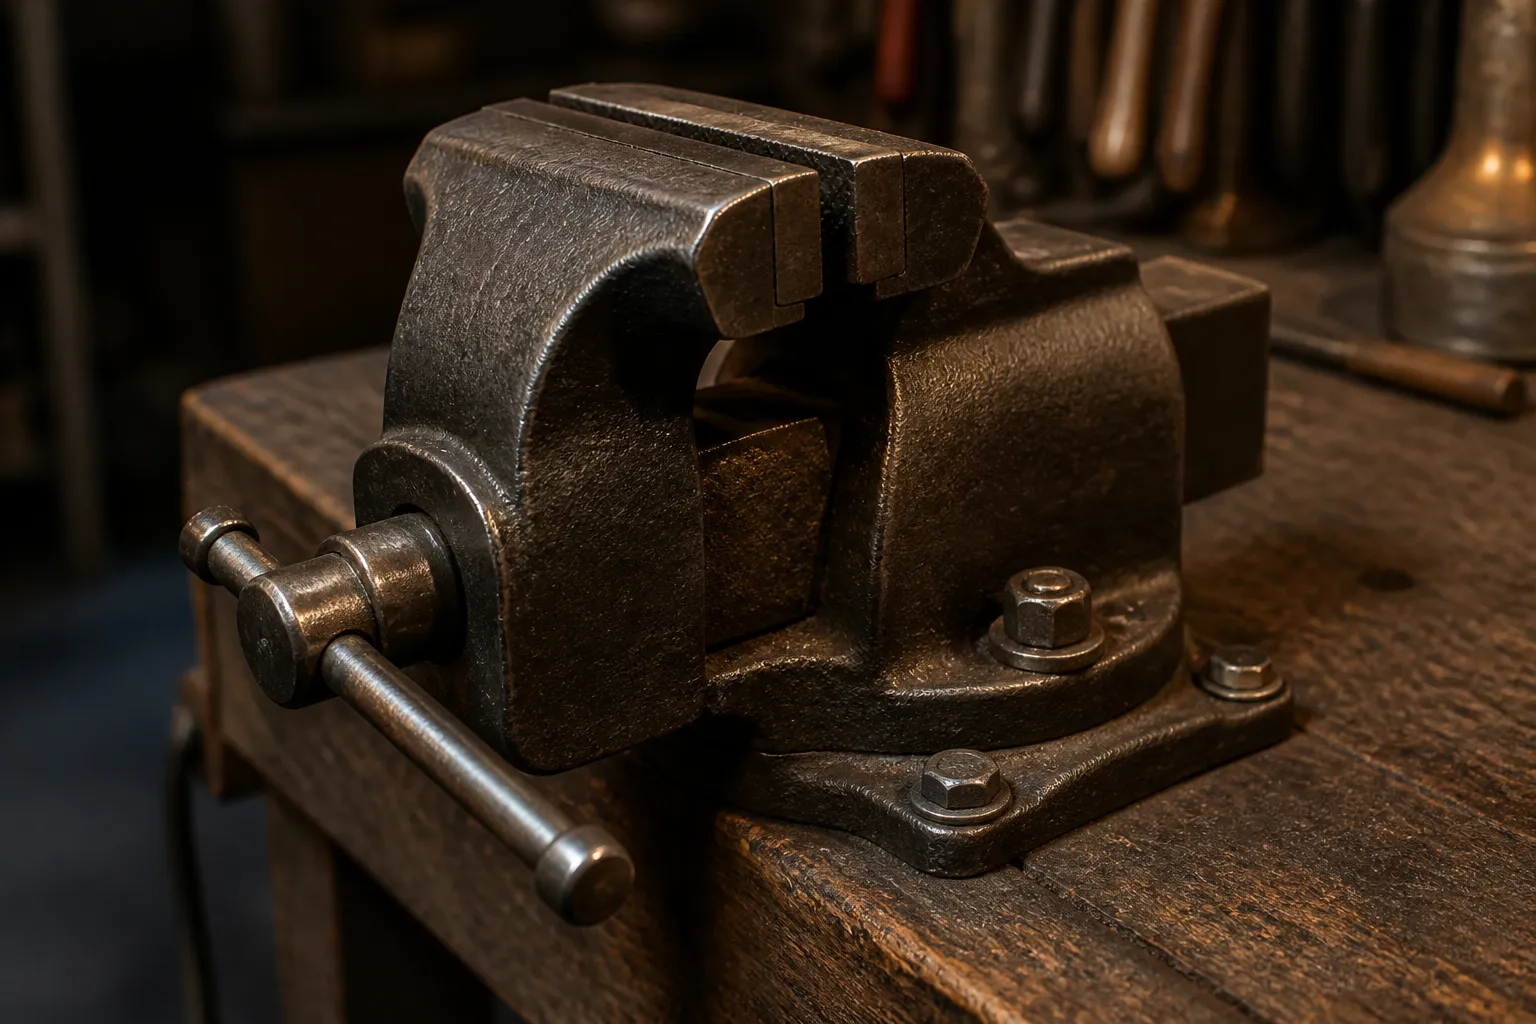
Most vise mounting advice assumes four bolts in a rectangle. Plenty of vises do not have that—a lot of older import vises and plenty of mid-range new ones come with three holes in a triangle, usually two across the front and one at the back. When you’re figuring out how to mount a 3 hole bench vise, you’re dealing with a completely different load distribution than the standard four-bolt setup. The first one I mounted that way rocked every time I leaned on a hacksaw, and I spent a while convinced the casting was warped before I understood what the pattern was actually asking of me. A three-hole base concentrates all of the prying load on one rear bolt, which changes how you bolt it down, what hardware you use, and where you put your backing plate.
Why Three Holes Rock (And Why That Matters)
I learned this the hard way. My first three-hole vise was a cheapish import model—cost about eighty bucks at a tool liquidator, solid jaws, decent threads. When I clamped it to my bench with three Grade 8 bolts torqued down equally, it still rocked. Not a lot, but enough to feel it under load. I thought the casting was bad. Took it back off, checked it on a flat surface, ran my hand under the base—nothing. Totally flat.
The problem is geometry. With four bolts in a rectangle, the load spreads across all four attachment points. With three bolts in a triangle—especially the common pattern of two front bolts and one rear—you’re creating a lever arm. Every time you pull down on the handle or bear weight toward the front of the jaws, that front edge wants to lift. The rear bolt is taking the entire prying moment by itself while the front two bolts are mostly just keeping the vise from sliding forward.
If you bolt a three-hole vise the same way you’d bolt a four-hole vise, the rear bolt is severely under-supported. That’s what was happening with mine. I wasn’t doing anything wrong with the bolts themselves—it was the mounting strategy that was wrong.
Get the Fundamentals Right First
Before you even think about the three-hole problem, make sure you’re following the basic vise mounting rules. Your jaw height should put the top of the jaws at elbow height when you’re standing at the bench with your arms hanging naturally at your sides—comfortable for filing, hacksaw work, and general clamping without hunching or reaching up. Your overhang from the bench edge should be minimal; I keep mine so the back edge of the vise is no more than 6 to 8 inches from where the bolts go through the bench. Longer overhangs magnify the leverage problem and make rock worse across the board.
If you’re not sure about those basics, or if you’re mounting to something unusual, check out the general mounting rules that apply to any vise—jaw height, overhang, bolt grade, and backing plates. Those principles matter even more with a three-hole base.
One more thing: if you’re looking at buying one of these three-hole vises in the first place, understand what you’re getting into. Plenty of solid older vises and budget imports use this pattern because it was cheaper to cast and machine. It’s not inherently a bad design—you just have to understand it. I’ve got a couple of those import vises running without any rock at all now, precisely because I stopped fighting the geometry and started working with it.
The Real Solution: Reinforce the Rear Bolt
Here’s what changed my mounting game: the rear bolt needs to be stronger and better backed than the front two.
Start with bolt grade. Use a Grade 8 bolt for the rear—that’s the one taking the moment load. For the two front bolts, Grade 5 is fine, but I use Grade 8 across the board anyway because I buy them in bulk and it’s simpler to stock one grade. A 3/8-inch bolt is standard for bench vises of normal size (4-inch to 6-inch jaw width). Make sure the bolts are long enough to go through your bench top, through a backing plate underneath, and have enough thread left over for a washer and nut with maybe 1/4 inch of thread showing. If you’re not sure of your hole depth, measure it.
The backing plate is where three-hole mounting gets specific. You need a steel backing plate under the bench top, not just washers. The rear bolt especially needs a large backing plate—I use a 4-inch-by-4-inch piece of 1/4-inch hot-rolled steel for the rear, and 3-inch-by-3-inch pieces for the front. These plates spread the clamping load across a wider area of the bench top, which keeps the wood or material beneath from crushing and keeps the bolts from pulling through over time.
Here’s the critical part: torque the rear bolt harder than the front two. I learned this by trial and error. With my three-hole import vise, I used to torque all three to the same spec. Then I started torquing the rear bolt an extra 10 to 15 foot-pounds beyond the front bolts, and the rock went away almost completely. That’s not a scientific measurement—it’s what my feel told me through a torque wrench. The point is: the rear bolt is doing more work, so it needs more preload.
Alternative: Reinforce the Bench Itself
If your bench is soft wood or if you’re mounting to something with questionable integrity, you can also add bracing underneath. My shop bench is 2-inch-thick hardwood over a 4-by-4 frame, so it’s stiff enough to take the mounting without flex. But if you’ve got a flimsier setup—say, a folding work table or a single-thickness plywood top—consider adding a reinforcement beam directly under the rear bolt, running perpendicular to the line of potential lift. A 2-by-4 or even a doubled-up piece of 3/4-inch plywood glued and bolted to the underside of your bench right behind where the rear bolt comes through can make a real difference. I’ve never needed this on my permanent bench, but I did this once when I temporarily mounted a vise to a lightweight assembly table, and it worked.
If you’re not bolting to a traditional bench top at all—if you’re mounting to a wall or a steel frame—the principles stay the same but the hardware changes. Take a look at the guide on mounting to something other than a bench top if that’s your situation.
My Go-To Setup
In my shop right now, I’ve got a 4-inch import vise with the three-hole triangle base that I’ve beaten on for about eight years. It does not rock. Here’s exactly what I did:
- 3/8-inch Grade 8 bolts, all three holes
- 4-by-4-by-1/4-inch backing plate under the rear bolt; 3-by-3-by-1/4-inch plates under the front two
- Torqued the rear bolt to about 40 foot-pounds; the front two to about 30
- Mounted so the jaw height is about 5 inches below my elbows
- Overhang from the bench edge is 6 inches
That’s it. No rock. The vise clamps straight, the jaws stay parallel under load, and I can lean hard into hacksaw work or use it as a makeshift anvil for light hammer work without feeling any play. I’ve tightened those bolts maybe twice in eight years, which tells me the preload is holding.
Conclusion
Mounting a three-hole bench vise is not harder than mounting a four-hole vise—it just requires understanding that the three-hole triangle pattern puts all the moment load on the rear bolt. Don’t torque all three bolts the same, don’t use tiny washers, and don’t underestimate how much that geometry matters. Use a proper backing plate, especially under the rear bolt, torque the rear bolt harder than the front two, and keep your overhang minimal. If you follow those steps, you’ll get a solid, rock-free mount that will outlast the vise itself. I’ve done this enough times now—and fixed enough wobbly vises by redoing the mounting—that I’m confident it works. When you learn how to mount a 3 hole bench vise correctly, you stop fighting it and start using it.
Frequently Asked Questions
Why does my three-hole vise rock when I pull down on the handle?
With three bolts in a triangle—two front and one rear—the rear bolt takes all the prying moment load by itself while the front bolts mostly prevent sliding. If you torque all three equally, the rear bolt becomes severely under-supported and the front edge lifts under load.
What size backing plates do I need for a three-hole vise?
Use a 4-inch-by-4-inch piece of 1/4-inch hot-rolled steel for the rear bolt and 3-inch-by-3-inch pieces for the front two. These plates spread the clamping load across a wider area and prevent the bolts from pulling through the bench top over time.
How much harder should I torque the rear bolt than the front bolts?
I torque the rear bolt an extra 10 to 15 foot-pounds beyond the front bolts. In my current setup, the rear is about 40 foot-pounds while the front two are about 30 foot-pounds. The rear bolt does more work and needs more preload to eliminate rock.
What bolt grade should I use for mounting a three-hole vise?
Use Grade 8 bolts for the rear hole since it takes the moment load. Grade 5 is fine for the front two, though I use Grade 8 across the board for simplicity. Standard size is 3/8-inch diameter for normal bench vises.
About This Article

Written by Garrett Dunn. Hobbyist metalworker and garage workshop builder. I restore old tools, weld custom furniture, and document my projects and mistakes so other makers can learn from both. More about this site.
Scope and limits. Garrett is a hobbyist metalworker, not a certified welder or machinist. Welding, grinding, and solvent work carry real injury risk — use the correct PPE and ventilation, and follow the manufacturer safety guidance for your own equipment.
Verify this against a primary source
Specifics change, and your situation may differ from the one described here. These are the authorities worth checking directly:
- OSHA — machine guarding, PPE and shop safety standards
- American Welding Society — welding procedure and safety standards