Let me tell you about the table I almost ruined. I was building a welded steel coffee table — clean mitered corners, careful cuts, everything measured twice. I had a cheap combination square I’d picked up at a big box store for about $8. I used it religiously throughout the build. When I finally laid all four legs flat and checked them together, one corner was off by nearly 3/16 of an inch. That’s not a rounding error. That’s a junk tool problem. The cheap combination square accuracy problem is real, it’s common, and it cost me a full afternoon of re-work. If you’ve ever wondered why your cuts don’t match up despite your best effort, your square might be lying to you.
I’ve been doing this long enough to know that tool quality is a genuinely divisive topic in hobby workshops. Some guys swear by the philosophy that skill beats equipment every time. There’s truth in that — to a point. But a measuring tool is different. It either reads true or it doesn’t. Skill cannot compensate for a reference surface that isn’t square. You can be the most careful, methodical metalworker in your garage, and a bad square will still undermine every single layout line you draw.
In this post, I’m going to break down exactly why cheap squares fail, how to test any square you own right now, what the accuracy standards actually look like, and why I eventually made the switch to a Starrett — and never looked back.
What Makes a Combination Square Accurate (or Not)
A combination square has two critical mating surfaces: the blade and the head. The head slides along the blade and locks in place. For the tool to give you a true 90-degree reference, those two surfaces have to be machined flat and perpendicular to each other within a very tight tolerance. We’re talking fractions of a thousandth of an inch on quality tools.
Cheap squares are manufactured with casting tolerances that are simply not tight enough for precision layout work. The cast heads on low-end squares are often ground inconsistently or not ground at all. The blade may be stamped rather than ground, introducing bow or twist. As a result, the reference edge that you’re trusting to mark a 90-degree line might actually be running at 89.4 or 90.6 degrees — or worse.
In my experience, the blade lock mechanism is another failure point. On a cheap square, the lock bolt is often a thin stamped screw that doesn’t pull the head flush and square against the blade when tightened. It pulls at an angle. That means every time you lock the head in place, you’re introducing a small but real angular error. Over a 12-inch blade, even a half-degree error translates to roughly 0.10 inches of offset at the far end. On furniture legs, that’s visible. On weld joints, that’s a gap you’re trying to fill with filler metal.
The Cheap Combination Square Accuracy Problem: How to Test Your Tool Right Now
Here’s the good news: you can test any square you own in about two minutes. This is the classic “engineer’s square test,” and it works for combination squares too.
The Blade Flip Test
Grab a piece of flat stock — a piece of 1/4-inch cold-rolled steel plate works great, or even a reliable straightedge. Set the square against one edge and scribe a line. Then flip the square so the head is on the opposite side of the blade, and scribe a second line from the same starting point. If the two lines form a single straight line, your square is true. If they diverge into a “V” shape, you have an error — and the width of the “V” tells you how bad it is.
I did this test on three budget squares I had lying around the shop. All three failed. One was off by just under 1/32 inch over 6 inches — which sounds small until you’re trying to fit a tight miter or mark out a mortise for a piece of furniture hardware. Another was off by nearly 1/16 over the same span. That’s a disaster for precision work.
Check the Blade for Straightness Too
Lay the blade flat on a surface plate or a known-flat reference. Look for daylight under the blade. A bowed or twisted blade means your depth measurements are also compromised. On cheap squares, I’ve seen blades with 0.015 inches of bow over 12 inches — more than enough to ruin a precise layout.
While you’re at it, check the graduation marks. Hold the blade next to a known-accurate rule. Cheap squares are often laser-etched rather than machine-cut, and the graduation spacing can drift over the length of the blade. Specifically, look at the 6-inch mark and the 12-inch mark. If either is off, your measurements are wrong from the start.
Real Consequences: When Errors Compound
Here’s what most people don’t think about: errors in layout don’t stay contained to one operation. They compound. If your square is off by 0.5 degrees and you use it to mark four separate cuts, each of those cuts carries the same error. When you bring those four pieces together, the errors stack. That’s how I ended up with a 3/16-inch gap in a corner that I’d measured carefully.
The same principle applies in metalworking at a larger scale. I’ve watched hobbyist welders spend hours fitting up a frame, fighting gaps and misalignment, convinced they were cutting wrong. In most of those cases, the square was the culprit. Once they switched to a calibrated tool, the fit-up problems largely disappeared.
There are published accuracy standards for precision squares. The American Society of Mechanical Engineers (ASME) standard B89.3.1 covers the accuracy of squares used in precision measurement. Professional-grade squares are manufactured and tested to these standards. Your $8 hardware store square is not. That’s not an opinion — it’s a manufacturing reality.
Why I Switched to Starrett and What I Found
I resisted spending real money on a square for longer than I should have. Honestly, I thought it was overkill for hobby work. Then I learned the hard way — twice — that the cost of re-work, wasted material, and frustration added up to far more than a quality tool would have cost me upfront.
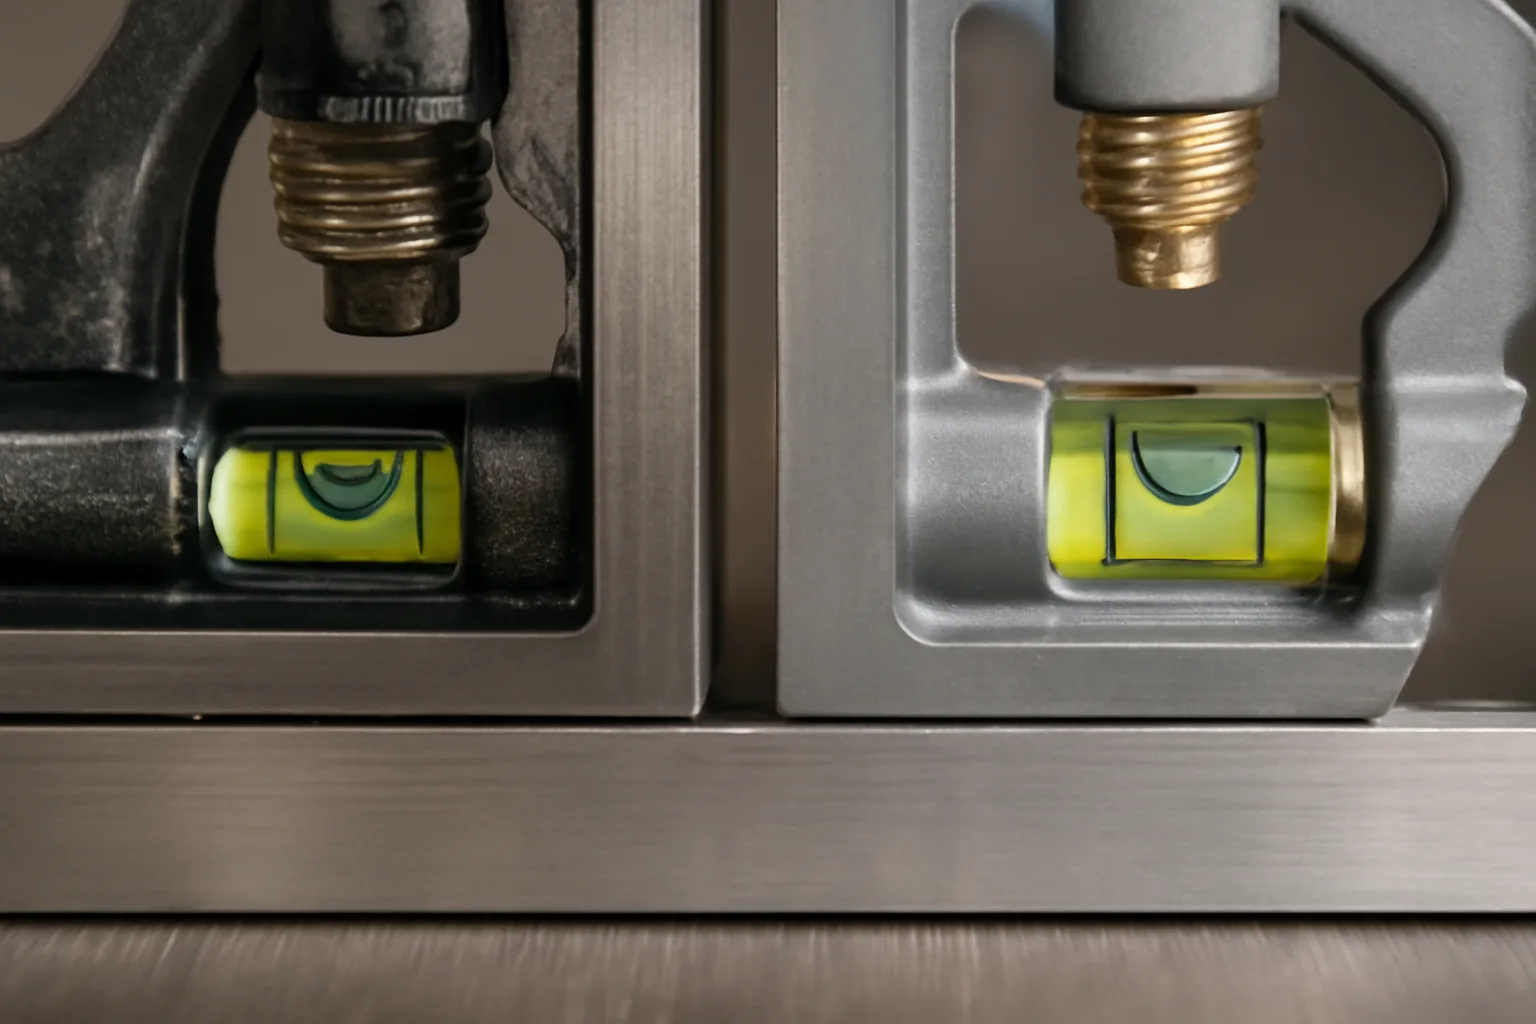
The tool I now reach for daily is the Starrett 11H-12-4R Steel Combination Square with a 12-inch blade. Starrett has been making precision measurement tools in Athol, Massachusetts since 1880. Their combination squares are manufactured to tolerances that actually mean something. The cast iron head on the 11H series is precision ground, not just cast and tumble-finished. The blade is hardened steel, ground flat, with 4R graduations — that means you get graduations in 8ths, 16ths, 32nds, and 64ths of an inch on both sides.
The reversible lock bolt is a feature I didn’t appreciate until I used it. It pulls the head square and flat against the blade every single time. No wobble, no angular shift when you tighten it. The scriber stored in the head is a genuine hardened steel scriber, not a soft metal rod. The spirit level built into the head is accurate enough to use for leveling work during setup.
I’ve used this square for over three years now — custom furniture frames, tool restoration projects, layout work on everything from 1/8-inch sheet steel to 2-inch square tube. It has not drifted. It still passes the blade flip test every time I check it. That kind of reliability is worth the price of admission.
What About a Smaller Square?
If a 12-inch square feels like more than you need, or you’re working in tighter spaces, Starrett also makes the 11H-6-4R in a 6-inch blade length. Same cast iron head, same hardened blade, same 4R graduation — just a more compact form. I keep both in the shop. The 6-inch gets used constantly for smaller parts and tool restoration work where a 12-inch blade gets in the way. However, for any layout work on stock longer than about 8 inches, I go straight to the 12-inch.
The 6-inch version runs around $65–75 and the 12-inch version is typically in the $90–110 range depending on where you buy. That’s real money for a hobby shop budget. I understand that. But consider this: I’ve thrown away $8 squares after they led me to scrap $40 worth of material. The math is not complicated.
Caring for a Precision Square — Don’t Waste Your Investment
A quality square can last a lifetime if you treat it right. I’ve seen 1950s-era Starretts that still read perfectly true. Here’s how I care for mine:
- Never use it as a clamp, pry bar, or hammer. It’s a measuring instrument.
- Wipe the blade and head with a lightly oiled rag after every session to prevent rust.
- Store it separately from other tools — rattling around in a drawer damages the ground surfaces.
- Test for accuracy every few months, especially if it’s been dropped or knocked around.
- Keep the locking mechanism clean and free of metal chips.
A dropped square should always be re-tested before you trust it again. Even a quality tool can go out of true from a hard impact. In my shop, a dropped measuring tool gets tested before it goes back in rotation — no exceptions.
When to Call a Pro (Honest Talk)
For measuring tool selection and use, there’s no real “call a pro” threshold — this is squarely (no pun intended) within DIY territory. However, there are a couple of situations worth flagging honestly.
If you’re doing any kind of work where legal tolerances apply — structural welding for load-bearing applications, for example — you should be referencing AWS D1.1 or the appropriate structural welding code and, in many cases, having work inspected by a certified welding inspector. A good square is necessary but not sufficient in those contexts. Layout accuracy is the floor, not the ceiling.
Similarly, if you’re setting up a machine tool — a mill, a lathe, a surface grinder — for precise work, you’ll eventually need instruments beyond a combination square. That includes dial test indicators, precision ground parallels, and possibly a surface plate. A combination square is a layout tool, not a machine alignment instrument. Knowing that boundary matters.
Final Thoughts on the Cheap Combination Square Accuracy Problem
The cheap combination square accuracy problem isn’t about brand snobbery or spending money for its own sake. It’s about understanding that a measuring tool has one job. If it can’t do that job reliably, it’s not a tool — it’s a liability. Every layout line you draw with an inaccurate square builds error into your project from the very first mark.
I spent years thinking I was making errors in cutting or welding. Turns out, I was making them in measuring. Once I fixed the measurement, the rest got dramatically easier. The Starrett 11H-12-4R is the tool I wish I’d bought on day one. It’s not a luxury item — it’s the baseline for doing accurate work.
Test your current square today. Use the blade flip method. If it fails, you already know what to do. Your projects will be better for it, and you’ll spend a lot less time wondering what went wrong.
This post contains affiliate links. As an Amazon Associate, I earn from qualifying purchases at no extra cost to you.