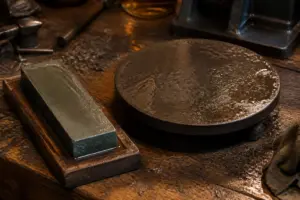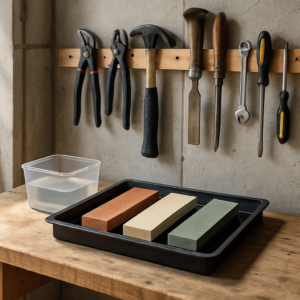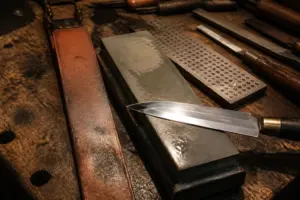
Over in the corner of my shop where the hand tools live — past the vise bench, on the shelf next to my stone collection — there’s a wooden paddle with a dark leather surface worn smooth from five years of use. That strop has transformed more mediocre edges into genuinely dangerous ones than anything else on that shelf. The moment I started treating it as essential instead of optional, my sharpening results stopped being frustrating and started being reliable. It wasn’t until I understood what was actually happening on that leather surface that I finally figured out why my stones alone weren’t getting me all the way there.
Plenty of people in the DIY space skip stropping entirely. They run their tools through sharpening stones, do a quick edge test, and assume they’re finished. The problem is that stones remove material and establish an edge, but they simultaneously create tiny burrs along the cutting line. Those burrs collapse, snag, and resist when you’re trying to cut. Stropping straightens that compromised apex, buffs the surface of the steel, and eliminates that stubborn wire edge. The payoff is an edge that will remove arm hair without effort and glide through end-grain wood as if the wood isn’t even there.
Twelve years running this two-car garage has meant countless hours sharpening different tool types — chisels, plane irons, carving blades, kitchen cutlery, and everything in between. Stropping became the technique I stopped skipping long ago, and it’s the first thing I demonstrate when someone asks why their freshly sharpened tools aren’t performing the way they expect them to. Everything I’ve learned on that subject is in this breakdown.
What Stropping Actually Does to an Edge
Abrasion is the name of the game with sharpening stones. Under a magnifying glass, even premium 8000-grit waterstones leave visible surface scratches across the metal. Beyond that surface issue is the wire edge — that thin, fragile bit of metal that curls over the cutting line as you grind material away from both the bevel and flat sides. That wire edge registers as sharp at first, but it’s unstable. It crumbles and breaks almost immediately in actual use.
Two simultaneous actions happen when you strop. The wire edge gets stripped away as you drag the bevel against leather that flexes enough to touch both sides of the apex at once. That flex is critical — it presses into the tiny burr and removes it without damaging the edge geometry. At the same time, the stropping process is polishing over the grinding marks the stone left behind. You’re taking the finish from 8000-grit up to what amounts to a 30,000-grit equivalent in terms of surface refinement.
That polish layer makes more difference than most people realize. A smooth, polished apex generates less friction during the cutting stroke. It also repels moisture better, which extends the interval before corrosion becomes visible. With carving gouges particularly, I’ve watched a properly stropped edge stay performant through double the number of cuts compared to one that went straight from stone to work. That’s not theoretical — I track it by doing cuts on the same test wood until the edge stops biting cleanly, and the stropped tools consistently outlast the non-stropped ones.
Choosing the Right Leather Strop
All leather strops are not created equal, and that’s where a significant portion of beginner mistakes originate. You’re after vegetable-tanned leather, not the chrome-tanned variety. Vegetable-tanned material is tighter in structure and more uniform in how it responds. Chrome-tanned leather is looser and more yielding, which rounds off the cutting point instead of refining it. If your thumbnail sinks easily into the surface and leaves a visible dent, that strop is too soft for the job.
Thickness on the leather side is equally important. I gravitate toward strops running at least 3/8 inch thick, mounted to a wood backing. That backing prevents the leather from moving too much under your tool. Without rigid support, the leather shifts underneath your blade and rounds the bevel angle unintentionally. Bench strops mounted on a paddle are what I depend on for chisels and plane irons. Hanging strops are engineered for straight-razor work where that additional flex is by design.
The width dimension affects practical use. For chisels or wide plane irons, I need at least 2 inches of stropping surface. Anything narrower makes it tough to maintain even contact across a wider blade. Pocket knives or carving implements work fine on 1.5-inch strops. My actual setup is two dedicated strops — a 2.5-inch bench paddle for flat chisels and plane irons, plus a narrower curved-surface strop for my carving gouge collection. I spent roughly $35 total on the pair, and they’ve performed reliably across five years in a working shop.
The Stropping Leather Strop Technique, Step by Step
How you execute the motion determines whether stropping works or backfires. I watch people strop the way they sand — driving forward with the edge leading the way. That ruins the edge instantly. It forces the cutting point down into the leather and folds the tip backward right away. Always move in the direction of the spine, with the spine reaching first. You’re pulling the beveled surface backward across the leather, not driving the edge forward into it.
Setting Up the Stroke
Place your bench strop flat against the benchtop and ensure it won’t shift. Load compound onto the leather before your first stropping session. Establish the same bevel angle you used when sharpening — most woodworking chisels sit around 25 to 30 degrees, kitchen cutlery around 20 degrees, razors and precision carving tools between 15 and 17 degrees. That angle staying the same throughout the stropping is the most critical element of the entire process.
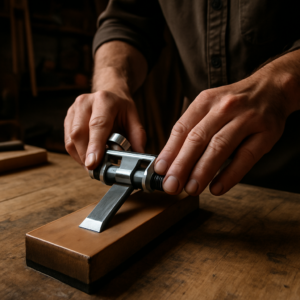
With the spine of your blade resting on the leather and the bevel making contact, drag the tool backward — toward you — in one fluid motion. Bring it to the end of the strop. Lift the blade up. Flip it to the opposite side. Repeat the motion on that face. That completes one round. Your motion should be smooth and paced — never rushed. Start with reasonable downward force, easing off as you move closer to the apex.
How Many Strokes and How Often
Taking a chisel fresh off an 8000-grit stone, I execute 10 to 15 backward pulls on each face using loaded compound, followed by 5 to 10 passes on the bare (compound-free) leather to finish. This whole process consumes roughly 3 minutes. For an edge that’s dulled from cutting but isn’t ready for full stone sharpening yet, 8 to 10 compound-loaded passes per side returns it to sharp status fast. I refresh my carving tools every quarter-hour of actual work. Kitchen knives get stropped every second use.
Hard experience taught me that excess compound combined with too many passes causes the tip to round off. I once over-stropped a set of expensive Japanese chisels — went well past 30 strokes with a heavy compound load — and I degraded them rather than improved them. The rule I follow now is simple: the moment the blade can shave arm hair without resistance, you’re done. Continuing to strop past that threshold makes things worse, not better.
Stropping Compounds: What to Use and Why It Matters
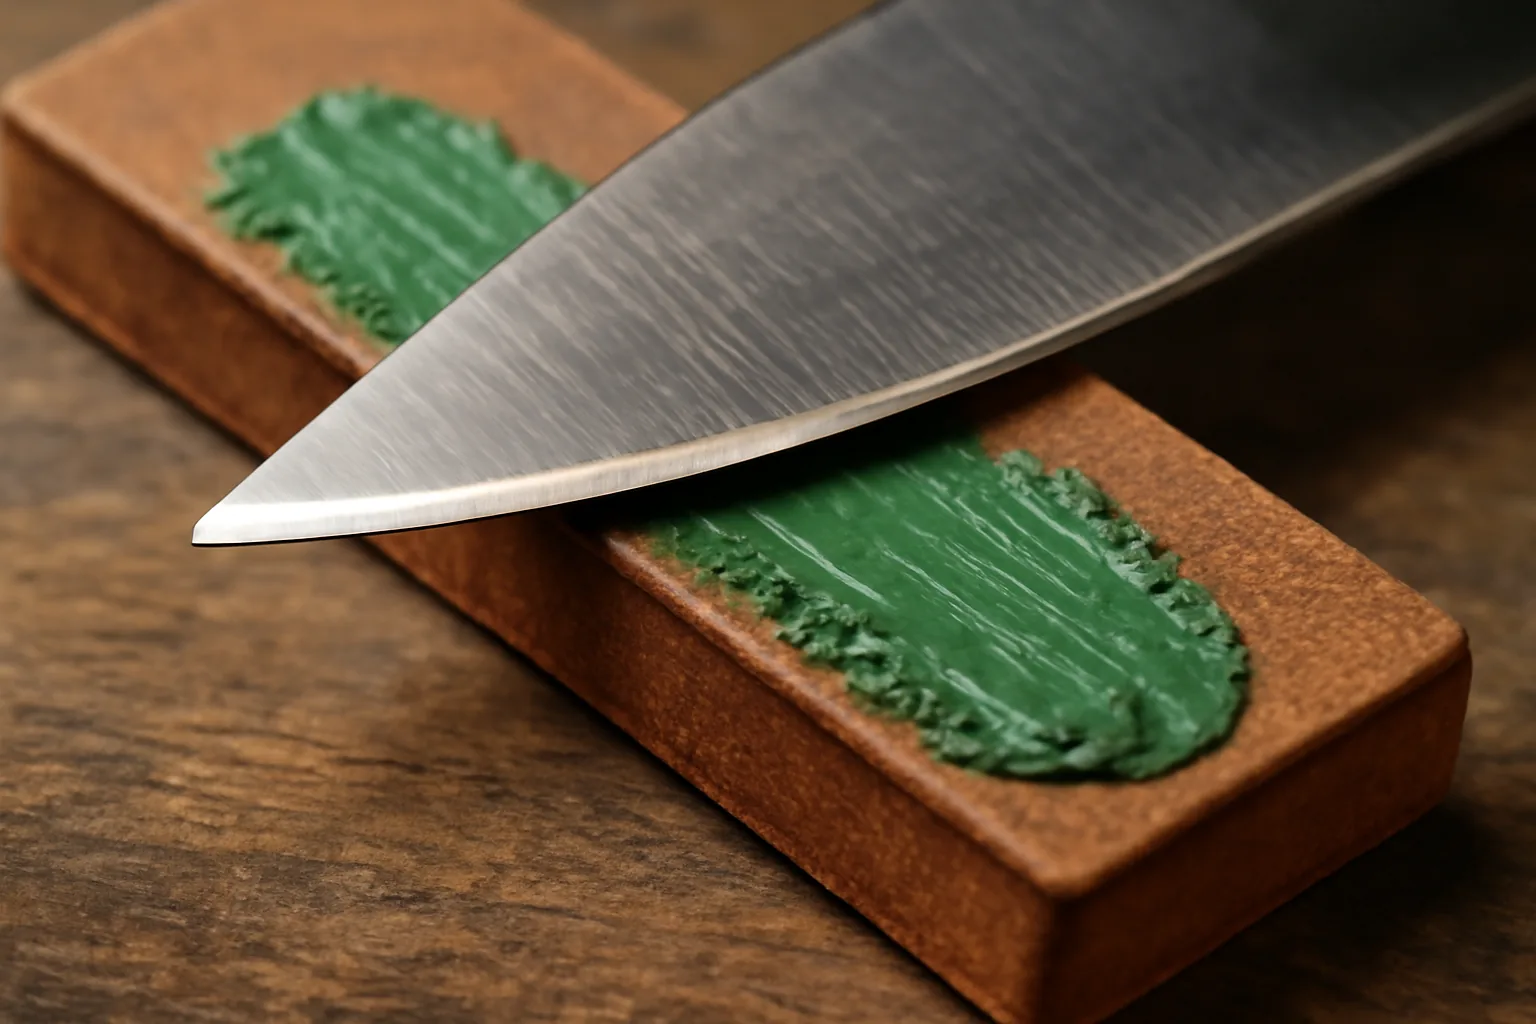
You can perform light refinement on bare leather, but genuine edge transformation after stone work requires stropping compound. These come as thick pastes or solid bars suspended with very fine abrasive particles — typically chromium oxide (the green version) or iron oxide (the red version). Green tends toward finer particles. Red leans slightly more aggressive. They occupy different places in the finishing sequence.
My default selection for both woodworking implements and kitchen blades is green compound. Chromium oxide particle size averages around 0.5 microns — that’s finer than the finishing grit on most waterstone collections. It generates a nearly reflective surface finish on the bevel and removes that last persistent wire edge without excessive passes. Red compound, based on aluminum oxide or iron oxide and running 1 to 2 microns, works better as a stepping-stone between rougher sharpening stones and a final green compound polish.
The Compound That Finally Closed the Gap Between “Sharp” and “Scary Sharp”
Once your sharpening stones get you most of the distance toward a usable edge, stropping compound is what covers that remaining stretch — the space where your tool jumps from merely acceptable to unnervingly sharp, where the wood stops resisting and starts responding. The compound is what makes stone work actually translate into real-world performance.
What works
- The fine green polish sits in the leather without turning into a slick residue — it charges the surface adequately and maintains its grit long enough to do meaningful work on the blade before needing a reload.
- A pair of strops means one stays loaded in my work area while the backup sits in my tool chest — I’m never halted mid-sharpening session because my compound has run down.
- The abrading effect is milder than stone grinding but vigorous enough that you can observe the edge quality shift as it happens — most times the transformation shows itself in just 10–15 backward strokes.
What doesn’t
- The fine particles from stropping compound spread across your workspace unless you take precautions — I discovered this the hard way by stropping directly over my bench instead of positioning the strop over a waste bin, and I spent days finding green residue on places it had no business being.
- Many people assume one compound load lasts indefinitely; the truth is you’ll need to re-coat your leather every 15–20 sharpening cycles, otherwise you’re just sliding metal across leather without actually achieving any edge refinement.
I spent weeks stropping with an old, bare leather strop before I finally broke down and bought compound, convinced I was just missing technique—turns out I was missing the most important ingredient entirely. Grab the SHARPAL 208H Polishing Compound Fine Green Buffing Compound 2-Pack and stop wasting sharpening work.
Frequently Asked Questions
Why does stropping make edges sharper than stones alone?
Stropping removes the wire edge—a thin burr created during stone sharpening that crumbles immediately in use. The leather flexes to touch both sides of the apex, stripping away that fragile burr without damaging edge geometry. Stropping also polishes grinding marks left by stones, taking the finish from 8000-grit up to a 30,000-grit equivalent, which reduces friction and improves performance.
What thickness and width strop do I need?
Aim for leather at least 3/8 inch thick mounted to rigid wood backing to prevent movement. For chisels and plane irons, you need at least 2 inches of stropping surface width. Narrower 1.5-inch strops work for pocket knives and carving tools. I use a 2.5-inch bench paddle and a curved strop together, totaling roughly $35 across five years.
How many strokes should I strop per sharpening?
For a fresh 8000-grit stone edge, execute 10 to 15 backward pulls on each face with loaded compound, then 5 to 10 passes on bare leather to finish—roughly 3 minutes total. For dulled edges, 8 to 10 compound-loaded passes per side restores sharpness. Stop the moment the blade shaves arm hair without resistance; exceeding 30 strokes risks rounding the tip instead of improving it.
What stropping compound should I use and why?
Fine green chromium oxide compound averages 0.5 microns and is my default for woodworking tools and kitchen blades. It generates a reflective surface and removes wire edge without excessive passes. Red compound at 1 to 2 microns works between rougher stones and green polish. Reload compound every 15–20 sharpening cycles; stropping bare leather without compound achieves no edge refinement.
Sources and further reading
About This Article

Written by Garrett Dunn. Hobbyist metalworker and garage workshop builder. I restore old tools, weld custom furniture, and document my projects and mistakes so other makers can learn from both. More about this site.
Scope and limits. Garrett is a hobbyist metalworker, not a certified welder or machinist. Welding, grinding, and solvent work carry real injury risk — use the correct PPE and ventilation, and follow the manufacturer safety guidance for your own equipment.
Verify this against a primary source
Specifics change, and your situation may differ from the one described here. These are the authorities worth checking directly:
- OSHA — machine guarding, PPE and shop safety standards
- American Welding Society — welding procedure and safety standards