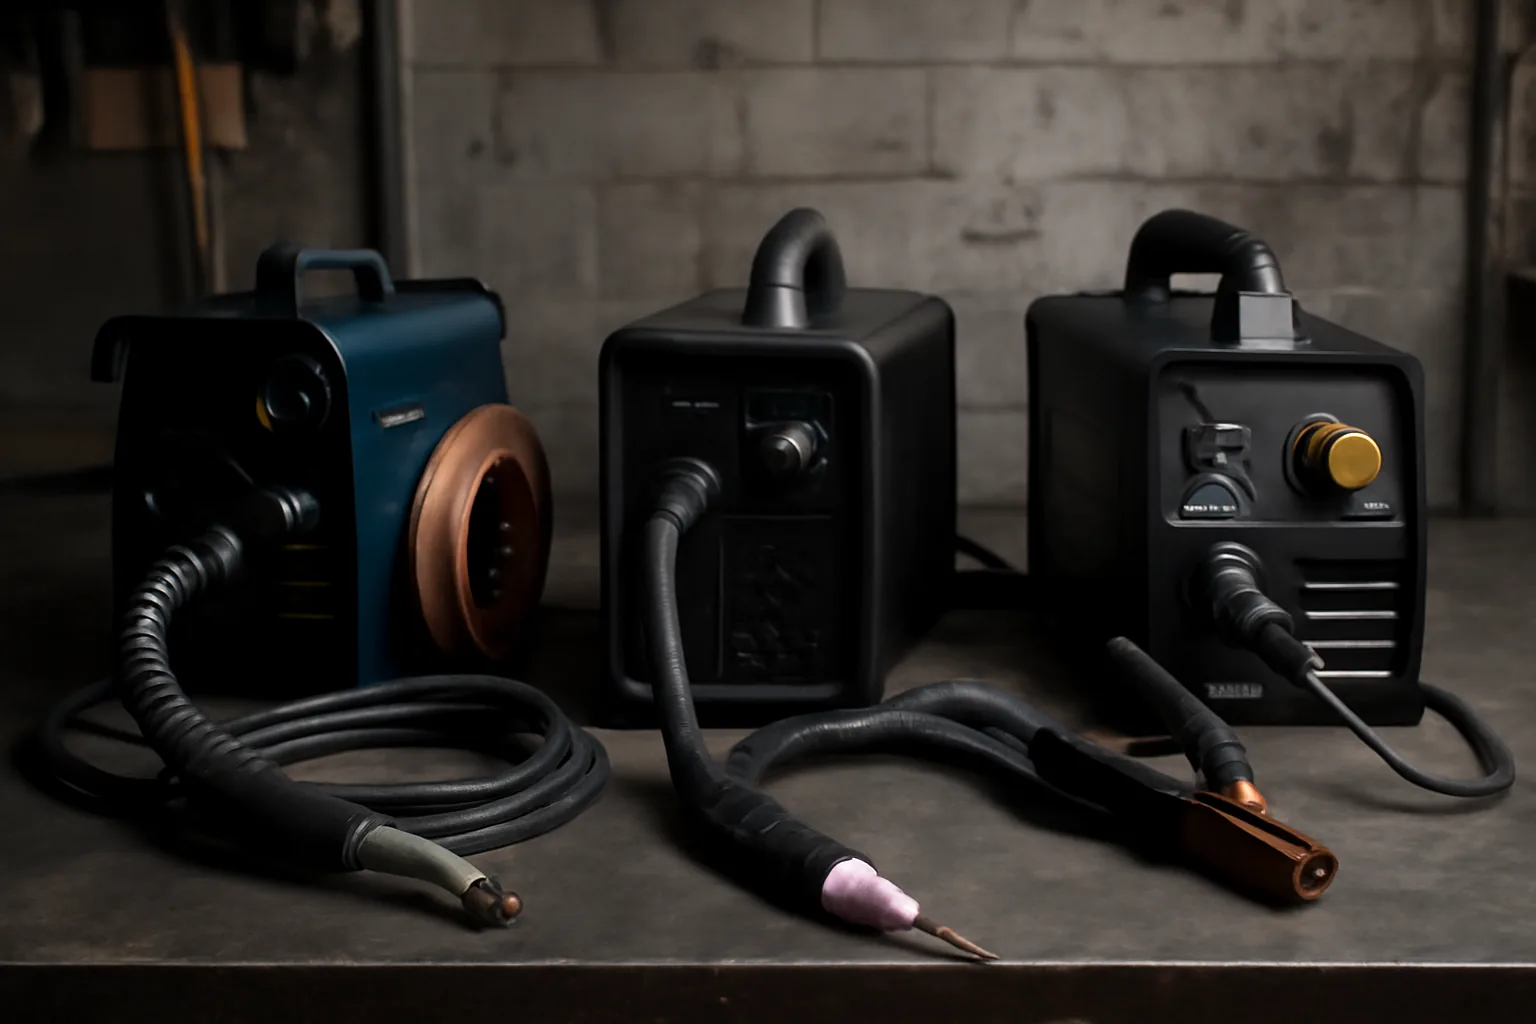

Standing at a welding supply rack twelve years back with roughly four hundred dollars burning a hole in my pocket and a two-car garage waiting to be filled with projects, the question felt enormous: MIG, TIG, or stick? My research rabbit hole went deep — forum threads spiraling into acronyms, equipment spec sheets with numbers I didn’t understand, endless debates with no consensus. What nobody seemed to offer was a straightforward recommendation tied to reality. This is that answer — the guidance I needed before dropping money on the wrong machine and wasting weeks learning process number two instead of mastering process number one.
Here’s what matters: technically, all three processes deliver sound welds when executed properly. All three belong in a serious shop. But for someone starting from scratch with limited space and even more limited experience, they are decidedly not interchangeable. Your entry process determines whether you’re building momentum or fighting discouragement for months. Across the past dozen years, I’ve logged somewhere north of two hundred hours across all three methods. I’ve also watched folks I know purchase the wrong equipment and abandon the whole thing. What follows is what those thousand hours of watching and doing actually taught me.
Understanding How Each Method Works (Practical Breakdown)
Jumping into the comparison without basic process knowledge doesn’t make sense. You don’t need certification-level understanding to produce welds in your workspace. You do need to know why each method behaves the way it does.
MIG welding (GMAW — Gas Metal Arc Welding) feeds a consumable wire continuously through a gun while a shielding gas blend—typically 75% argon mixed with 25% CO2—keeps oxygen away from the molten pool. The equipment handles wire advancement mechanically. Your job involves adjusting how fast you move the gun and the angle you hold it at. Among welding processes, this one feels closest to point-and-shoot simplicity.
Flux-core welding sits technically as a subset of MIG (FCAW — Flux-Cored Arc Welding). Rather than depending on bottled shielding gas, the wire itself contains flux material that combusts during the arc and produces a protective envelope. You eliminate the gas bottle from the equation entirely. The tradeoff involves more surface spatter and slag cleanup, though it excels in breezy conditions and on corroded materials.
TIG welding (GTAW — Gas Tungsten Arc Welding) employs a tungsten electrode that doesn’t melt away, requiring you to manually feed filler rod with your non-gun hand. Most setups use a foot pedal to modulate heat during the weld. Results are immaculate and precise — but reaching that point demands real-world coordination experience before your beads stop looking like someone dragged a stick through mud.
Stick welding (SMAW — Shielded Metal Arc Welding) relies on a consumable rod wrapped in flux coating. That coating disintegrates during the arc and forms both the weld and its own protective shell. No gas source needed, no wire feeder required — electrodes, a stinger handle, a ground cable, and a power box is the complete setup. It’s the most established approach, moves with you anywhere, and forgives operator mistakes better than the others when conditions aren’t ideal.
Comparing the Three for Someone Just Beginning: A Practical Assessment
When you’re breaking ground as a welder and want achievable results soon, MIG pulls ahead. This isn’t fence-sitting on my part. MIG compresses the gap between repeated attempts and noticeable progress. For learning purposes, that compression matters enormously.
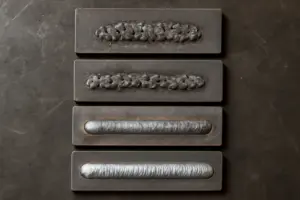
On my initial pass with a MIG gun running a bead into 1/8″ steel, the result wasn’t polished — yet unmistakably qualified as a weld. That same week, my first stick attempt melted through 16-gauge sheet, welded three electrodes permanently to my steel, and made me question my entire career path. TIG introduced a whole other dimension of humility: managing both hands plus a foot pedal simultaneously on day one felt like juggling while riding a unicycle.
Why Starting with MIG Accelerates Your Progress
Running a MIG gun lets you zero in on core competencies — maintaining consistent travel velocity, positioning the torch correctly, and keeping the nozzle at proper standoff — without juggling electrode angle, current adjustment, and rod advancement all at once. Building one foundational skill before layering complexity is how skill development actually functions.
From my own path, most newcomers pull acceptable joints from 1/8″ through 3/8″ mild steel in the ten to fifteen hour window. That’s an attainable milestone. Confidence accelerates. Real builds happen. The hobby stays engaging.
Beyond the learning curve, MIG covers the broad spectrum of typical garage projects: metal furniture construction, fixing trailers, fabricating mobile carts, attaching brackets and mounting hardware, general steel fabrication work. It remains more than adequate for the majority of what home hobbyists tackle.
Where Stick Deserves Priority Instead
Stick welding occupies a distinct niche where it delivers unmatched value: open-air projects battling wind gusts, corroded or previously painted substrate materials, and thick structural components approaching or exceeding 3/8″ dimension. Farm equipment maintenance, perimeter fencing, and trailer frame reinforcement all point toward stick as your foundational process. On the economics side, equipment investment stays modest — quality stick rigs range from one-fifty to two-fifty, and rod consumables remain budget-friendly.
The caveat: stick demands more repetitions before you’re creating acceptable joints on thin gauge material. Arc establishment requires muscular memory. Removing hardened slag becomes procedural overhead. However, when the technique clicks, the reliability and capability rival anything else available to a hobbyist.
Graduating to TIG Down the Road
TIG doesn’t belong in a first-time welder’s rotation — I’m confident in that stance. It’s learnable, certainly, but the coordination demands exceed what most folks can manage productively until they’ve logged substantial foundational time. I’d position forty to sixty hours of MIG practice as a prerequisite. Once puddle dynamics and thermal behavior make sense through MIG experience, the leap to TIG becomes considerably smoother.
TIG carves out its territory with stainless steel, aluminum alloys, and small-diameter chromoly tubes. The caliber of finished welds is objectively superior. When your projects escalate to roll cage fabrication, purpose-built exhaust systems, or work demanding rigorous dimensional and appearance standards, TIG becomes the tool that matches your ambition.
Finding a MIG Unit That Runs on Standard Household Circuits
MIG provides the gentlest entry into welding, but most budget-tier machines either demand 240V service or falter when sustaining continuous runs on a standard wall outlet. For a shop still running single-circuit 120V and watching the budget, you need equipment that functions without electrical infrastructure upgrades.
What to seek out
- Operates reliably off standard household 120V without nuisance breaker trips or thermal shutdown interrupting your workflow—I’ve run entire Saturday fabrication sessions on a standard garage outlet without pausing to let the machine cool.
- The learning environment is accessible; wire feeds automatically, you actuate the trigger, and joints form reliably. No crater fill techniques required, no esoteric hand positioning mastery needed before calling it functional work.
- Accepts both .023 and .024 diameter wire cartridges and performs equally with solid steel or self-shielding flux-core options, keeping your choices open regarding material and application.
What to avoid
- 120V operation restricts you to thinner stock and limited run times; attempting sustained passes through 3/16″ plate will overheat the transformer and you’ll watch the thermal indicator activate partway through projects, forcing cooling breaks.
- The gun cord feels undersized and the wire drive mechanism utilizes plastic components that deteriorate under heavy use; my original drive wheel needed swapping out around the forty-hour mark.
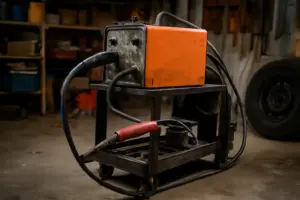
I nearly scrapped a whole restoration panel because I didn’t respect the duty cycle and pushed through the thermal cutoff, melting the tip and leaving a cold joint I didn’t catch until primer went on. Get the YESWELDER 140A MIG Welder if you’re serious about starting, but also respect its limits.
This post contains affiliate links. As an Amazon Associate, I earn from qualifying purchases at no extra cost to you.
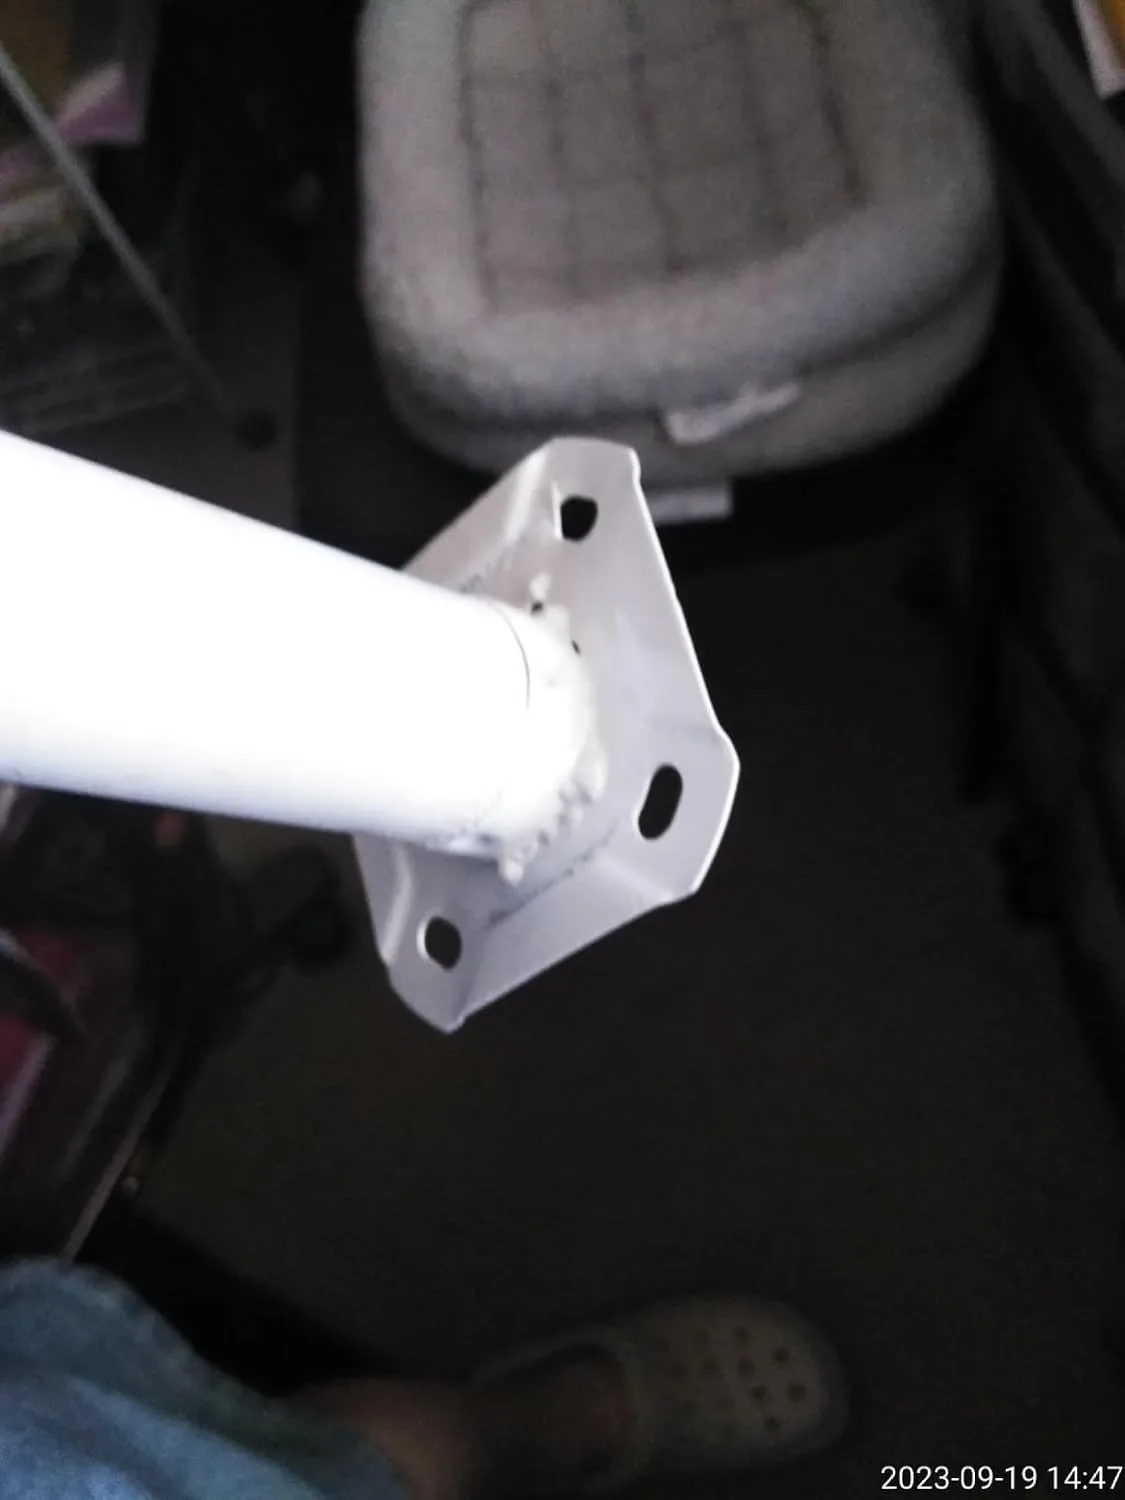
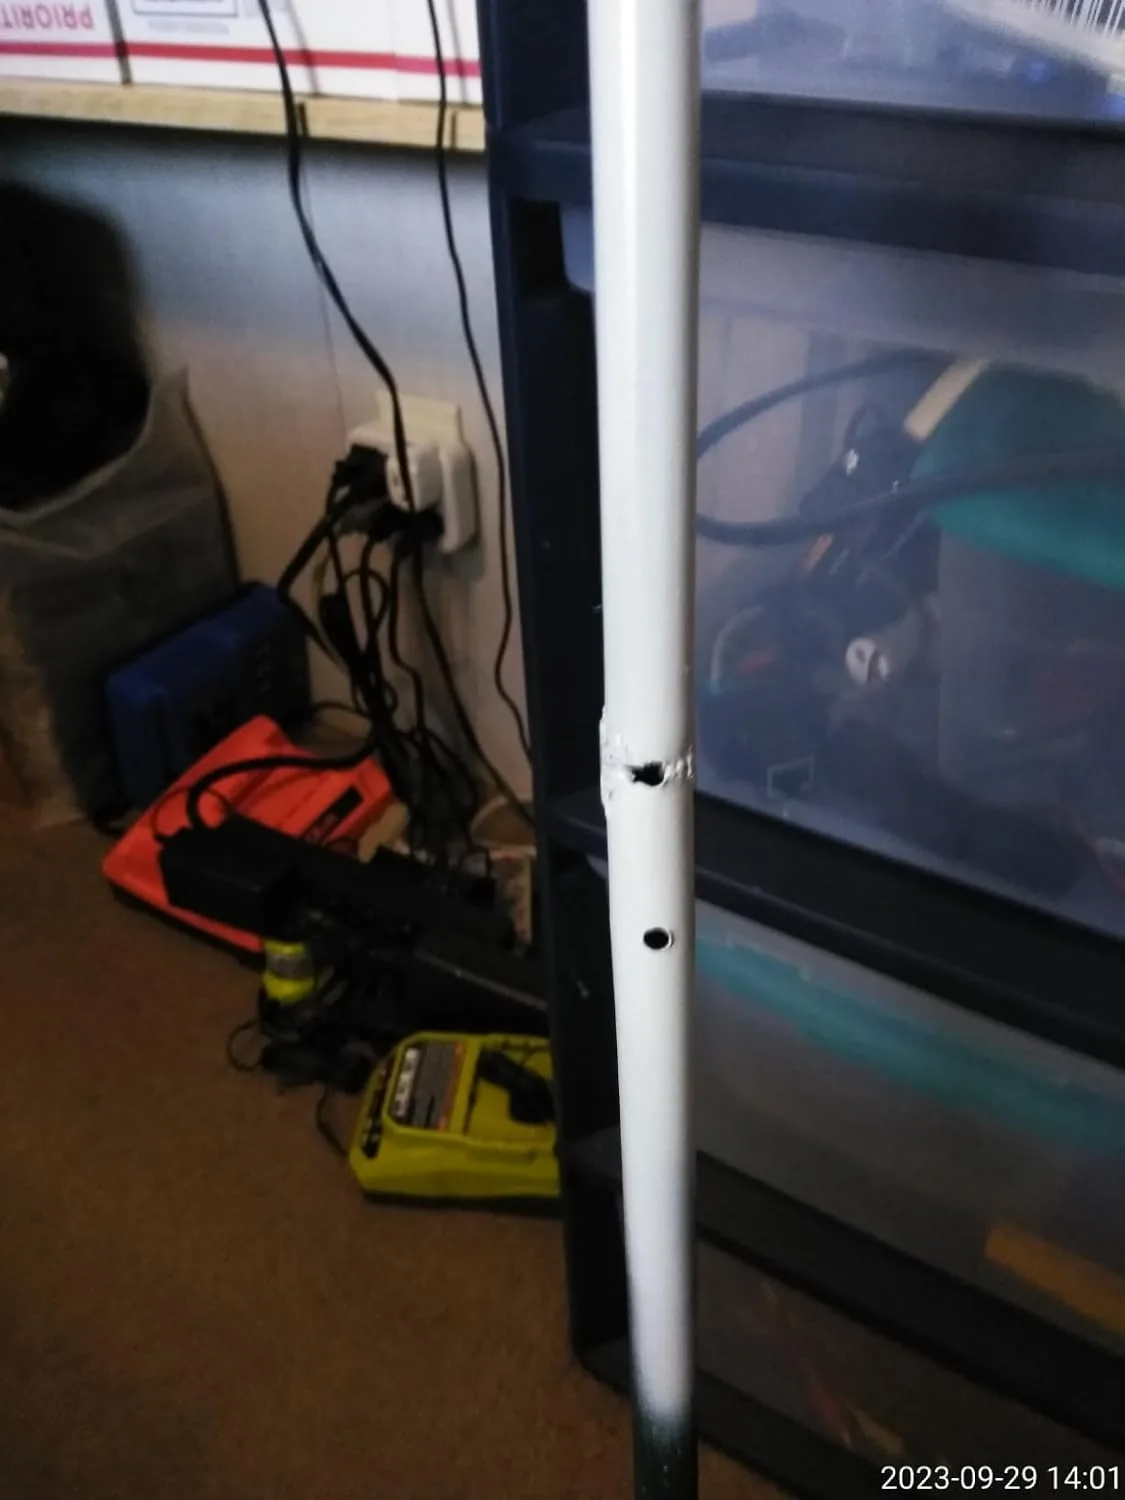
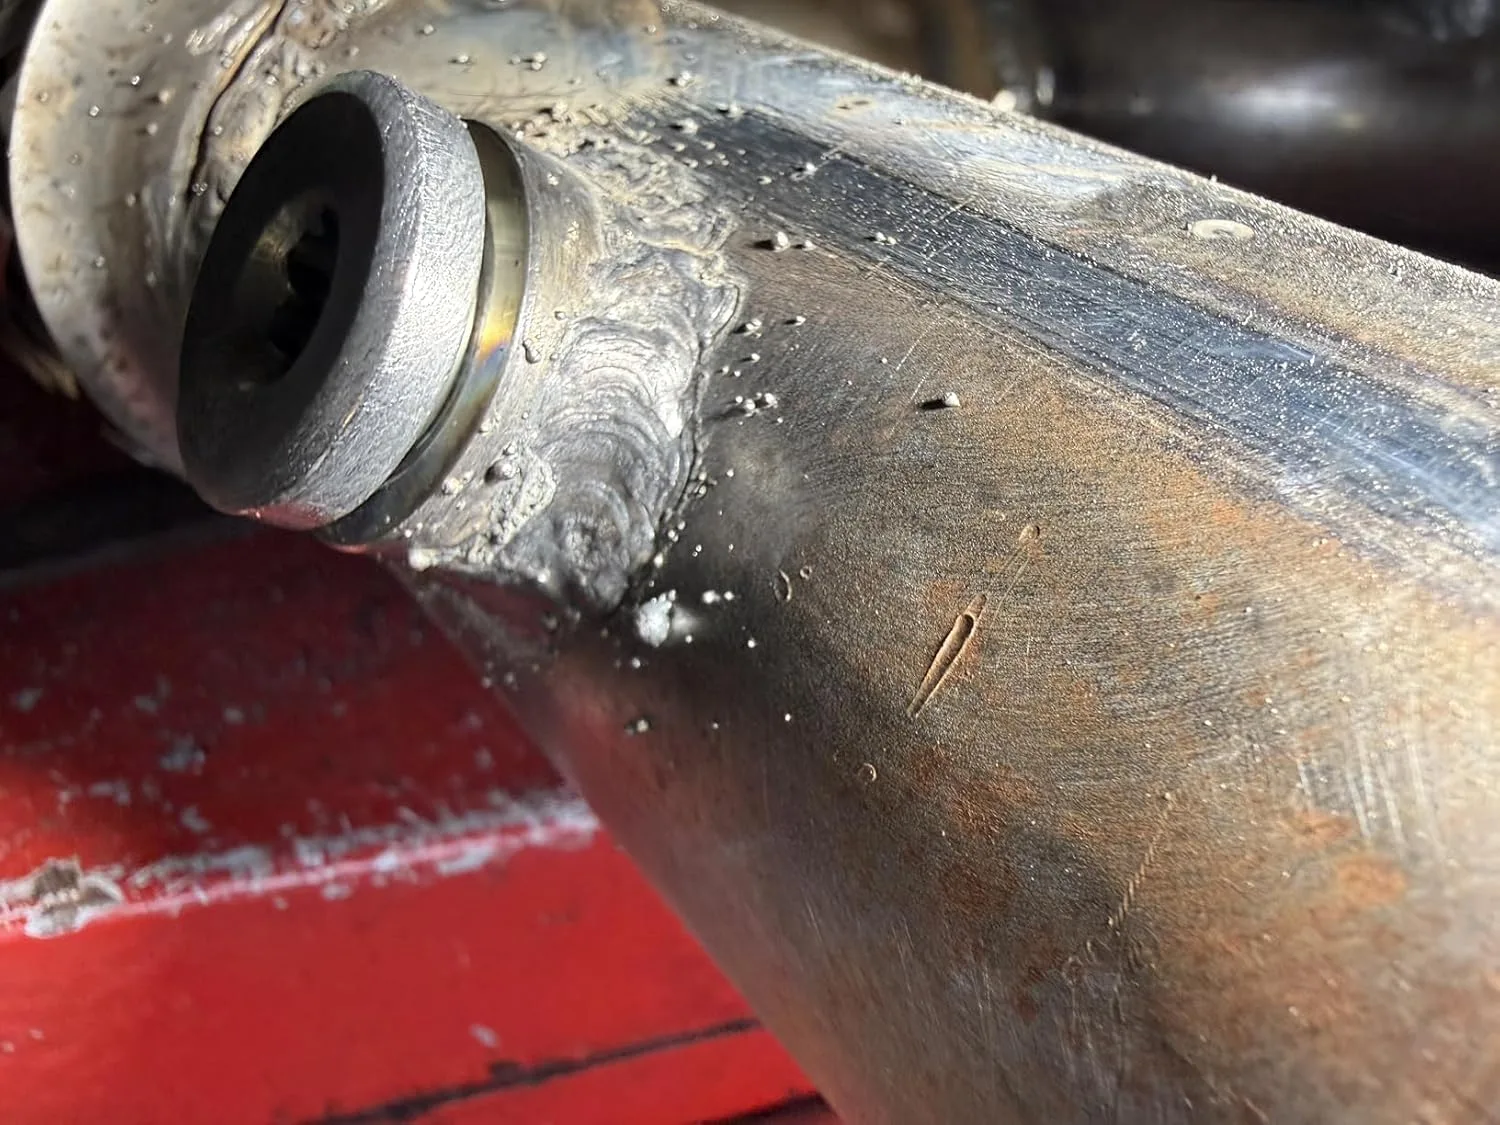
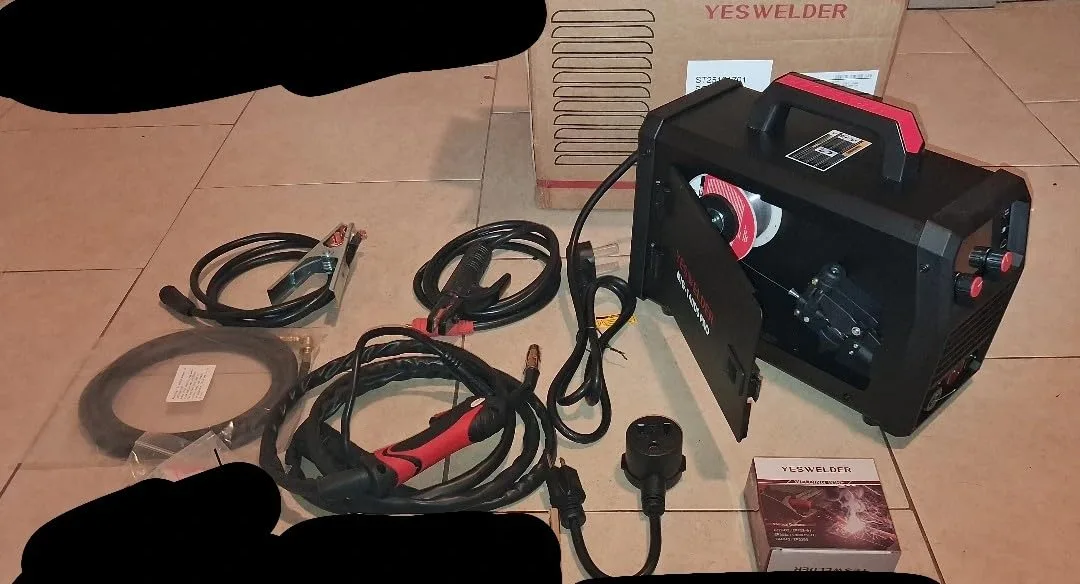
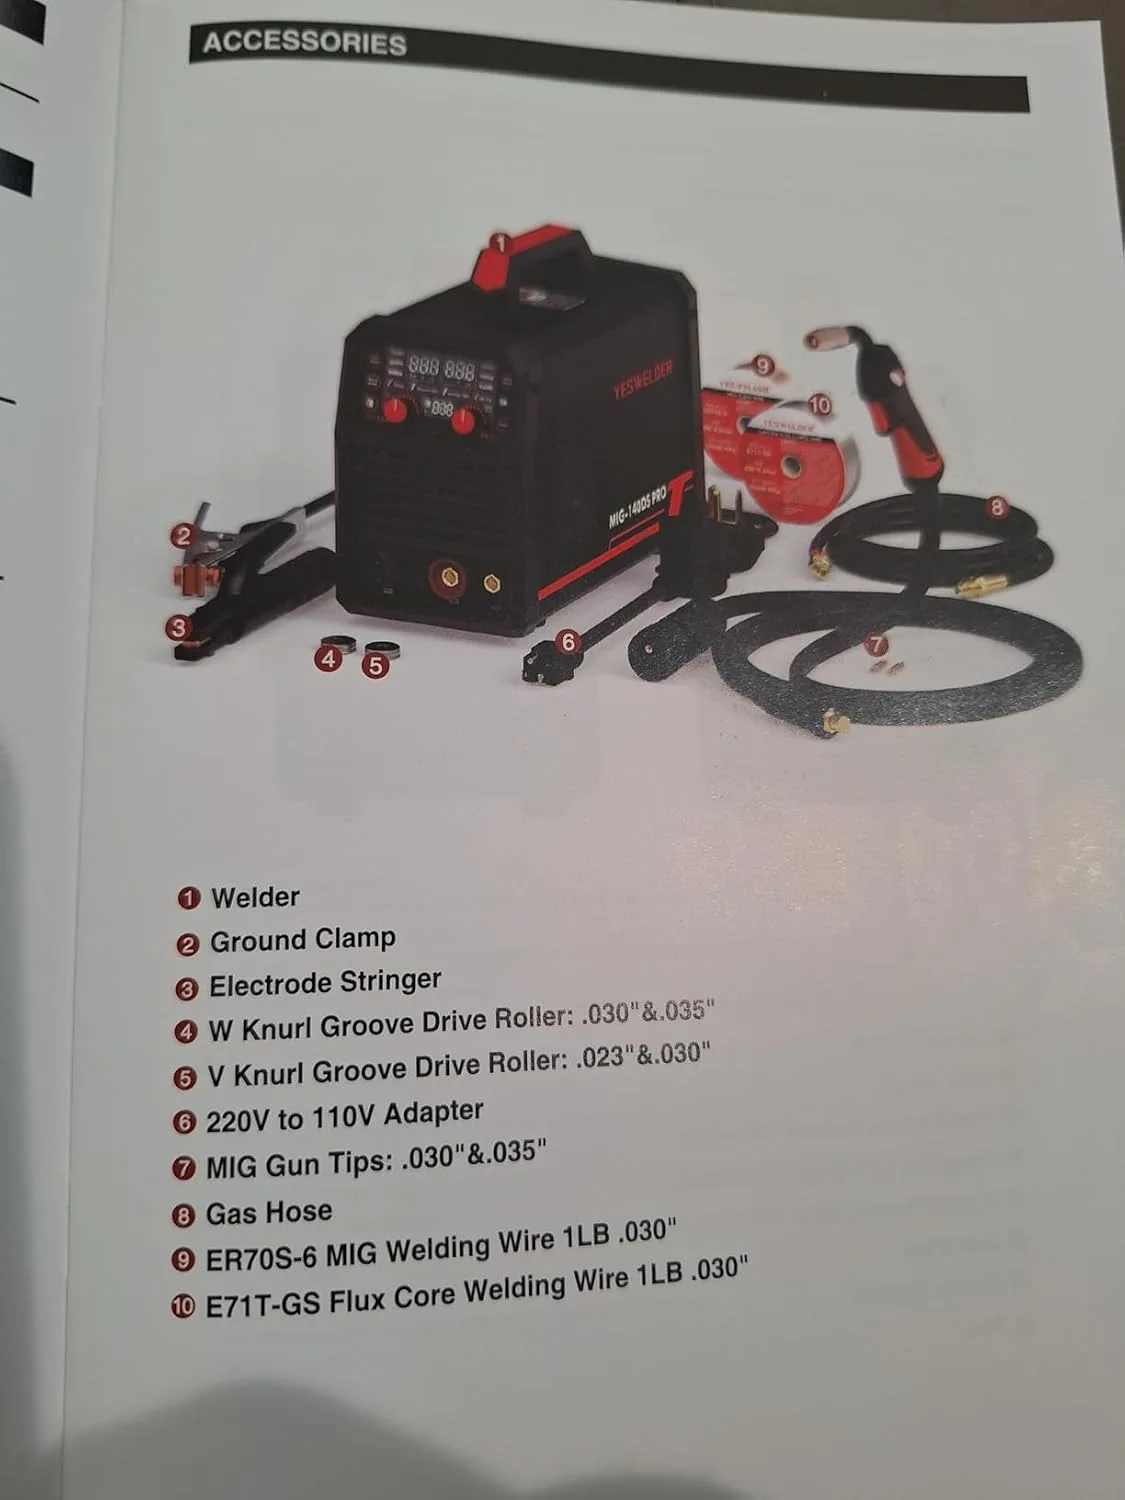
YESWELDER 140A MIG Welder
I used this to learn MIG without fighting equipment or hunting down specialty wire for every project type.
Check Price on Amazon →