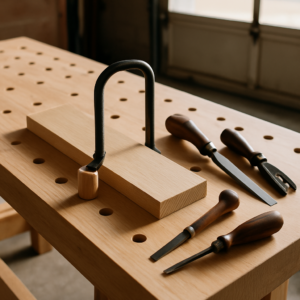

I grabbed what looked like a solid deal on a vintage hand plane at an auction — paid decent money for it, took it home, sharpened the iron until it could slice arm hair, and watched it chatter and dig in on every single stroke. Weeks of troubleshooting later, I discovered the sole had a subtle bow that’d developed from sitting against a damp basement wall for years. No iron sharpness was ever going to compensate for that warped foundation. Flattening a hand plane sole is the work that nobody celebrates in woodworking circles, yet it’s precisely what separates a plane that flows with your efforts from one that resists every pass.
That experience ate up two months of my time before the real culprit revealed itself. I’d invested in quality whetstones, studied proper honing technique through online tutorials, and still ended up with a plane that wouldn’t perform. My sharpening process wasn’t the issue — the problem was the structural base supporting that sharp iron. When a sole rocks convex or sags concave, you’ll never achieve uniform shavings, regardless of blade acuity, because the sole and workpiece simply aren’t establishing proper contact.
This is the distinction between those who actually use hand planes and those merely keeping them in storage. I’m sharing this because workshop communities constantly recycle the same complaint: “Why’s my older plane chattering and skipping?” The answer almost always circles back to whether anyone’s verified the sole’s actual flatness.
How a Plane Sole Becomes Warped
Hand plane soles drift out of true for pretty straightforward reasons. Humidity exposure over extended periods represents the biggest culprit — a plane languishing in a humid environment without proper protection will gradually absorb moisture unevenly, causing the cast iron sole to warp. I’ve also witnessed damage from planes getting dropped or struck hard against concrete, which introduces dents or subtle crowning to the sole surface.
The challenge lies in recognizing these issues since they’re frequently so minute they escape detection by eye alone. A plane sole might deviate from true by just 0.010 inch — thinner than a standard playing card — yet this minuscule variance totally destroys usability. When that bowed sole rocks on the highest points at the toe and heel, continuous iron-to-wood contact becomes impossible, generating skipping, chatter, and surface tearout.
My education came courtesy of an old 1960s Stanley No. 4 from an estate sale that I flipped over to check with a straightedge. Light streamed underneath the straightedge’s center section — an unmistakable belly likely resulting from years next to a sunny window. Once I spotted this, the reason every stroke felt unpredictable suddenly made perfect sense.
Testing for Sole Flatness: Your First Step
You must establish what condition you’re actually working with before attempting any correction. My approach involves a solid straightedge — specifically a 24-inch aluminum version sourced from a machinist supplier — positioned across the sole in three separate orientations: lengthwise, perpendicular, and corner-to-corner. My shop has adequate lighting for this test, and I’m looking for any gaps appearing between straightedge and sole.
If a sheet of paper slides under the straightedge, flatness is compromised. If a playing card or thin gauge slips through, correction is definitely necessary. The target range for most hand planes sits somewhere within 0.001 inch or 0.002 inch across the full sole — absolute perfection isn’t required, but consistency certainly is.
I also conduct a rocking assessment by placing the sole on a flat surface and observing whether it settles steadily or moves. A No. 4 or No. 5 ought to remain stationary without any motion. Rocking indicates either a high middle section or elevated toe and heel — conditions requiring attention.
The Flattening Approach: What Actually Functions in My Two-Car Garage
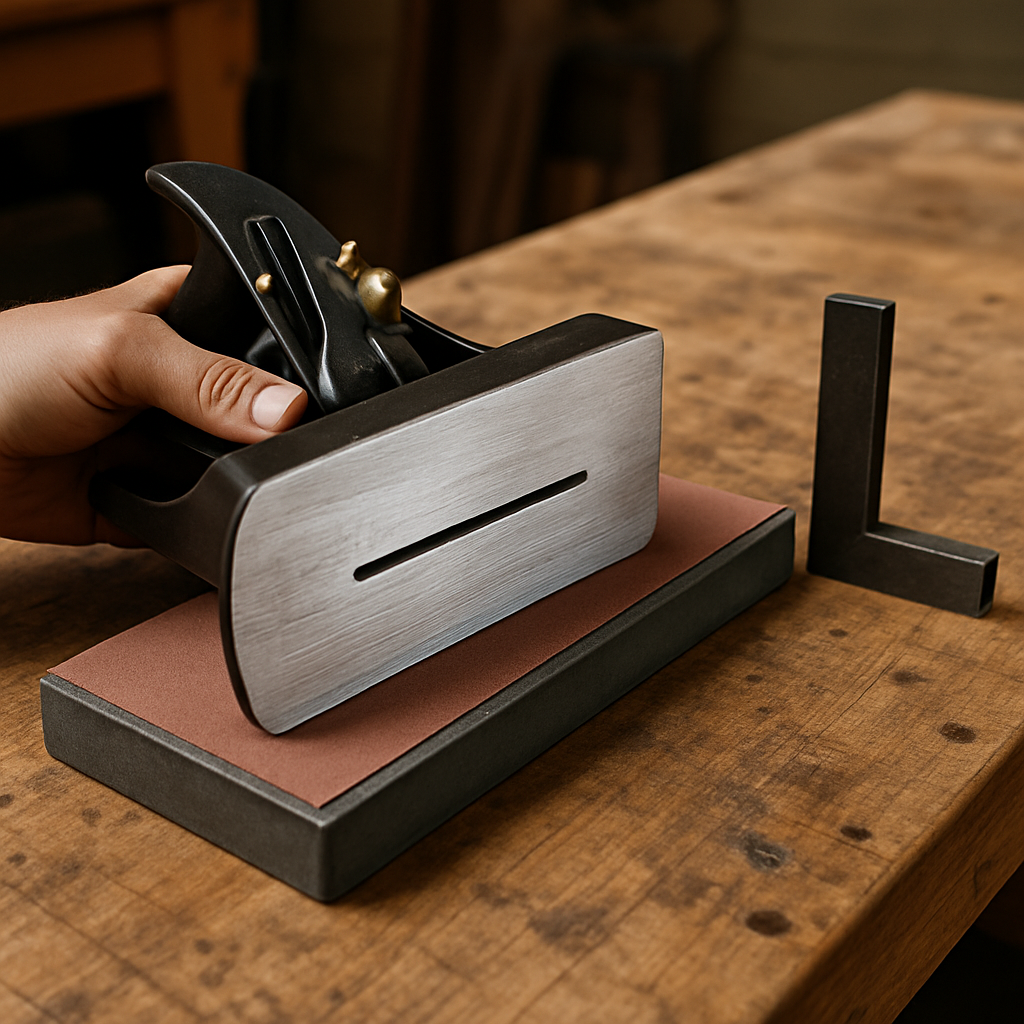
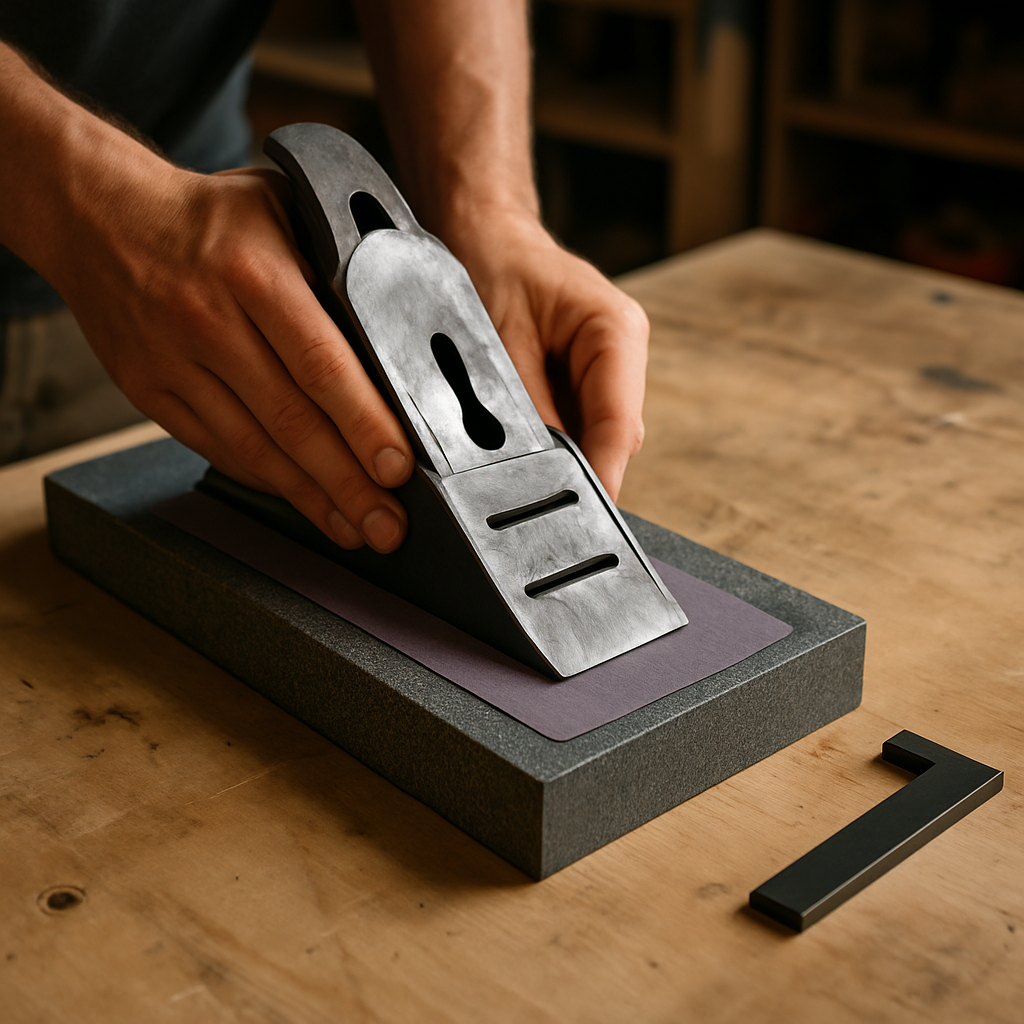
Several techniques exist for restoring plane sole flatness. The most practical approach for modest operations like mine employs a flat reference surface combined with abrasive material — whether that’s sandpaper adhered to glass or cast iron, or perhaps a jointer plane (assuming you own one). Without access to a genuine surface plate, I constructed my own flattening station using leftover materials.
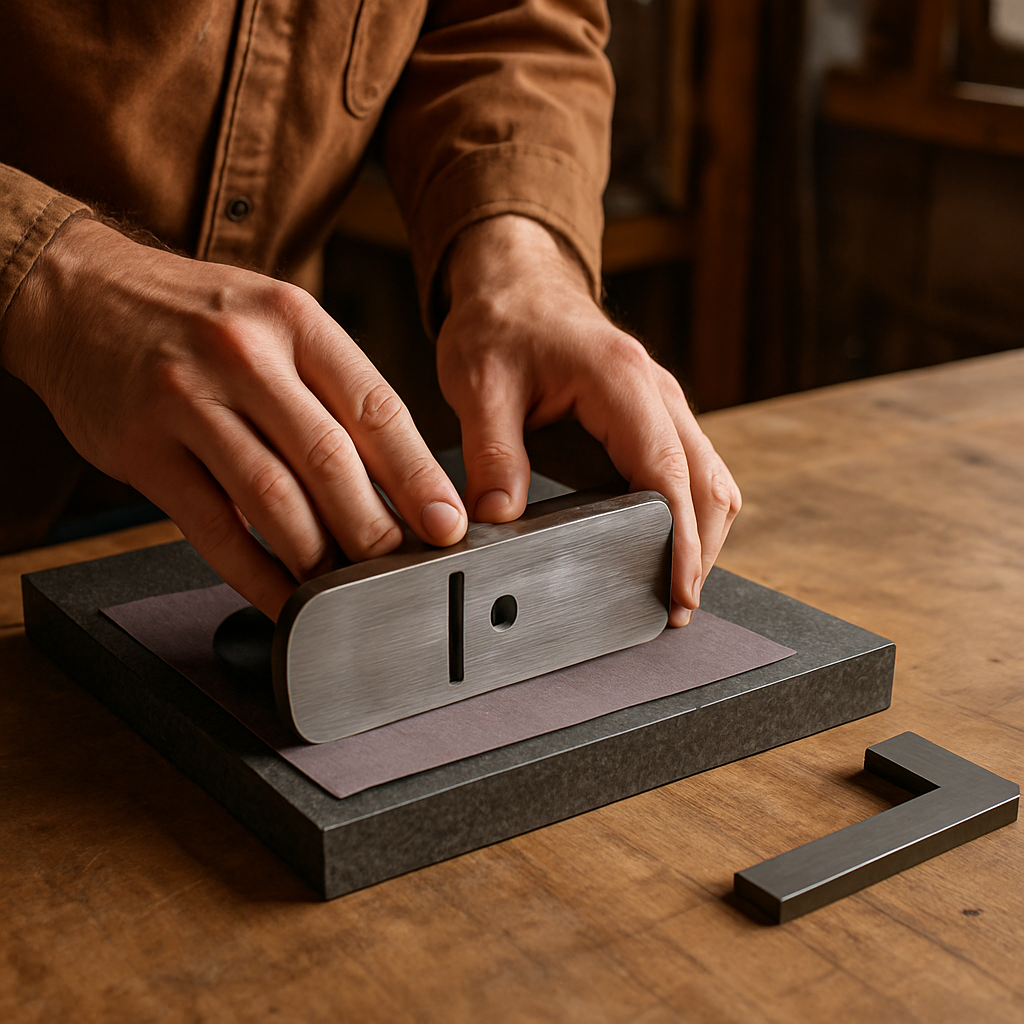
My setup centers on 1/2-inch float glass measuring approximately 12 by 18 inches, acquired from a local frame shop for approximately $15. I secure abrasive sheets — typically commencing with 80-grit then advancing toward 150 or 220-grit varieties — utilizing painter’s tape along the reverse side. This glass substrate provides a consistently level platform for the work.
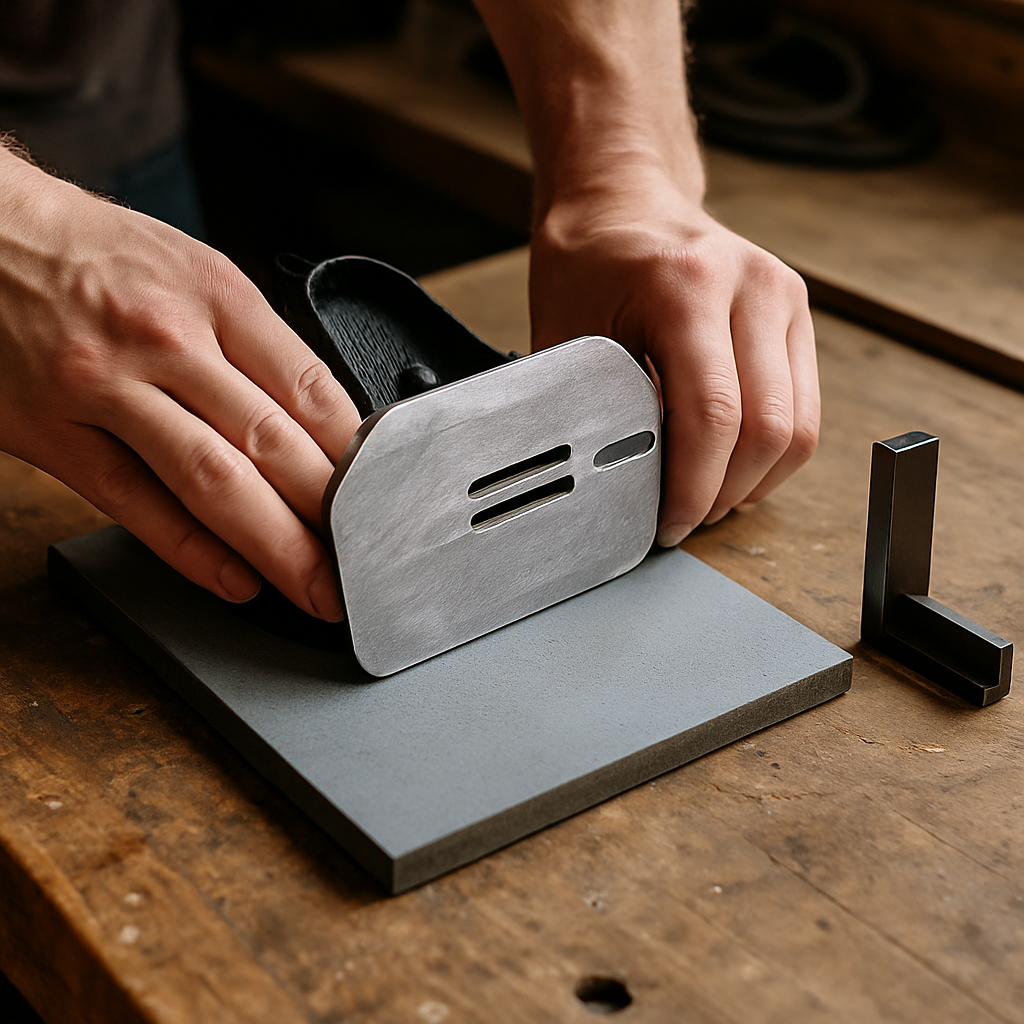
The actual sequence unfolds this way in my workspace:
- Begin with 80-grit material, sliding the plane sole across it in a figure-8 motion with consistent, moderate force. This phase removes the elevated regions first.
- Every 5 to 10 minutes, pause and position your straightedge to identify which surfaces are making contact. Wear marks will appear on the high spots — typically the center bulge or the toe and heel protruding areas.
- Progress to 120-grit, repeating the motion until you see relatively consistent contact marks along the entire sole length.
- Conclude with 220-grit to refine the scratch pattern and deliver a polished sole surface.
This procedure typically demands 20 to 40 minutes of my time, contingent on the degree of initial warping. Severely compromised soles occasionally require an hour or longer. The work itself is monotonous and produces considerable dust — mask-wearing is non-negotiable in my shop since cast iron particles distribute everywhere.
One valuable lesson from experience: resist applying excessive force. You’re not trying to accomplish the entire flatten in minimal time through brute strength. Sustained, moderate pressure yields superior results and prevents accidentally creating new defects like flat spots or hollows. Glass also absorbs moisture, so rust becomes a concern unless you thoroughly dry everything afterward.
Why This Work Gets Neglected (and the Real Cost of Skipping It)
Sole flattening generates zero Instagram moments. There’s nothing flashy about it, and the end result is purely functional — invisible to anyone who doesn’t examine the plane closely. You’ll find no one celebrating their completed flattening job on social feeds. Yet I’m certain that anybody who skips this step with a second-hand plane will expend ten times that effort battling performance issues during regular work.
My earlier strategy involved attempting to overcome the issue through more careful iron adjustment or aggressive blade preparation. That experiment was my response to that problem plane, and it soured my attitude toward hand planing for approximately half a year. Everything changed the moment I finally addressed the sole’s flatness. The plane transformed into something genuinely pleasant to operate. The blade stayed positioned without perpetual tweaking, and I could execute long, trouble-free shavings without annoying chatter.
The other widespread justification for avoiding this work: assuming aged planes must already be flat owing to their prior use. Reality doesn’t align with that assumption. A plane active for four decades and subsequently abandoned in someone’s basement for three more isn’t necessarily superior to one kept poorly the entire duration. Frequent use doesn’t preclude warping — only careful environmental management accomplishes that, and regrettably, most planes experience careless storage.
When acquiring second-hand planes, plan on verifying the sole. Planes languishing in your collection should receive the same inspection. Small time investment now equals measurable returns every session afterward.
Defining “Flat” for a Functional Plane
Your plane doesn’t require pristine, laboratory-grade precision. I’m not recommending you chase tolerances down to 0.0001 inch — that’s overkill and unwarranted for furniture work. What matters is achieving sufficient flatness so your blade maintains steady workpiece contact and retains its position without requiring continuous adjustment.
A functional plane should navigate the straightedge examination with no major gaps appearing. Major translates to: gaps too wide for a thin feeler gauge to enter — essentially 0.001 to 0.002 inch range. This standard is achievable in any garage equipped with basic resources, and it represents the dividing line between a performer and a disappointment.
Several planes within my collection vary in their flatness degree, and practically speaking, the performance gap between “quite flat” and “perfectly flat” barely registers during use. Conversely, the distinction between “adequately flat” and “noticeably warped” proves dramatic. Your hands will recognize it immediately during your opening pass.
What My 12 Years of Workshop Learning Suggests
Those of you with vintage hand planes already in hand, or contemplating second-hand acquisitions, should incorporate sole flattening into your standard equipment preparation routine. Don’t presume they arrive ready for immediate use. Dedicate an evening to straightedge verification and a glass-and-grit session, and you’ll resolve the vast majority of performance grievances people voice.
It ranks among the least gratifying tasks — no end grain to appreciate, no precisely fitted joints to admire. But it forms the bedrock upon which every capable plane depends. Pair that sharp blade with a flat sole, and hand planing shifts from tedious aggravation into something genuinely rewarding. That conversion merits 30 minutes of effort, and I’ve earned this perspective through numerous shop mishaps.
Garrett Dunn has been building and restoring tools and furniture in his garage workshop for 12 years. When he’s not writing about hand tools here at The Rusty Bench, he’s usually covered in sawdust or metal shavings, learning the hard way so you don’t have to.