
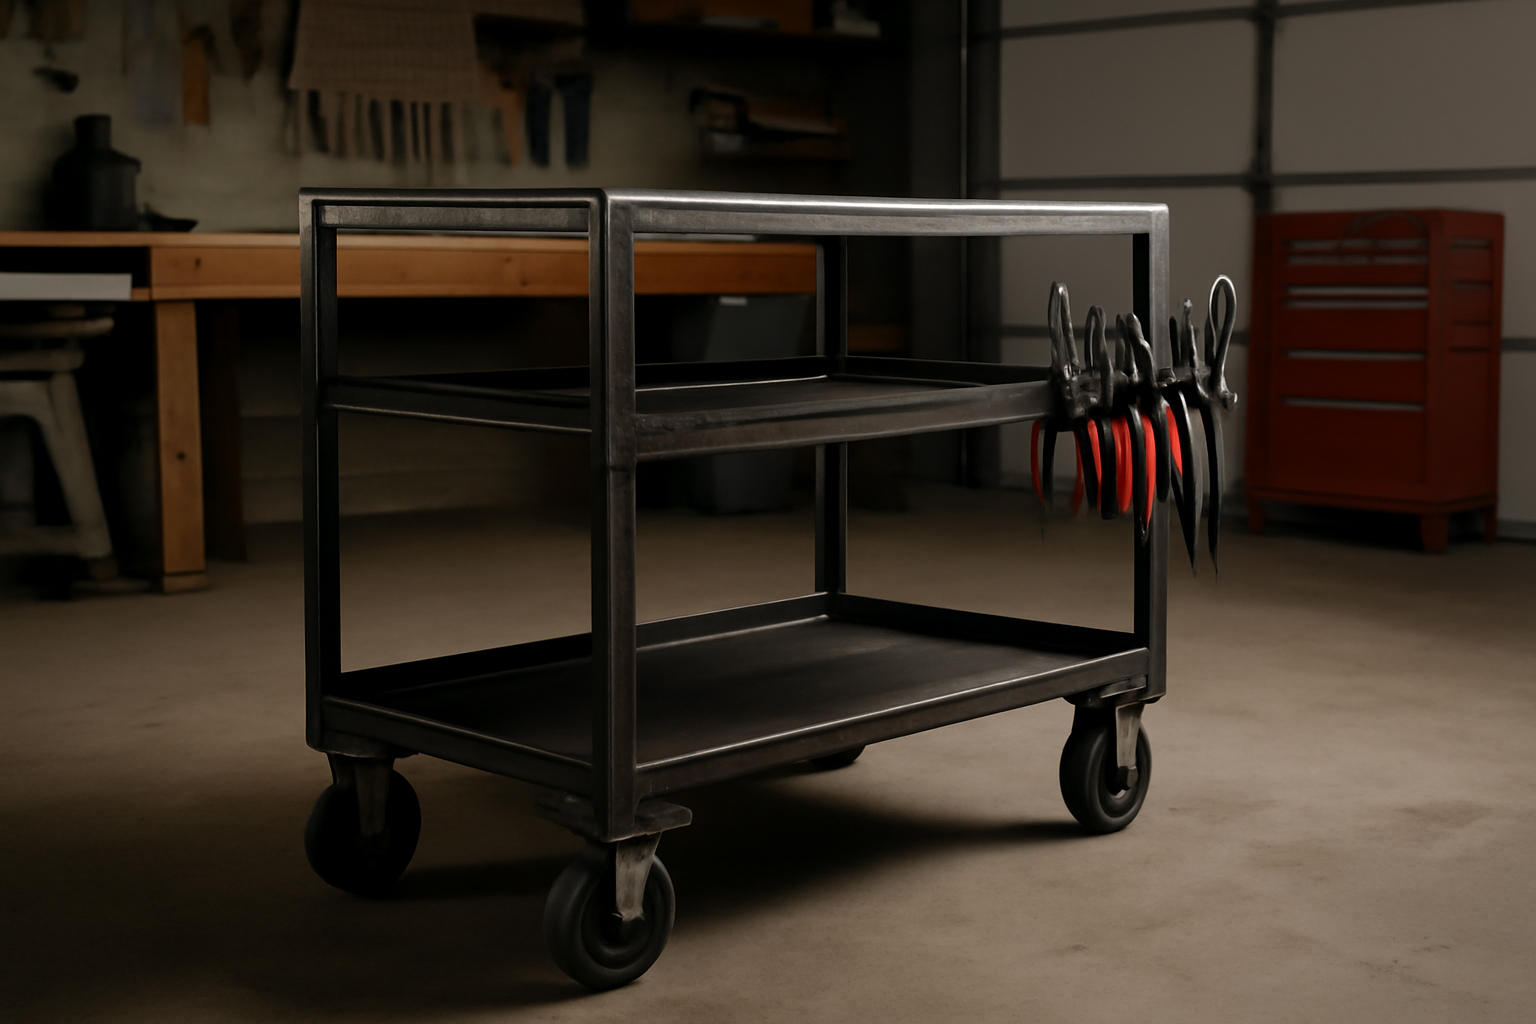
Don’t expect a rolling cart made from scrap to handle like the polished showroom versions — it’ll actually outperform them. When you’re working out of a two-car garage operation like mine, spending three hundred bucks on a store-bought cart while your scrap pile grows taller every month makes zero sense. Last spring, I finally tackled that accumulation: plasma-cut drops, leftover structural tube from a trailer job, stripped flat bar from an old gate frame — all of it stacked in the corner taking up real estate. One weekend project, about $35 in new fasteners and wire, and that pile became the most reliable work surface I own. The real payoff isn’t just the savings. Building a rolling shop cart from scrap steel teaches you how constraint breeds better engineering than blank-slate design ever could. I’m going to show you exactly how my version came together.
The mistake most people make when hearing “built from scrap” is assuming the finished product looks rough or unreliable. That equation flips on its head once you’re actually working with off-cuts. Using predetermined lengths and pre-existing dimensions forces precision — you can’t fudge a dimension or hide a sloppy cut when your material is already sorted. After twelve years running fabrication work in a modest garage footprint, I can tell you this cart came out dead square, rock solid, and it glides better than ninety percent of the manufactured units sitting in tool catalogs. Here’s what I learned taking the leftovers and turning them into something that actually works.
Choosing the Right Scrap Steel Sections for Your Cart Build
You can’t throw any random offcut at this and expect success. Sorting my inventory by profile type was the first real step. The frame needed 1-1/2 inch square tube running 1/8-inch wall thickness — heavy enough to absorb a 400-pound load without flexing, yet light enough that the empty cart doesn’t turn into a beast to maneuver. A couple of old fence and gate projects had dumped plenty of these drops into my rack. No square tube in your pile? You can substitute 1-inch angle iron, though you’re then obligated to reinforce every corner joint with gusset plates to match the rigidity you’d get from tube.
Flat bar became my shelf support system. Using 1/8-inch by 1-inch flat bar for the interior rails that seat the plywood shelves worked perfectly. Material thinner than 1/8 inch sags under a loaded toolbox; stepping up to 3/16 inch adds noticeable weight with negligible stiffness gain. That middle ground is where you want to be. For corner reinforcement and ancillary brackets, even thin sheet stock at 10 gauge handles the job since these aren’t load-path critical.
Here’s the actual inventory I extracted and measured up:
- Four vertical members: 34-inch lengths from 1-1/2 inch square tube (1/8-inch wall)
- Four span members for width dimension: 24-inch segments
- Four span members for depth dimension: 18-inch segments
- Eight interior ledges for shelf mounting: 1/8 x 1 flat bar cut to 18 inches
- Joint reinforcement triangles: cut from 10-gauge sheet remnants
Equipment and Surface Preparation Before Any Welding Starts
My rig for this job was a Lincoln Electric 210 MP with flux-core consumables dialed in at 175 amps. Truth is, anything above 140 amps on a MIG or flux-core machine will punch through 1/8-inch tube without breaking a sweat. Running a compact 110-volt unit near its ceiling? Dial back to short-circuit mode and reduce your travel pace. According to AWS D1.1 structural guidelines, these welds need complete fusion penetration — anything less than that on a leg-to-beam connection is asking for catastrophic failure down the line.
Most fabricators I know undersell prep work, and I used to be guilty of it myself. Now I allocate roughly 40 percent of my hours to getting material ready and about 30 percent to the actual arc work. The reason is simple: if your scrap is buried under mill scale, rust bloom, or old paint, those contaminants migrate into your molten pool and destroy your bead integrity. My method: hit every piece with a 4-1/2 inch grinder fitted with a 40-grit flap wheel, then wipe down with acetone before I even position things for tacking. That single step transforms a weary, porous-looking weld into something clean and uniform.
A reliable welding square and a dead-flat work surface are non-negotiable. My reference is a 3/8-inch plate welding table I fabricated years back, but a pair of sawhorses topped with known-flat 3/4-inch MDF plywood serves the purpose in a bind. Establishing square geometry before you lay down permanent weld is everything. Clamp the assembly, run diagonal measurements, confirm they match within 1/16 inch, then apply tacks. Hold off on full-length passes until every measurement confirms your geometry.
Building the Rolling Shop Cart From Scrap Steel: Step by Step
The construction sequence I followed was: complete both shelf frames independently, then connect them using the four leg members. This strategy gives you two perfectly square rectangular assemblies sitting flat on your work surface before you add any vertical component. Tack each corner on both shelf rectangles, validate squareness, and then lay down 1-inch stitch beads at each connection point. I skip full-length welds on the perimeter because stitch welding dramatically cuts heat buildup and distortion while still exceeding the strength envelope for typical shop loading.
Now comes installing the four legs. Position and clamp them to connect both frames while using a combination square to maintain perpendicularity. I went leg-by-leg, tacking one, then checking plumb on a pair of adjacent faces using a torpedo level before advancing to the next. Here’s my confession: I cheated this step on my very first cart and eyeballed it instead of measuring. The result was a frame that racked into a rhombus when I started loading it — which meant cutting my tacks, re-clamping, and starting the leg attachment all over again. Three wasted hours taught me that lesson permanently. Break out the level, check every leg, every time.
After confirming all legs were tacked and the structure sat level on the floor, I attached triangular gusset plates at each leg-to-upper-frame intersection. These triangles came from 10-gauge scrap, roughly 2 inches on each side. Positioning them on the interior of the frame means the top shelf distributes weight through both the fillet welds and the additional material, not just the corner joints alone. That’s structural thinking that makes the difference between a cart that survives years of shop duty and one that cracks after twelve months of abuse.
Attaching the Shelf Decks and Rolling Hardware
Each shelf deck was fabricated from 3/4-inch Baltic birch plywood, dimensioned at 24 by 18 inches. They rest on the flat bar ledges I’d welded along the interior of each frame. The bars create a 3/4-inch shoulder on all sides, which prevents the plywood from sliding laterally even without adhesive or fastening. Despite that mechanical lock, I still ran two 1-1/4 inch self-tapping fasteners through the bar and into the plywood from underneath per shelf — takes a couple minutes and eliminates any risk of lift-off under heavy stacking.
I purchased the rolling hardware for $28: four 3-inch swivel casters rated for 300 pounds each, with two incorporating locking mechanisms and two free-rolling. On each leg’s base, I welded a 3/8-inch steel plate pad and drilled it to match the caster mounting pattern. Combined weight capacity across the quartet is 1,200 pounds — overkill for a shop cart, sure, but it ensures zero hesitation when I’m stacking dense materials on the lower shelf. To keep the cart from rolling in any configuration, position your locking casters diagonally across from one another rather than parallel.
Rust Prevention and Long-Term Protection Strategies
Bare steel oxidizes in a garage environment — that’s guaranteed, not speculative. Once the welding was done, I used a wire wheel to remove weld spatter and slag residue, then applied self-etching primer. My go-to is Rust-Oleum Professional in spray format for projects this size. The application was two thin passes with a 15-minute interval between coats, followed by a full 24-hour period before topcoating. Accelerating that cure timeframe is how you end up with peeling and bubbling weeks later — I discovered this the hard way when I rushed the finish on a parts organizer during my second year.
The final coat was Rust-Oleum Gloss Black enamel spray — two applications. The cart’s paint bill came to roughly $12. In my experience, glossy finishes shed contamination better than flat or satin options in a working garage. Welding spatter, cutting oil, and everyday grime wipe clean from a gloss surface without residue. The plywood shelves received a couple coats of water-based polyurethane for identical reasons.
The Steel Pan That Keeps Your Scrap Organized While Building
Working exclusively from scrap requires a system to keep all those pieces corralled, sorted, and accessible without letting them scatter across the shop floor or vanish underneath workbenches. A simple steel pan gives you a contained staging area where angle iron, tube, and cutoffs remain visible and stationary throughout your cutting and fitting process.
Advantages to a dedicated pan setup
- Mass prevents tipping or sliding as you’re loading and removing pieces—no stabilizing braces required.
- Flat interior surfaces keep components stable and make inventory visible without shuffling stacks around.
- Steel construction resists warping and cracking from heat and impact, including occasional weld spatter fallout.
Drawbacks worth acknowledging
- No drain or dump mechanism for clearing waste—relocating the pan or hand-cleaning become mandatory steps.
- Sharp edges on unbroken rims will catch your hand—I nicked myself twice before filing back the top 1/8 inch.
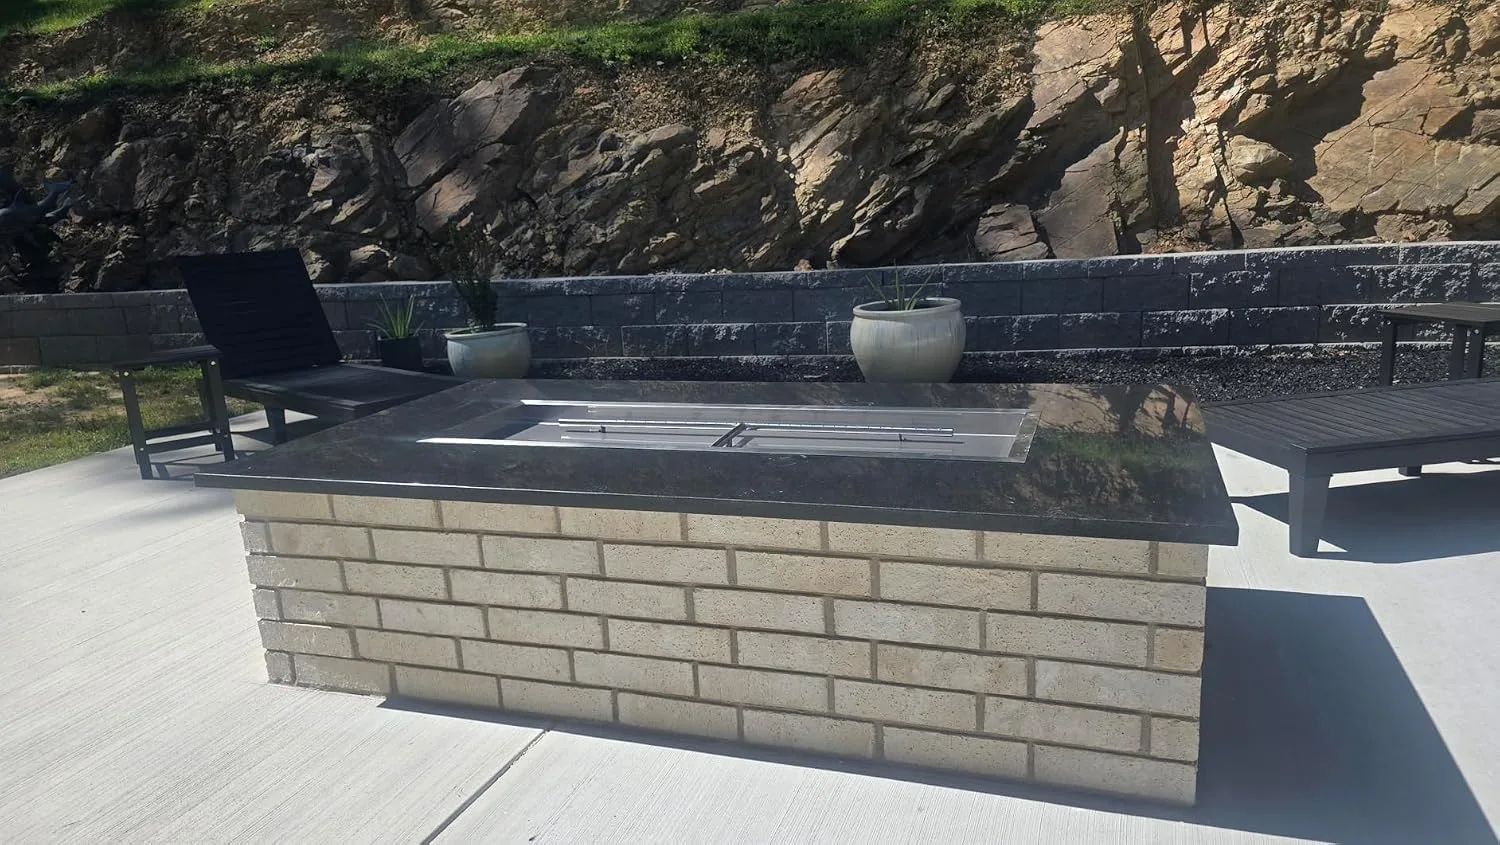
I almost bolted the pan down permanently before I realized I needed to move it to access the welder, and swapping the location mid-project cost me an hour of frustration. If you’re serious about organizing scrap and keeping the shop functional, grab the Stanbroil 48 x 14 Inch Rectangle Drop-in Fire Pit H-Burner Pan and bolt it to a mobile base instead.

Frequently Asked Questions
What steel tube size should I use for a shop cart frame?
Use 1-1/2 inch square tube with 1/8-inch wall thickness for the frame. This size absorbs a 400-pound load without flexing and stays light enough to maneuver easily. If you don’t have square tube, 1-inch angle iron works as a substitute, but you’ll need gusset plates at every corner joint to match the rigidity.
How do I prepare scrap steel before welding it?
Hit every piece with a 4-1/2 inch grinder fitted with a 40-grit flap wheel to remove mill scale, rust, and old paint. Then wipe everything down with acetone before positioning for tacking. Contaminants in your scrap migrate into the molten pool and destroy bead integrity if you skip this step.
Why did my first rolling cart frame rack into a rhombus shape?
Eyeballing leg attachment instead of measuring is why frames rack. Use a combination square to maintain perpendicularity and a torpedo level to check plumb on adjacent faces before tacking each leg. Skipping this step costs you hours rewelding, so measure every leg every time.
What caster weight capacity do I need for a shop cart?
I used four 3-inch swivel casters rated for 300 pounds each, providing 1,200 pounds combined capacity. Position your two locking casters diagonally across from one another to keep the cart from rolling in any configuration.
Sources and further reading
About This Article

Written by Garrett Dunn. Hobbyist metalworker and garage workshop builder. I restore old tools, weld custom furniture, and document my projects and mistakes so other makers can learn from both. More about this site.
Scope and limits. Garrett is a hobbyist metalworker, not a certified welder or machinist. Welding, grinding, and solvent work carry real injury risk — use the correct PPE and ventilation, and follow the manufacturer safety guidance for your own equipment.
Verify this against a primary source
Specifics change, and your situation may differ from the one described here. These are the authorities worth checking directly:
- OSHA — machine guarding, PPE and shop safety standards
- American Welding Society — welding procedure and safety standards