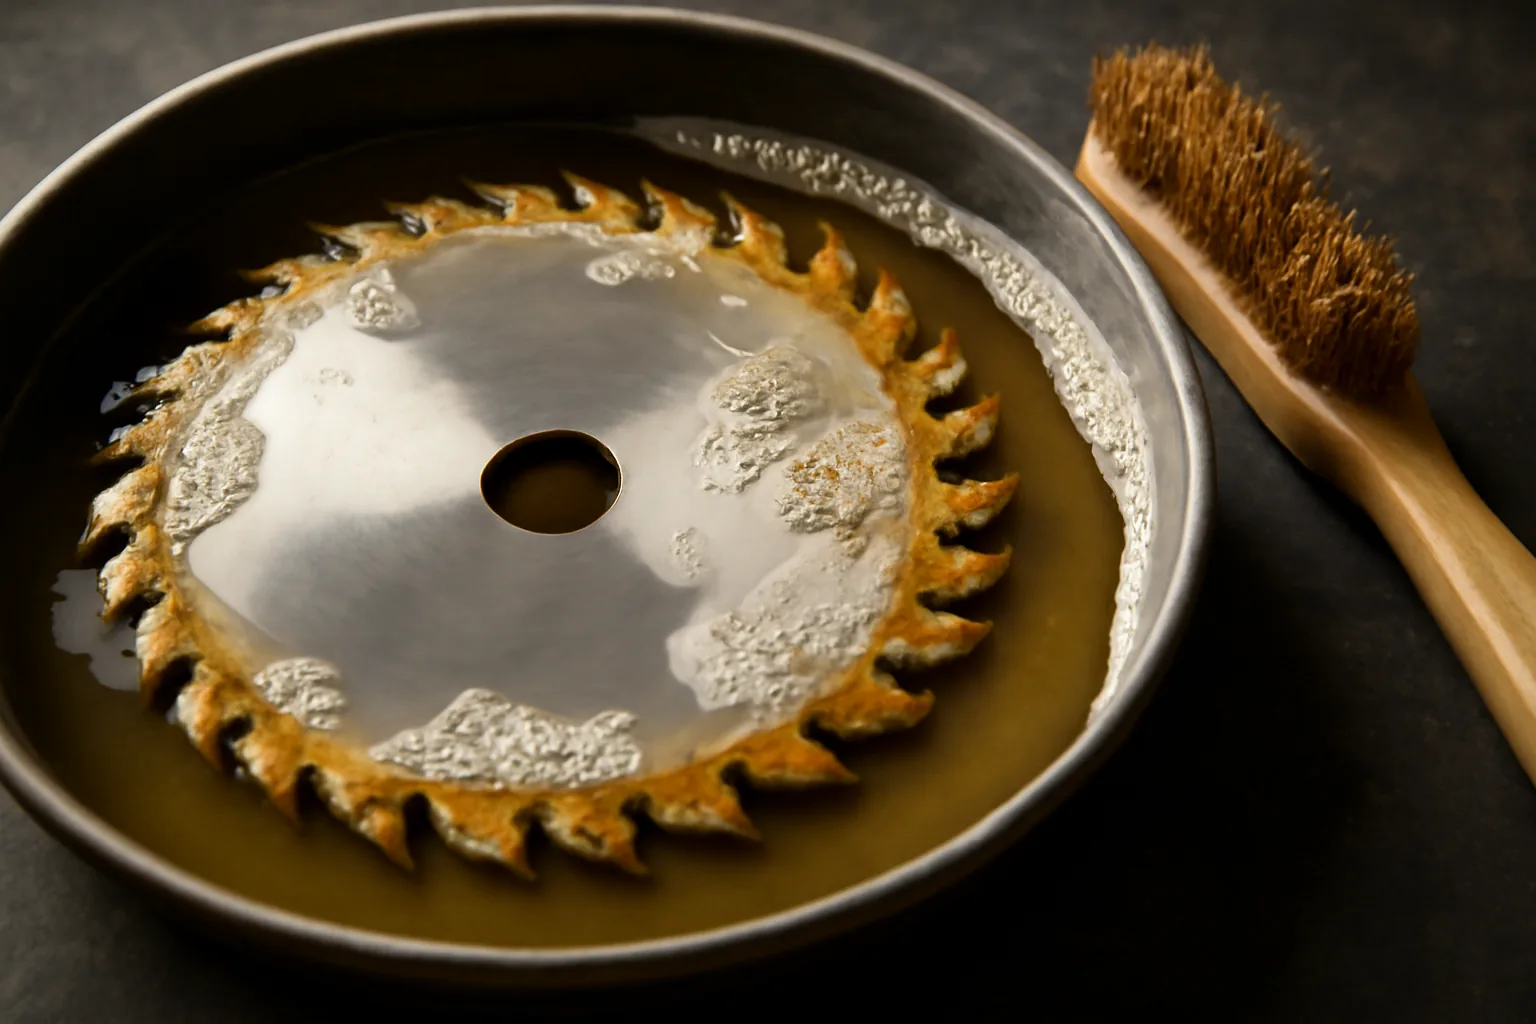
Spec sheets and generic cleaning guides skip over the reality that dull and dirty are two completely different problems — and shops like mine have to learn to tell them apart or hemorrhage money on unnecessary resharpening. The moment I realized one of my Freud blades had simply accumulated gunk rather than actually worn down, everything shifted. Fifteen minutes with basic cleaner brought it back to factory-fresh performance. No new blade. No professional sharpening. Just a small bucket, some elbow grease, and a discovery that would transform how I maintain every cutting edge in the garage.
Resin and pitch deposits are the performance thieves nobody wants to admit they have. Every time you push wood through a saw — particularly softwoods like pine, cedar, or fir that weep sap, as well as engineered composites like MDF and plywood glued together with resins — those sticky compounds get baked onto your carbide teeth and blade body by friction and heat. The gummy, blackened coating that results creates drag, traps heat against the carbide tips, and fundamentally alters the tooth geometry. Burning, splintering, and ragged cut edges show up, and most people blame the blade for being worn when the real culprit is sitting right on top of the cutting surface.
My two-car garage shop has been running for over a decade now, splitting time between restoring older hand tools and fabricating welded furniture pieces. The saws in here work hard. Through years of experimentation and some costly mistakes, I’ve developed a cleaning routine that keeps blades performing like they just arrived from the factory, eliminating the need to replace perfectly good metal or pay resharpening fees before their time comes. Everything I’ve figured out — the pitfalls included — goes into this breakdown.
Understanding Resin and Pitch Accumulation on Saw Blades
Wood’s natural chemistry includes resins, sap, and oils. The moment a saw tooth cuts through it — especially the softwoods like pine, cedar, and fir — those volatile compounds get exposed to extreme heat and the friction of the cutting action. They bond to the blade surface and cure into a hard, dark shellac. Plywood, melamine, and MDF throw adhesive compounds into the equation as well. The end result is a thick, black, sticky coating plastered across your carbide teeth and the blade’s body.
This coating sabotages your blade in three distinct ways. The buildup increases the actual width of the cut, forcing the blade to plow through material instead of slicing. Heat gets trapped in the carbide tips by the insulating layer of pitch, which accelerates carbide degradation. And the tooth face and top get physically coated, which warps the original cutting geometry. Even a microscopically thin film of this stuff can throw off blade tracking and chip evacuation noticeably.
From what I’ve observed in my own shop, pine and pressure-treated lumber demand a cleaning cycle every 8 to 10 hours of active cutting. Oak, walnut, and other hardwoods extend that window to 15 to 20 hours before the coating becomes serious enough to impact cut quality. MDF is the nightmare scenario — I’ve watched blades get visibly coated after just 3 to 4 hours working with sheet goods. Recognizing these patterns is something most hobbyists never learn to do.
Distinguishing Between Dull Blades and Filthy Ones
The diagnostic process starts before you even think about cleaning supplies. Take the blade off the saw — always kill power at the switch and pull the plug before removing any blade. Set it on a pale background surface. Position it under strong light and examine the carbide teeth closely. Dark brown or black coatings visible on the tooth’s working face or top surfaces? That’s pitch accumulation, not wear.
Actual dullness appears as a silvery, polished sheen where the carbide has ground away. Contamination presents as a dull, brownish layer obscuring the tooth. Press a fingernail horizontally across several teeth as a tactile confirmation. Pitch buildup feels sticky and gritty to the touch. Worn carbide feels slick and rounded. This single observation has prevented me from wasting money on professional resharpening — which runs between $15 and $40 per blade depending on tooth count — when a $3 bottle of cleaner would do the entire job. The economics are stark.
Examine the steel between the teeth for stubborn pitch deposits as well. When that area gets caked, it creates lateral friction during cutting, which shows up as charring on the face of your workpiece. Those black scorched edges along a cut are almost universally a sign of contaminated blade rather than carbide wear. The problem intensifies noticeably toward the end of a rip cut where maximum blade engagement creates maximum pressure and heat.
The Cleaning Process From Removal to Installation
The whole operation takes under 20 minutes and doesn’t require specialty tools or workspace. I handle this sitting at my workbench, working through each blade with a simple, repeatable system that evolved over years of tweaking different approaches.
- Extract the blade with full safety protocol. Power down the tool completely. Grab the appropriate wrench for your saw’s arbor bolt. Lay the blade on a cushioning surface such as a rubber mat or folded cloth to safeguard the carbide.
- Select a non-reactive soaking container. Shallow plastic bins or repurposed plastic lids are ideal vessels. Metal containers can interact negatively with some cleaners, so bypass aluminum pans.
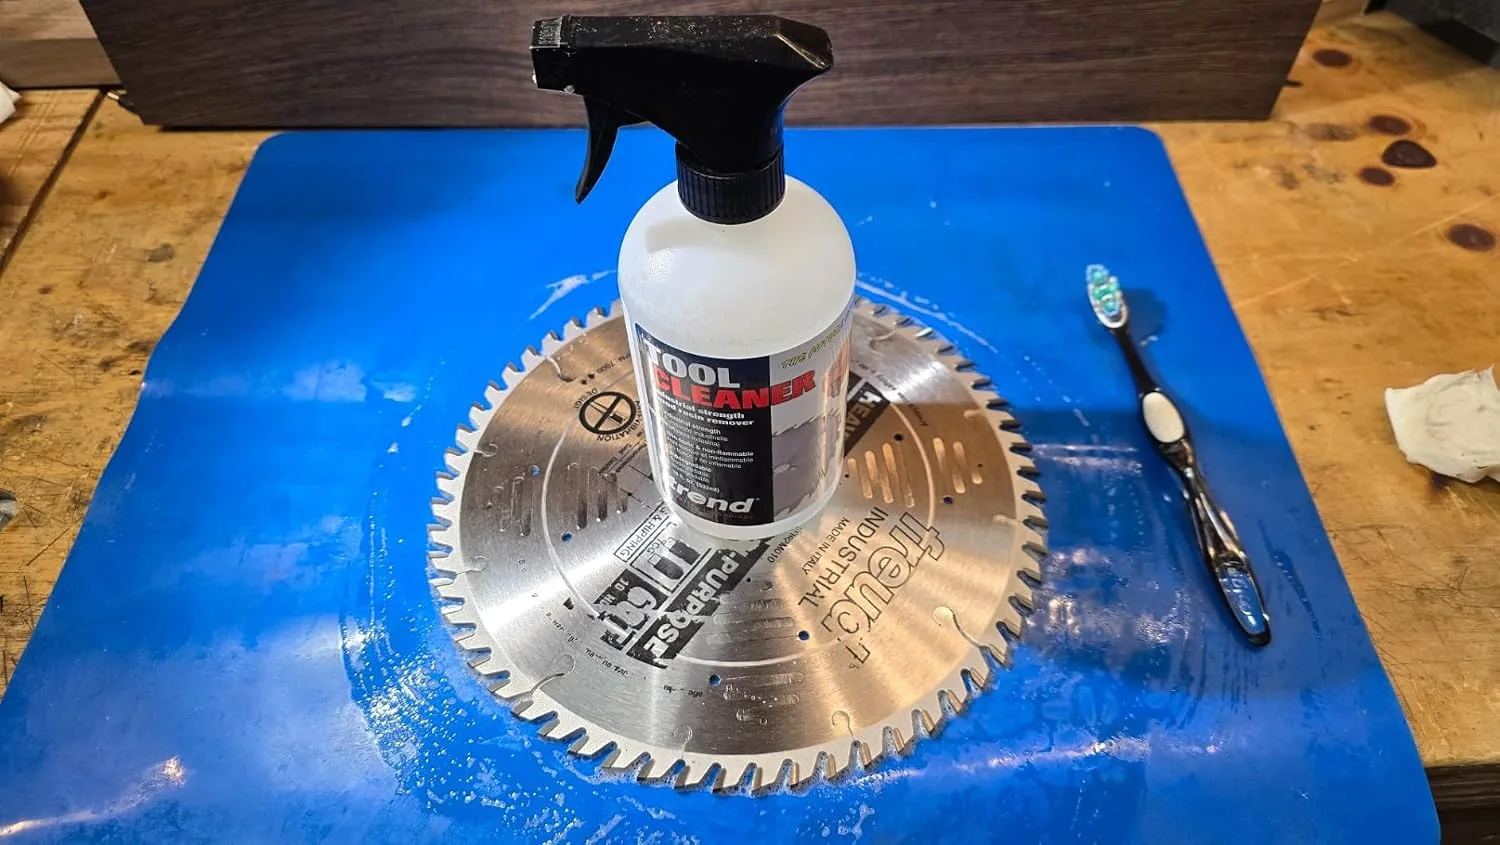
- Distribute cleaner across both blade faces. Spray or pour your chosen solution until the teeth and blade surface are fully saturated.
- Allow 3 to 5 minutes of soak time as a baseline. Extend to 10 minutes for blades with years of accumulated gunk. Soaking lets the chemical solution deteriorate the pitch’s molecular bonds.
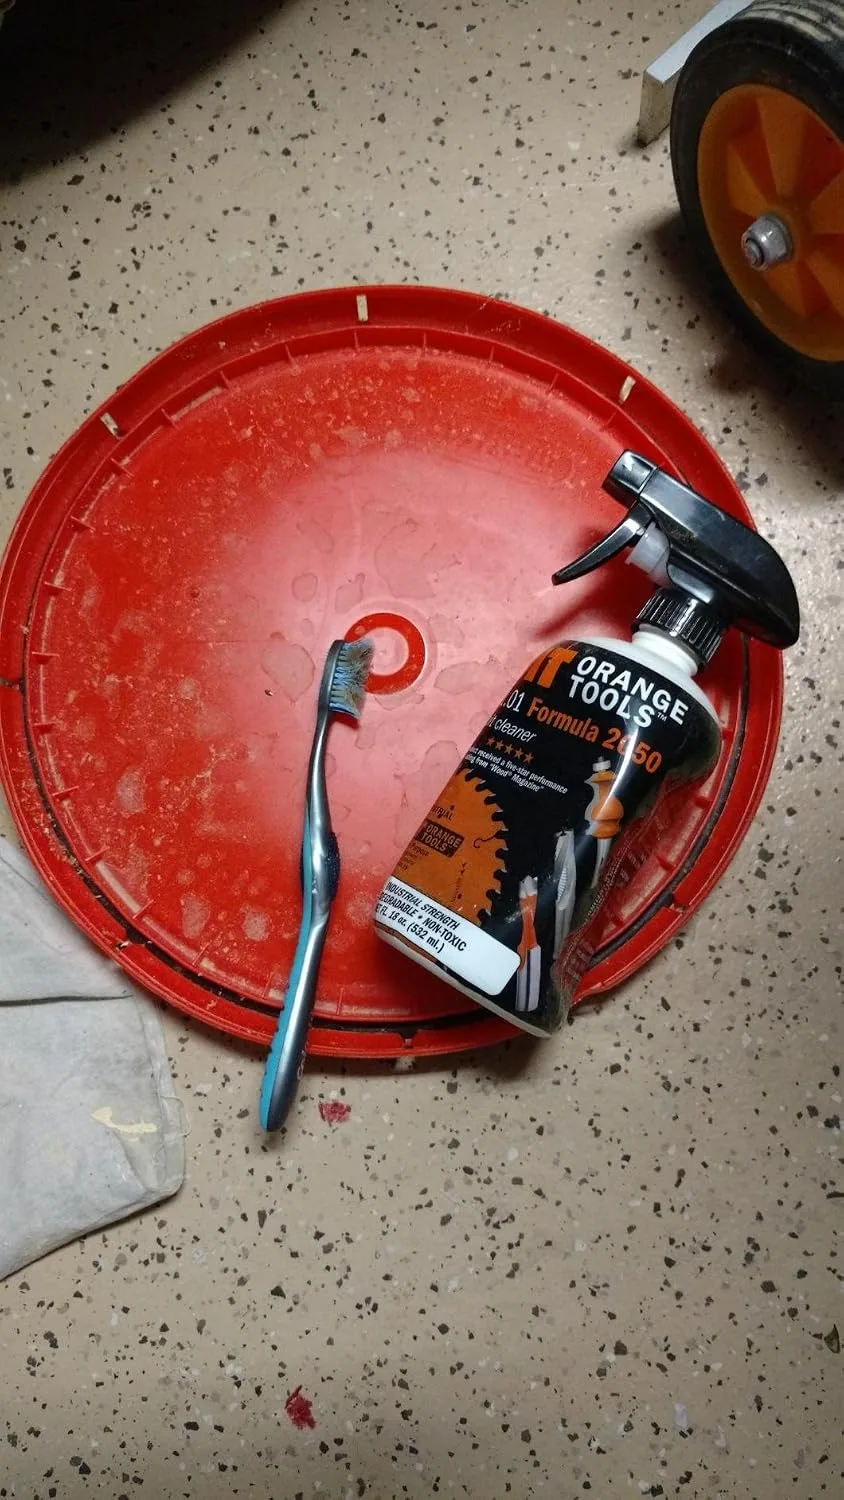
- Agitate with a stiff nylon brush in a forward direction. Work the brush along the direction the cutting edge faces — opposing that motion risks damage. Brass bristles work equally well; steel bristles can mar carbide.
- Flush the blade thoroughly with running water. The majority of commercial blade cleaners dissolve in water. Keep rinsing until no residue remains on any surface.
- Wipe the blade dry at once and coat with a protecting wax product. A few seconds with blade-and-bit wax or standard paste wax locks out oxidation on the steel and creates a temporary barrier against future coating accumulation.
I learned this through bitter experience: skipping that final wax application invites problems. After my first successful cleaning, I left the blade on my bench while still damp. When I came back 60 minutes later, a visible rust ring had formed on the steel plate. The blade survived intact, but the lesson was worth the temporary damage. That protective layer takes just 30 seconds and keeps your blades in peak condition between uses.
Cutting Through the Buildup Without Replacing Sharp Blades
Resin and pitch accumulation clouds your perception of actual blade condition — making serviceable metal look worthless. A dependable blade cleaner strips away the contamination in minimal time and exposes whatever is genuinely underneath, sparing you from tossing out perfectly functional blades or paying to have them professionally restored when they don’t actually need it.
The advantages in action
- Dissolves stubborn buildup rapidly—I’ve watched years of accumulated coating vanish during a single soak without any aggressive scrubbing.
- Minimal hands-on labor required; the chemistry handles the heavy lifting so you’re not standing there grinding away with a brush for extended stretches.
- Volume-efficient bottle size—an 18 fl oz supply will service many blades before depletion forces a reorder.
The limitations to expect
- The odor is distinctly chemical and pungent—not hazardous in small quantities, but good ventilation is non-negotiable and prolonged inhalation should be avoided.
- Stubborn long-term coating requires patient soaking time; there are no workarounds if your blade spent months or years gathering grime without maintenance.
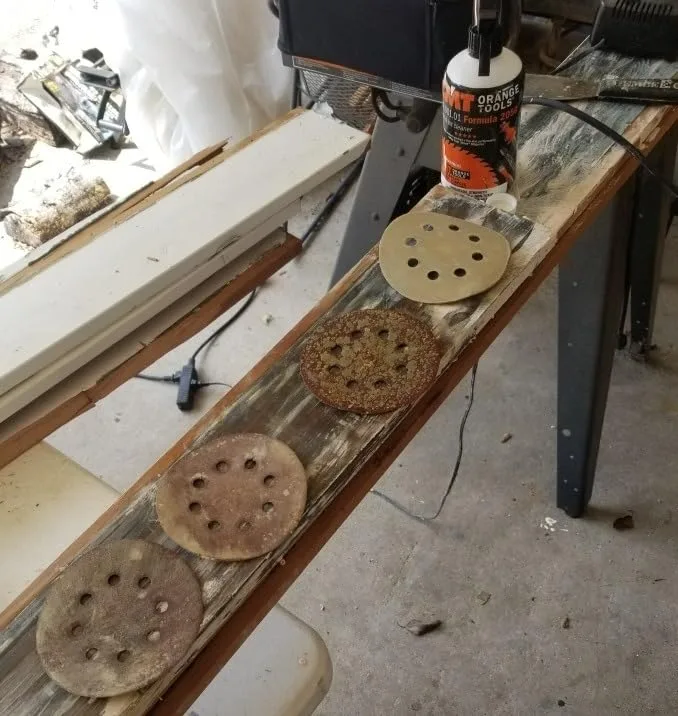
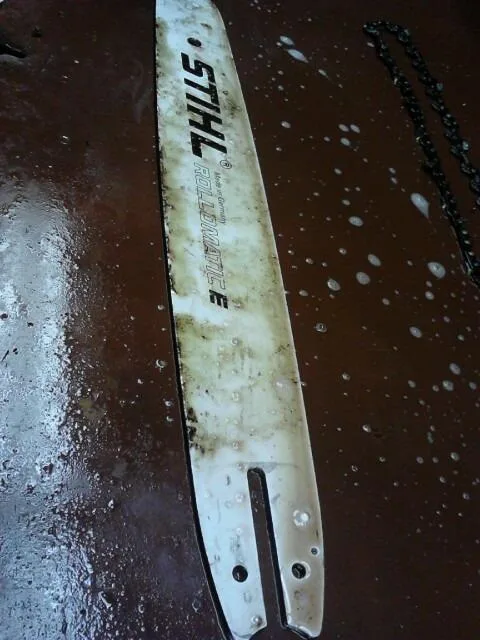
I almost ditched a perfectly good crosscut blade once because I thought the dull feeling meant the teeth were shot—turns out it was just months of pitch I’d let harden on there. TREND Tool, Blade & Bit Cleaner (CLEAN/500), 18 fl oz turned that situation around in one soak.
Frequently Asked Questions
How often should I clean saw blades cutting pine or MDF?
Pine and pressure-treated lumber need cleaning every 8 to 10 hours of active cutting. MDF is worse—blades get visibly coated after just 3 to 4 hours of work. Hardwoods like oak and walnut extend that window to 15 to 20 hours before coating impacts cut quality noticeably.
How do I tell if a blade is dull or just dirty?
Set the blade under strong light on a pale background and inspect the carbide teeth. Dark brown or black coatings indicate pitch accumulation; actual dullness shows as a silvery, polished sheen. Press a fingernail across teeth as confirmation—pitch feels sticky and gritty, while worn carbide feels slick and rounded.
What should I use to soak and clean saw blades?
Use TREND Tool Blade & Bit Cleaner (CLEAN/500) in a non-reactive plastic container—avoid metal ones. Soak 3 to 5 minutes for standard buildup, extending to 10 minutes for years of accumulated gunk. Agitate with a stiff nylon or brass brush following the cutting edge direction, then rinse thoroughly with running water.
Why do I need to wax saw blades after cleaning?
Coating the blade with paste wax or blade-and-bit wax immediately after drying locks out oxidation on steel and prevents rust formation. Skipping this step invites rust rings within an hour. The application takes only 30 seconds and keeps blades in peak condition between uses.
Sources and further reading
About This Article

Written by Garrett Dunn. Hobbyist metalworker and garage workshop builder. I restore old tools, weld custom furniture, and document my projects and mistakes so other makers can learn from both. More about this site.
Scope and limits. Garrett is a hobbyist metalworker, not a certified welder or machinist. Welding, grinding, and solvent work carry real injury risk — use the correct PPE and ventilation, and follow the manufacturer safety guidance for your own equipment.
Verify this against a primary source
Specifics change, and your situation may differ from the one described here. These are the authorities worth checking directly:
- OSHA — machine guarding, PPE and shop safety standards
- American Welding Society — welding procedure and safety standards