
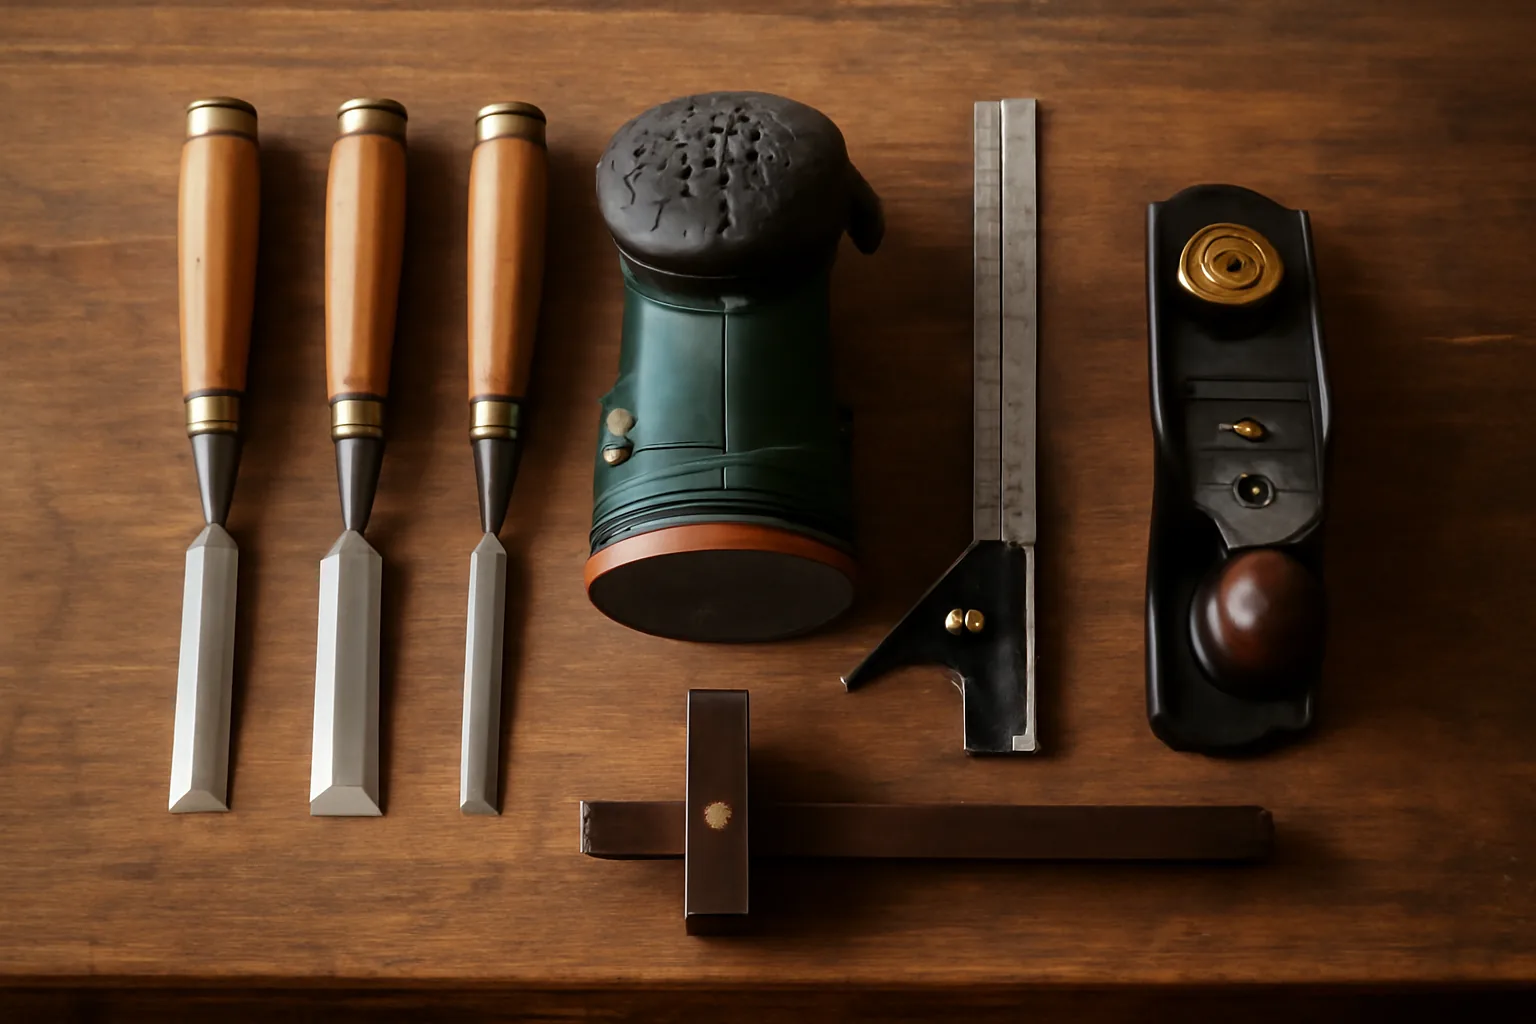
Conflicting advice about tool priorities floods woodworking forums: some veterans insist you absolutely need a full power tool setup before attempting serious projects, while others claim hand tools alone will get you 95% of the way there. The first camp is wrong. I know this because I arrived at woodworking as a metalworker with a fully equipped metal shop — and the hand tool advocates had the more honest take. Power tools accelerate production, sure, but they don’t build competence. When I started working wood after years slinging steel, my MIG welder collected dust while my planes and chisels shaped everything that mattered.
The transition from fabricating metal to shaping wood revealed something I hadn’t expected: my existing precision mindset was genuinely transferable, but only once I stopped trying to impose metal-working thinking onto timber. Steel tolerates aggression. Wood punishes it. The moment I recognized that difference — that wood responds to finesse rather than force — the skill set I’d spent years developing in metalworking suddenly became an asset rather than baggage. My first major woodworking undertaking, a walnut bench top paired with a welded steel frame, taught me this lesson expensively. Three boards ruined and roughly $180 in discarded material marked my education in why “pushing harder” doesn’t work in wood the way it works at the welder.
This essay targets metalworkers making the leap into woodworking. I’m deliberately skipping the comprehensive tool tour. What follows instead are five tools that became genuinely productive assets within my opening 90 days — equipment I grabbed for nearly every project, gear that didn’t create frustration, and items that leveraged abilities I’d already honed in metal.
| Tool | Example/Model | Cost |
|---|---|---|
| Block plane | Stanley No. 60-1/2 | $55 |
| Layout gauge | Veritas Wheel Marking Gauge | $55 |
| Crosscut saw | Suizan 9.5″ Ryoba | $30 |
| Chisel set (6-piece) | Narex 853053 | $80–$90 |
| Chisel set (4-piece) | Narex Bevel Edge | starter option |
| Sharpening setup | Diamond plate + waterstones + strop | $90–$110 |
| Honing guide (optional) | Veritas MkII | $35 |
Where Metalworking Background Helps You — and Where It Blinds You
Stepping into woodworking from a metal fabrication background handed me real advantages. Precision measurement, dimensional tolerance, comprehension of fit quality and joint design — these concepts carried straight across. A former welder or machinist already operates within a framework of material physics and dimensional accuracy. That foundation accelerates the learning curve considerably compared to someone starting from zero woodworking experience.
The stumbling block nobody warns you about is grain orientation. Metal stock doesn’t have grain. Wood is entirely defined by it, and fibers don’t cooperate once you slice against their direction. I spent my opening months watching edges splinter and chip because I was working against grain — essentially the equivalent of running a grinder backward across a finished weld. The breakthrough happened only when I committed to evaluating grain direction before executing any cut. That single mental shift—developing the habit of reading the wood—conserved more material than purchasing any new equipment. Steel taught me to respect tool angles and cutting forces. Wood taught me that direction matters more than magnitude.
Another pattern I noticed: metalworkers gravitate toward clamping pressure. We squeeze stock as hard as we can with the logic that immobility equals control. Woodworking operates on the inverse principle. Gentle pressure plus a sharp tool beats maximum force with a dull edge. My counsel, developed the expensive way: sharpen first, then apply the minimum clamping force that prevents motion. A tool that requires heavy pressure to work is probably dull.
Tool #1 — A Capable Hand Plane
Everything shifted once I got a block plane working correctly. A Stanley No. 60-1/2 landed at roughly $55, and once I committed the hours to setup — flattening the sole, grinding the blade back flat on 220-grit abrasive over glass, then stropping to a 25-degree angle — it transformed into my workhorse for the opening quarter-year. For someone transitioning from metal fabrication, the mechanical adjustment process felt immediately comfortable. Setting blade depth, calibrating tolerances, dialing a system to tight specs — that’s language every metalworker understands.
A block plane handles end-grain shaving, edge beveling, and final joint fitting with an accuracy no motorized sander approaches. On my bench top project, I relied on it to creep toward the perfect fit on breadboard-end joints, removing mere thousandths per stroke until the connection seated without daylight between parts. That level of control—progressive micro-adjustment until you achieve a specific outcome—is something a belt sander simply cannot deliver.
Budget roughly $40–$80 for a solid working block plane. Steer clear of ultra-cheap hardware store versions; the castings tend toward roughness and the steel dulls rapidly. Used Stanley or Record examples from estate auctions frequently outperform newly manufactured budget models at equivalent pricing. Always run a straightedge across the sole before purchasing to catch warping or twisting.
Tool #2 — A Dependable Gauge for Layout
The scribe is a metalworker’s instrument. Its woodworking counterpart is the marking gauge. Both exist to establish reference lines at fixed distances. Yet the physics operates differently: in wood, a scoring action physically separates fibers instead of simply scratching a surface. That seemingly minor distinction actually reshapes your final joinery quality.
I discovered this through frustration on my first mortise-and-tenon layout. I sketched lines in pencil, assuming the pencil would guide my chisel precisely. Instead, my blade wandered constantly, unable to register against a graphite smudge. When I transitioned to an actual wheel gauge—specifically the Veritas Wheel Marking Gauge at about $55—my joint accuracy climbed immediately. The scored line establishes a physical registration point. Your chisel finds this micro-valley and tracks straighter. For a metalworker accustomed to references and datums, this mechanical principle clicks instantly.
Economical beginners can acquire a fundamental wooden mortise gauge for $15–$25 that performs acceptably. The essential requirement: a locking mechanism that eliminates play in the fence. Loose fence settings cascade into sloppy layouts, sloppy layouts produce failed joints, and no technique compensates for inaccurate initial scribing.
Tool #3 — A Sharp Crosscut Saw You’ll Reach For Repeatedly
You already own a miter saw probably — I have a 12″ Dewalt with sliding compound features. For the initial breakdown of rough lumber in a modest shop footprint though, a sharp Japanese pull saw delivers better command with minimal setup overhead. My particular choice: a Suizan 9.5″ Ryoba dual-purpose blade running approximately $30 through online retailers and staying surprisingly functional between sharpenings.
The pulling motion feels peculiar for approximately a quarter-hour, then becomes second-nature. For anyone with hacksaw history, the principle aligns — draw-stroke cutting grants superior control and straighter paths than push-stroke mechanics. Additionally, the razor-thin kerf minimizes material loss, a considerable factor when working premium-grade timber costing $12 or more for every board foot of walnut or white oak.
Beyond the practical benefits, a quality hand saw in crosscut configuration teaches grain sensitivity and develops your feel for resistance — both competencies that strengthen overall woodworking ability. I underestimated this tool thoroughly and now deploy it constantly when quick dimension cuts are needed without the overhead of machine setup, or when workpiece geometry makes safe clamping on powered equipment problematic. Almost daily use surprised me.
The Proper Selection of Chisels for Metalworkers Entering Woodworking
This section deserves extensive attention because chisels represent the intersection where metalworkers’ experience provides maximum advantage and maximum potential for self-sabotage. The advantage arrives from familiarity with steel composition, bevel geometry, and the necessity of flat reference planes. The sabotage stems from the propensity to strike harder than wood tolerates and to dismiss careful honing because we’re habituated to using a grinder for metal edge maintenance.
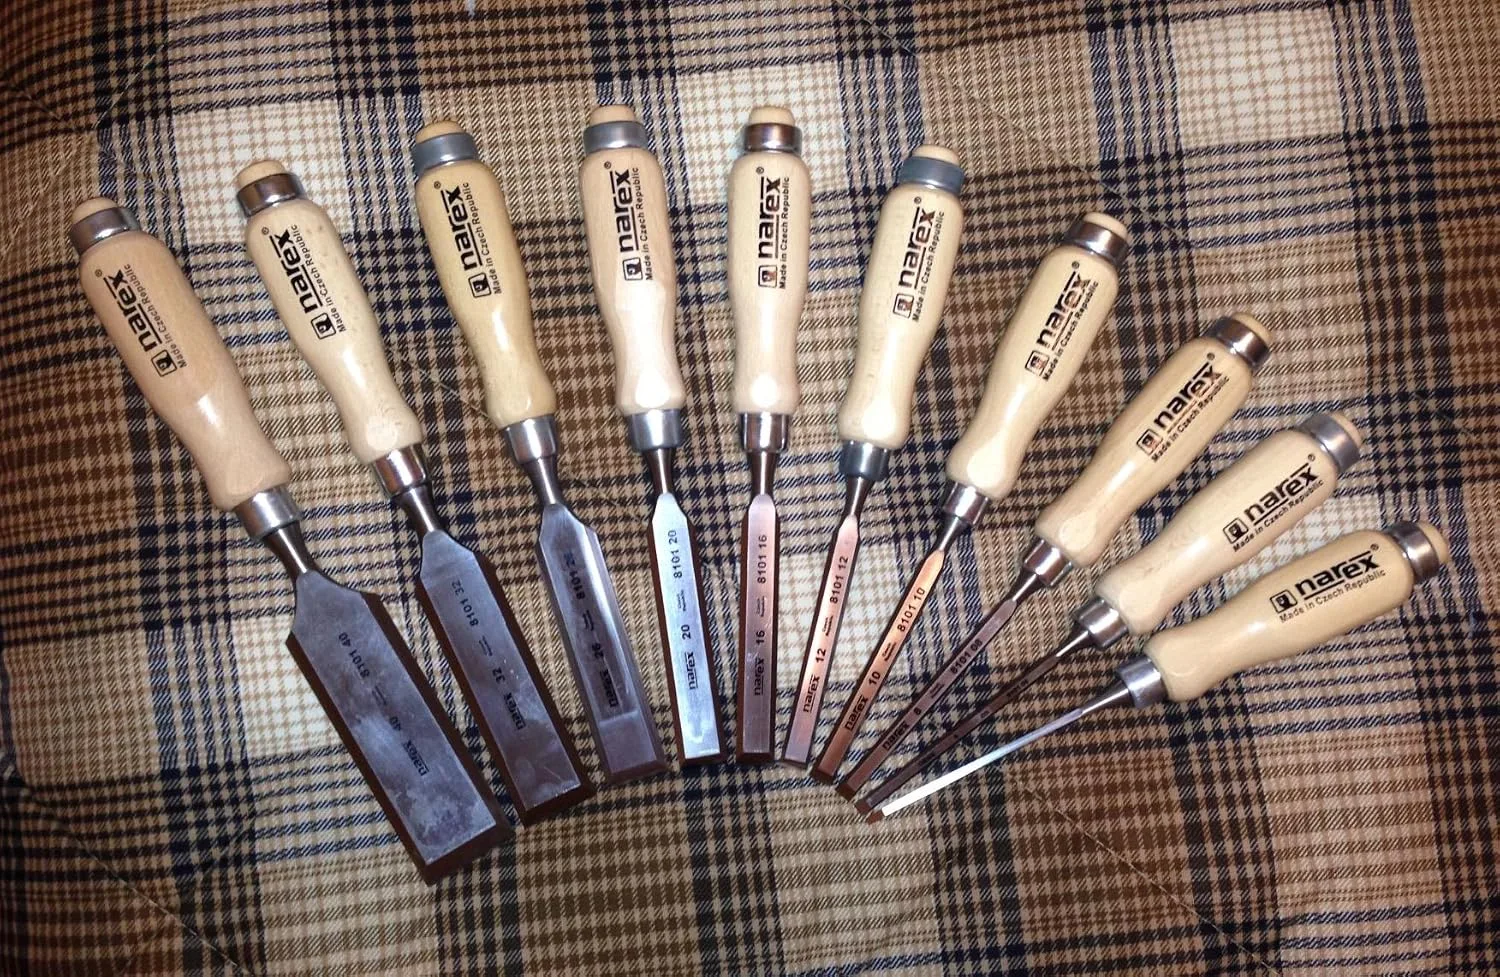
After trying three different sets in my first year — including one cheap set that chipped on the second use — I landed on the Narex 6-piece Woodworking Chisel Set (853053) and haven’t looked back. The set includes 6mm (1/4″), 10mm (3/8″), 12mm (1/2″), 16mm (5/8″), 20mm (13/16″), and 26mm (1-1/16″) bevel-edge chisels in a wooden presentation box. That size range covers virtually every joint I’ve cut in two years of woodworking projects.
The metallurgy underneath involves Cr-Mn tool steel composition, hardened approximately to 59 HRC. For metalworkers, this specification carries meaning — sufficient hardness retention for extended service life without becoming so brittle that figured grain or nearby obstruction creates fractures. I’ve deployed mine across white oak, cherry, hard maple varieties, and even reclaimed dimensional lumber containing vintage fasteners in proximity. Steel integrity has held without chipping failures under correct technique.
Rationale for This Particular Narex Offering
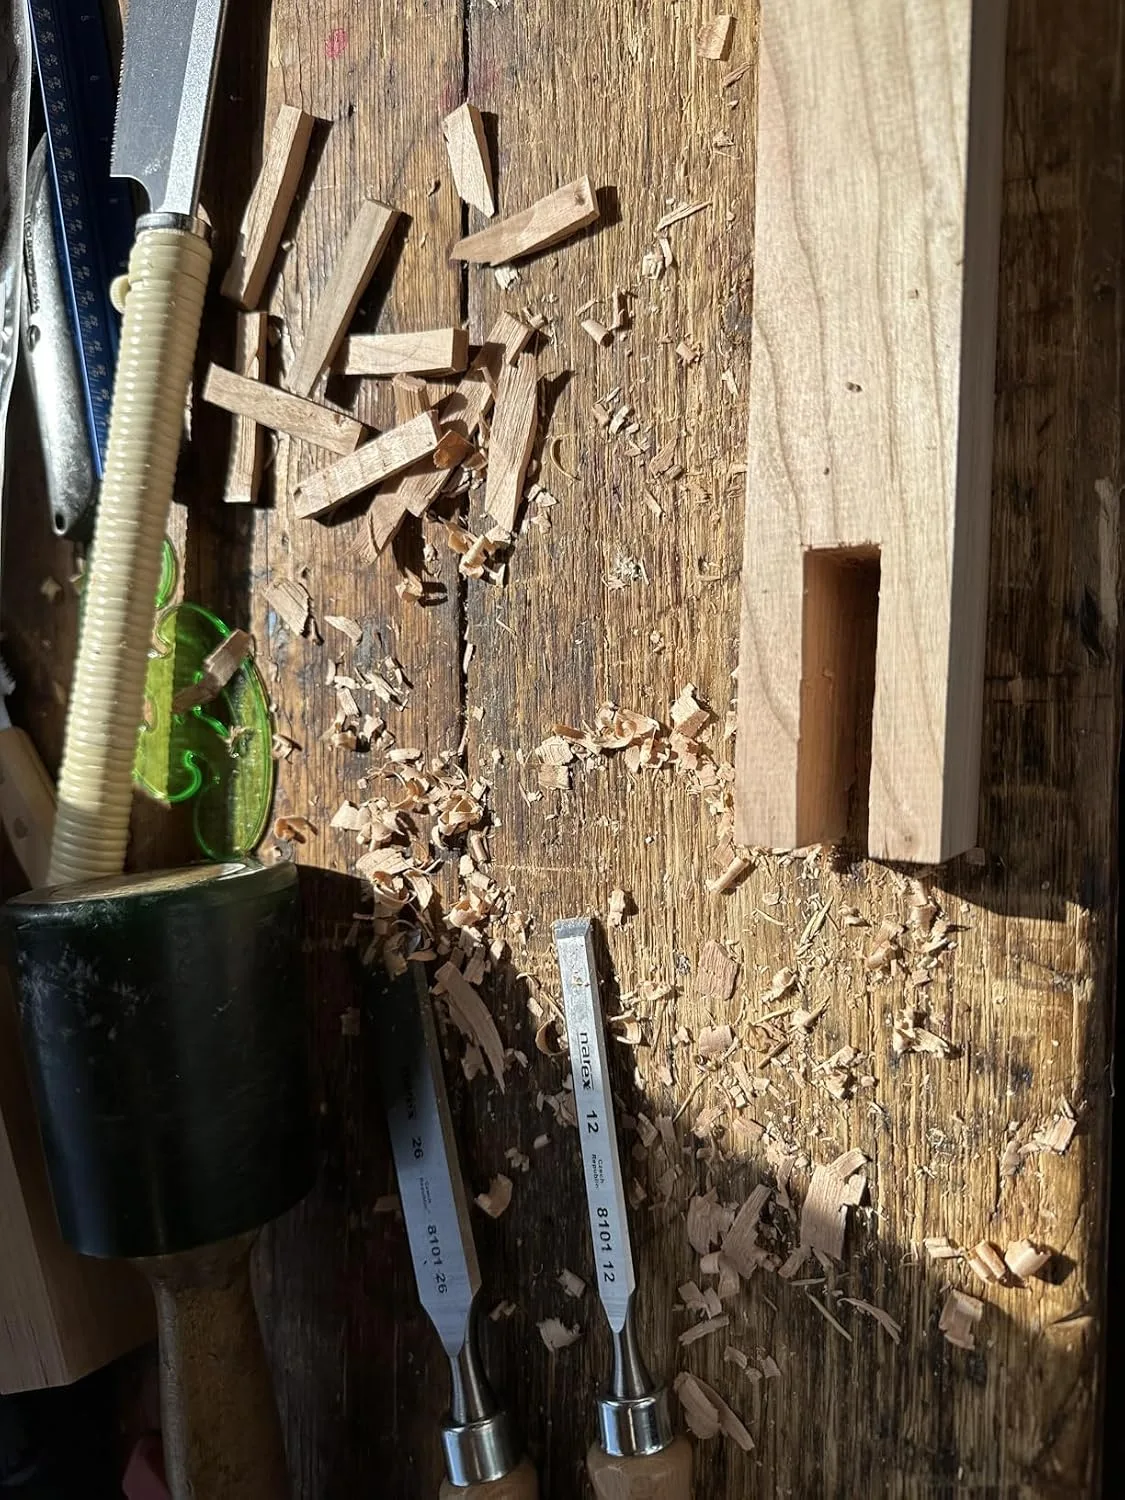
Fresh from packaging, these chisels’ backs demanded roughly 20 minutes of leveling against a diamond plate — completely standard for any chisel in this $80–$90 ballpark for all six pieces. Following that preliminary conditioning, maintenance consisted entirely of occasional stropping on a compound-loaded leather surface. Beech construction with synthetic ferrule and cap permits safe mallet work without handle deformation.
The defining characteristic: these tools amplify improper technique rather than concealing it. That distinction matters enormously for a metalworker transitioning disciplines — equipment that reveals your errors keeps you improving rather than blaming the tool. Discount chisels fracture and deliver misleading feedback. These demand your best practice.
If you’re not ready to commit to a six-piece set, the Narex Bevel Edge Chisel Set of 4 pieces is a solid starting point. You get fewer sizes but the same steel quality and handle construction. I’d call it the right move if your budget is tight or if you’re still unsure how much hand-tool work you’ll actually do. Either way, Narex is the brand I’d stake my recommendation on at this price point.
Tool #5 — A Sharpening Method That Becomes Habit Rather Than Chore
Edge acuity separates capable woodworkers from chronically disappointed hobbyists. Virtually every metalworker attempting woodworking and abandoning the pursuit has reported identical frustration: “These tools just wouldn’t perform.” Investigation almost universally reveals the culprit: dull edges everywhere. An adequately sharpened woodworking edge exceeds the keenness of most metal tool work — we’re discussing edges polished to 8,000-grit fineness that slice arm hair effortlessly.
My personal sharpening routine: a coarse diamond plate (DMT D8C at roughly $55) for back-flattening and bevel reshaping, mid-grit waterstones (1,000 grit) for routine edge restoration, and finally a compound-charged leather strop for final refinement. Full investment approximates $90–$110, handling blades, chisels, and marking knives alike.
The stroke pattern demands recalibration for a metalworker—maintaining a consistent angle via tactile feedback rather than mechanical jig, unless you opt for a honing guide. I’d advocate for a Veritas MkII honing guide ($35) during your opening months. It eliminates angle guesswork, letting you dedicate your learning energy to actual craft development instead of regrinding broken bevels from repeated angle mistakes.
Recognizing Your Actual Limits and Seeking Expertise
Woodworking exists outside the regulatory structure surrounding electrical systems or structural engineering, yet genuine hazard thresholds remain. Furniture supporting human weight — sleep surfaces, load-rated shelving, multi-story assemblies — demands comprehension of joint engineering principles, not technique alone. A mortise-and-tenon proportion exists for mechanical reasons; substituting dowels requires engineering understanding, regardless of how many internet videos suggest otherwise.
Likewise, invest a half-day with someone experienced before deploying powered machinery like table saws or band saws independently. Table saw injury statistics aren’t hypothetical—they’re documented at over 33,000 annually within U.S. borders per WMMA and SawStop research. Proper training before solo operation on rotating-blade machines matters considerably.
Hand tools, by contrast, enable genuine self-directed learning. A razor-sharp chisel traveling at hand-speed remains tremendously controllable compared to centrifugal blade velocity. Develop confidence through hand-tool mastery first. Motorized additions follow logically once that foundation exists. This progression has served everyone I’ve observed succeed at this crossover.
Wrapping Up — Essential Equipment for Metalworkers Transitioning Into Wood
Twenty-four months into this crossover practice, I’m convinced the knowledge transfer exceeds typical expectations, and the rough patches dissolve faster than frustration initially suggests. These five instruments — block plane, layout gauge, pull saw, premium chisels, and legitimate sharpening apparatus — totaled approximately $250–$350 for quality versions. That expenditure pales against a single high-end welding helmet, yet unlocks entirely fresh project possibilities in my two-car facility.
The Narex six-piece chisel collection stands alone as my most consequential early acquisition. It delivered professional-grade responsiveness without premium-grade pricing. If you’re genuinely pursuing this transition, prioritize that purchase. Your learning curve won’t plateau from them prematurely, and budget alternatives won’t generate the same frustration.
My central realization from those opening 90 days: decelerate your work tempo, maintain constant edge acuity, and evaluate fiber direction before initiating any stroke. Everything else builds from that discipline—especially once your metalworking foundation informs your perspective.
Frequently Asked Questions
How much should I spend on a block plane to start woodworking?
Budget roughly $40–$80 for a solid working block plane. Steer clear of ultra-cheap hardware store versions; the castings tend toward roughness and the steel dulls rapidly. Used Stanley or Record examples from estate auctions frequently outperform newly manufactured budget models at equivalent pricing.
What’s the total cost for a basic woodworking sharpening setup?
A complete sharpening method costs approximately $90–$110. This includes a coarse diamond plate (roughly $55), mid-grit waterstones (1,000 grit), and a compound-charged leather strop. A Veritas MkII honing guide adds $35 if you want angle guidance during your opening months.
Why did my metalworking experience hurt my woodworking at first?
Metal tolerates aggression, but wood punishes it. The biggest stumbling block is grain orientation—metal stock lacks grain entirely, while wood fibers splinter when cut against their direction. Additionally, metalworkers instinctively apply heavy clamping pressure, but woodworking requires gentle pressure paired with a sharp tool instead.
Which Narex chisel set should I buy as a beginner?
If budget is tight or you’re unsure about hand-tool commitment, the Narex Bevel Edge Chisel Set of 4 pieces is a solid starting point. You get fewer sizes but the same steel quality and handle construction as the full six-piece set, which costs $80–$90.
Sources and further reading
About This Article

Written by Garrett Dunn. Hobbyist metalworker and garage workshop builder. I restore old tools, weld custom furniture, and document my projects and mistakes so other makers can learn from both. More about this site.
Scope and limits. Garrett is a hobbyist metalworker, not a certified welder or machinist. Welding, grinding, and solvent work carry real injury risk — use the correct PPE and ventilation, and follow the manufacturer safety guidance for your own equipment.
Verify this against a primary source
Specifics change, and your situation may differ from the one described here. These are the authorities worth checking directly:
- OSHA — machine guarding, PPE and shop safety standards
- American Welding Society — welding procedure and safety standards