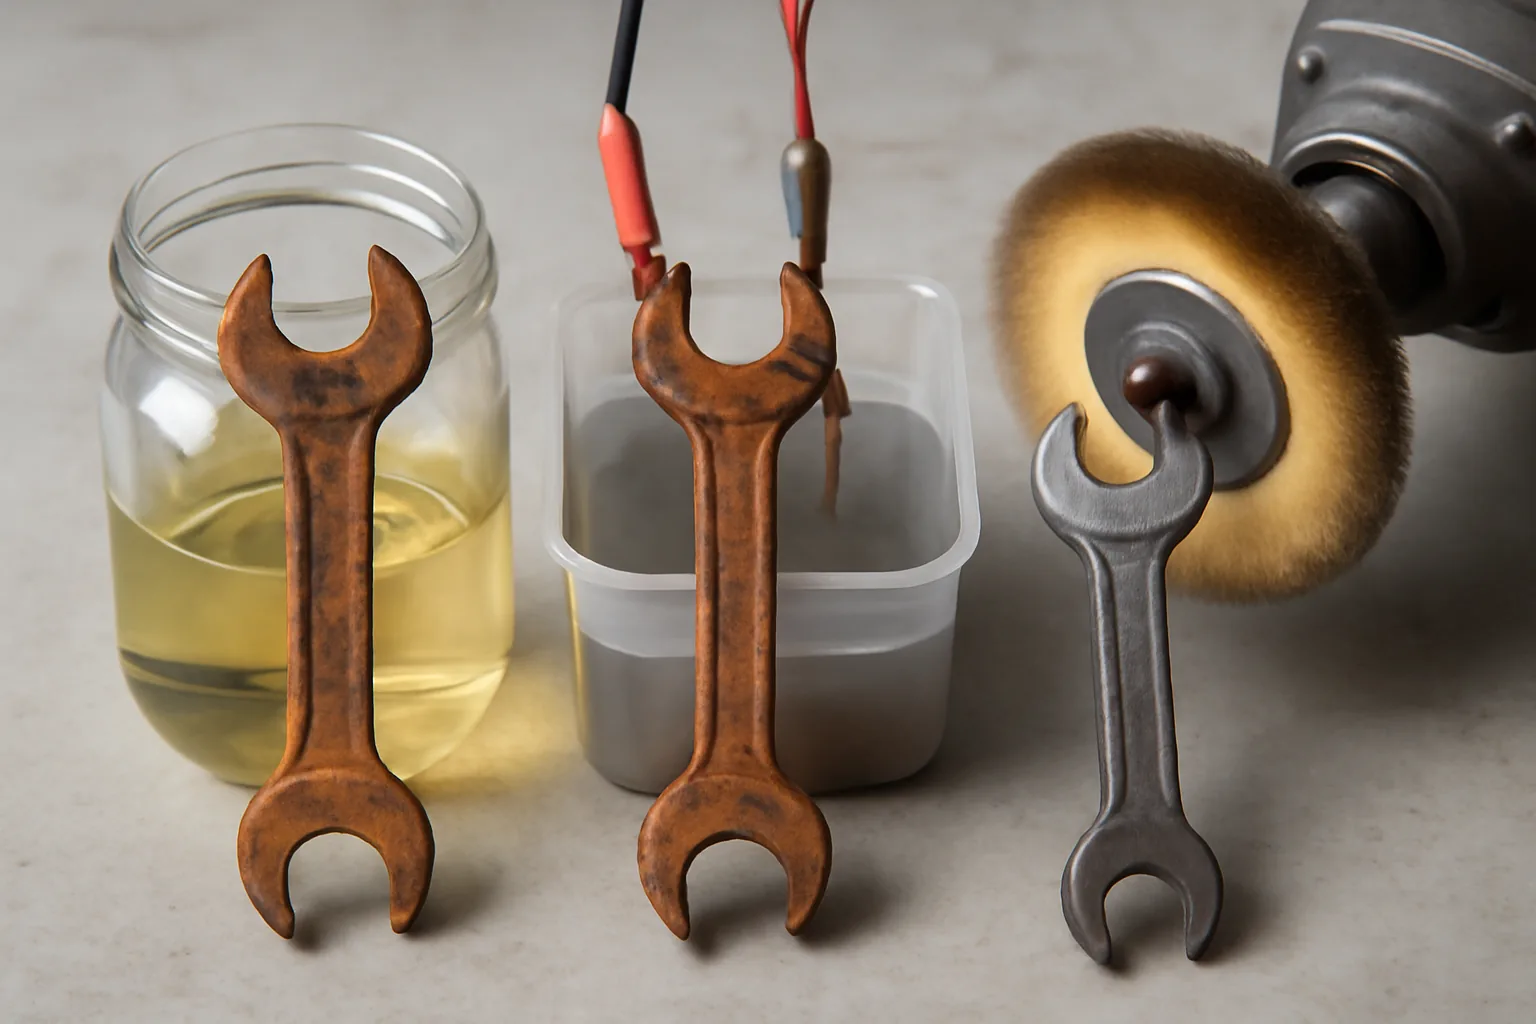

Rust doesn’t go away on its own — and picking the wrong removal method wastes your entire weekend. Years back, I dragged a vintage Delta drill press out of an abandoned barn with rust so thick and orange it looked like it belonged in a geological sample. Standing in my garage trying to figure out my next move, I realized I didn’t actually know which approach was worth my time: white vinegar, a spinning wire wheel, or building an electrolysis setup. That single decision turned into an entire weekend of experimentation, which ultimately taught me far more than any online tutorial. If you’ve faced that same decision standing over a corroded tool, wondering which path to take, this breakdown will save you hours of guesswork.
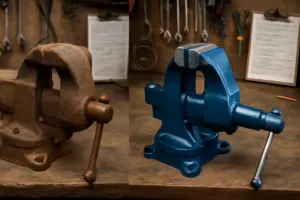
The reality? Each approach actually removes rust. The hard part is matching the right technique to your specific piece and circumstances. Over the years, I’ve deployed all three methods on cast iron plane blades, tool carts made from steel tubing, old machine vise components, and various decorative steel projects. The catch is that every method has its own narrow window where it excels — and the price of choosing wrong is either wasted hours, wasted money, or metal you can’t get back. Here’s the honest breakdown.
Method 1: Vinegar Soaking — The Budget-Friendly Starting Point
Acetic acid in the form of white distilled vinegar — typically sold at 5% concentration — triggers a chemical transformation when it contacts iron oxide. The rust converts into iron acetate, which rinses right off the surface. Financially, this method is almost free: grocery store vinegar costs roughly $3 per gallon. For components that fit inside a bucket, this approach is genuinely tough to beat from a cost perspective.
But here’s where vinegar reveals its weaknesses: the time factor is unpredictable and substantial. Light surface corrosion might come clean in 12 to 24 hours of submersion. Heavy, deep rust demands 48 hours or beyond. During my first attempt with this method, I pulled a Stanley No. 4 plane blade out after just 6 hours, expecting the job to be done. It wasn’t even close. Vinegar requires you to be patient enough to actually let it work.
Here’s the trap that catches most people: vinegar doesn’t know when to stop. Once the rust vanishes, the acid keeps going and starts dissolving the good steel underneath. I found this out the painful way when I left a hand plane frog submerged for a full 72 hours. What came out was etched, with small pits scattered across surfaces that used to be smooth — damage I spent considerable time repairing. The key is: use a timer, pull it out when the rust is gone, then neutralize everything with baking soda mixed into water right away. Skip the neutralization step and you’ll etch your metal.
When Vinegar Is Actually the Right Choice
- Smaller components that can be fully submerged, showing light-to-moderate rust development
- Projects where you have plenty of time available but a tight budget
- Pieces without intricate details or recessed areas that trap corrosion deep inside
- Preliminary cleaning followed by finishing work with mechanical abrasion
Vinegar doesn’t have the power to tackle deep pitting that’s been eating into the metal. It also fails on oversized parts that won’t fit in any reasonable container. Those situations call for a different approach — something more aggressive or more selective.
Method 2: Wire Wheel — Aggressive, Quick, but Unforgiving
Hook a wire wheel onto a bench grinder or angle grinder and you’re using raw mechanical force to blast rust away. The speed factor is impossible to ignore: on a moderate rust situation like a vise jaw with surface corrosion, a 4-inch knotted cup wheel spinning on a standard 4.5-inch angle grinder can have the job completely finished in fewer than 10 minutes. Wire wheels are your tool when you need fast results, no waiting, no chemistry, no planning. Just power and motion.
The downside is that wire wheels have no respect for the metal underneath the rust. They work through abrasion, which means they’re simultaneously grinding away both the rust and the steel itself. On components where dimensional accuracy or surface finish matters — tool plane soles, machinist’s vise surfaces, cast iron machine table tops — even a few quick passes with a knotted wire wheel creates measurable surface degradation and loss of flatness. I restrict wire wheel use to items where structural integrity is the only concern: brackets, frames, large steel members, anywhere surface perfection isn’t part of the design.
Personal protection is absolutely essential. Wire wheels shed broken wires at extreme velocity. I suit up with a full-coverage face shield every single instance without exception — regular safety glasses are insufficient. ANSI Z87.1+ rated face shields meet the required impact standard. Leather gloves, long sleeves, and nothing loose or hanging. A wire fragment traveling at 8,000 RPM can pierce skin. This isn’t theoretical.
Practical Guidance for Wire Wheel Operation
- Deploy knotted-style wheels for severe corrosion situations, and crimped designs for lighter surface prep and finishing
- Keep the spinning wheel in motion across the surface — holding it steady in one spot removes excessive material
- Check every wire wheel for damage or separated wires before turning it on
- Confirm the wheel’s maximum rated RPM matches or is below your specific grinder’s speed capability — information is printed on the wheel itself
- Apply rust protection coating or finish paint within a few hours after wire wheel cleaning — exposed steel oxidizes remarkably quickly
Wire wheels themselves cost between $8 and $25 based on diameter and construction. They degrade gradually through normal use. Planning a large restoration job? Budget for multiple wheels — typically two or three to take you from start to finish. In my experience, this is the correct option when you’re dealing with large parts where speed trumps preservation and you don’t care about pristine original surface texture.
Method 3: Electrolysis — The Best Choice for Valuable and Precision Parts
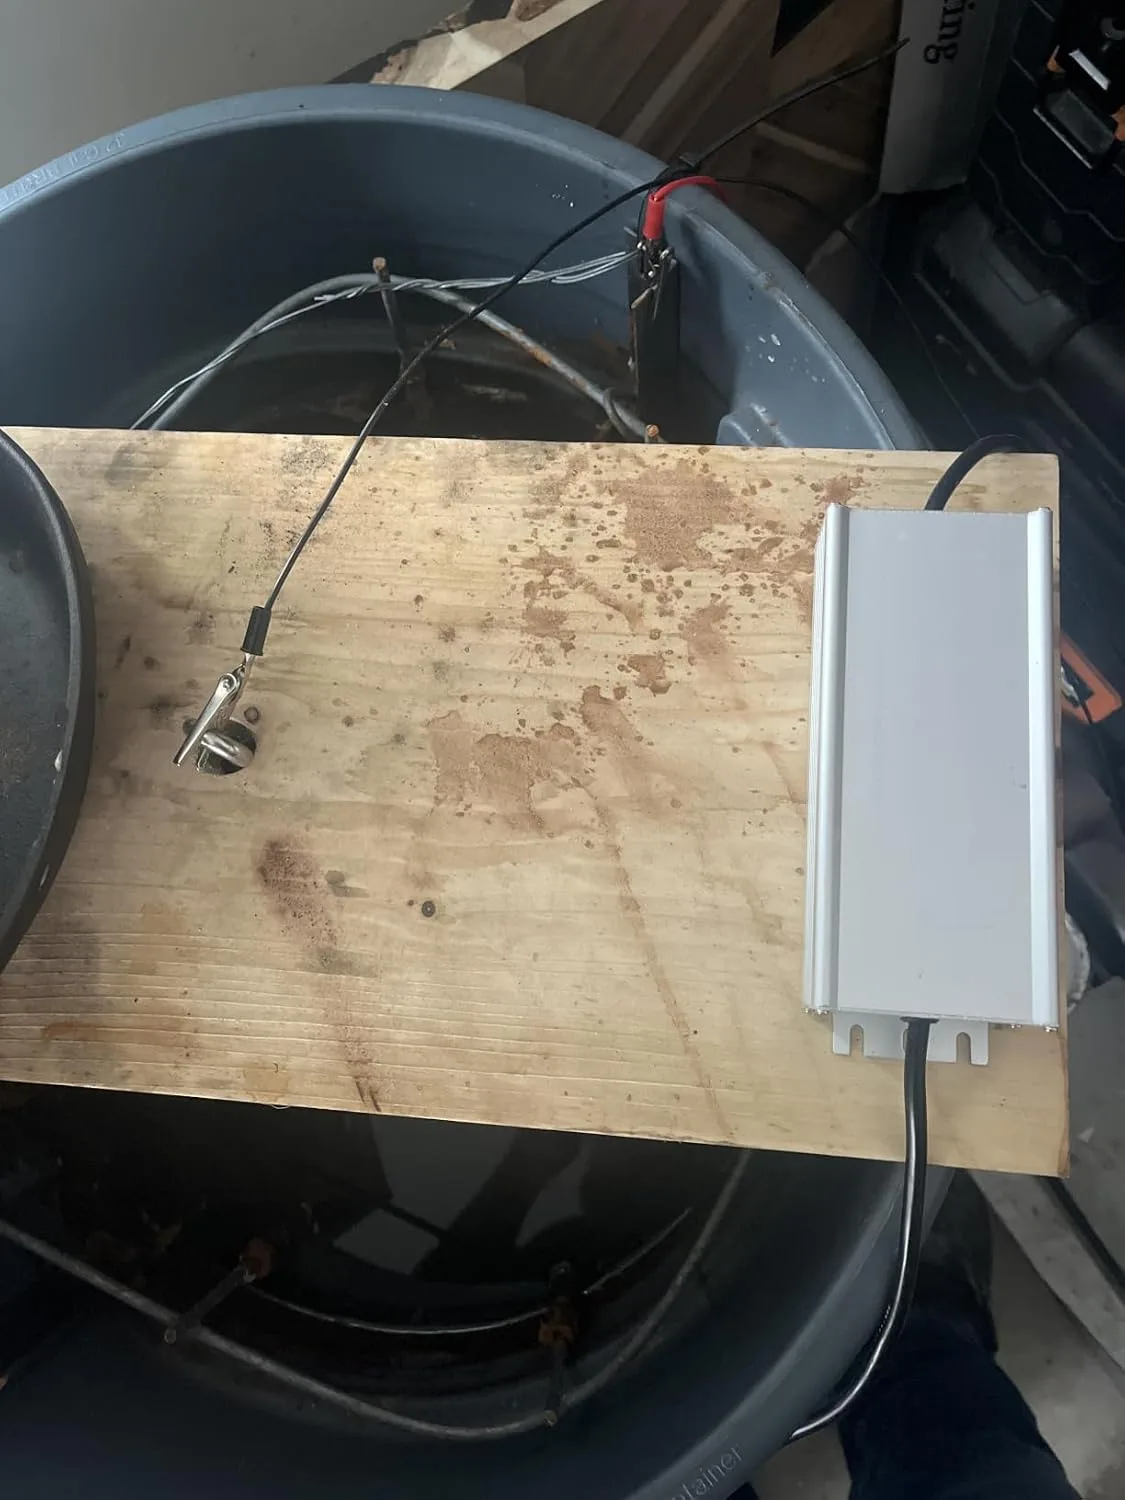
Electrolysis is my go-to technique when I’m restoring something worth preserving properly. The mechanism is straightforward in principle: the corroded item becomes your cathode and sits submerged in a sodium carbonate and water mixture (the electrolyte). A sacrificial steel piece serves as your anode, powered by a DC electrical source. The current flow reverses the rust reaction, literally converting iron oxide back into steel. No grinding. No soaking chemicals that attack good metal. Just electrochemistry doing the opposite of what created the rust in the first place.
The defining strength of electrolysis is that it’s gentle on what you care about. Rust disappears but the underlying steel stays intact. That’s the only method I trust on precision-ground surfaces, delicate castings, or cherished vintage tools where keeping the original metal is the whole point. I restored a 1940s Craftsman combination square this past spring using electrolysis — the blade emerged with its original machine marks completely preserved, something that a wire wheel would have obliterated instantly.
The tradeoff is preparation and setup time. You’ll need a container large enough to hold your part, sodium carbonate powder (roughly $5 for a container), a DC electrical power source, steel electrode material, and wiring to connect everything. Building a DIY kit with individual components runs you somewhere between $40 and $80 total. The actual rust removal takes multiple hours for severely corroded items, but you can leave it running unattended while you’re doing other things in the shop.
Critical Safety Considerations with Electrolysis
The electrolysis process generates hydrogen gas where the cathode sits — that’s the rusty part — and creates chlorine gas if you make the mistake of using table salt instead of sodium carbonate as your electrolyte. Chlorine is toxic. Work in a location with substantial air movement — outdoors, or inside with excellent ventilation. Absolutely do not use table salt. Sodium carbonate is the only correct electrolyte. Keep any ignition sources completely away from your work area. This isn’t overcautious — it’s basic chemistry safety that anyone doing electrolysis should understand.
Why Electrolysis Defeats Vinegar and Wire Wheels on Severe Rust
When corrosion has been working on metal for 30 or 40 years, leaving deep pitting and structural degradation, vinegar becomes impossibly slow and wire wheels only remove a cosmetic layer. Electrolysis actually reverses the chemical process at the atomic level — that’s the fundamental difference between a genuine restoration and a quick cosmetic fix.
The advantages
- Extracts rust from within pits and deep corrosion patterns without sacrificing sound base metal — the original surface texture and dimensions remain intact.
- Operates unattended for 12–48 hours based on how deep the rust penetrates, meaning you start the process Friday evening and unload a clean component Saturday afternoon instead of standing over it with power tools.
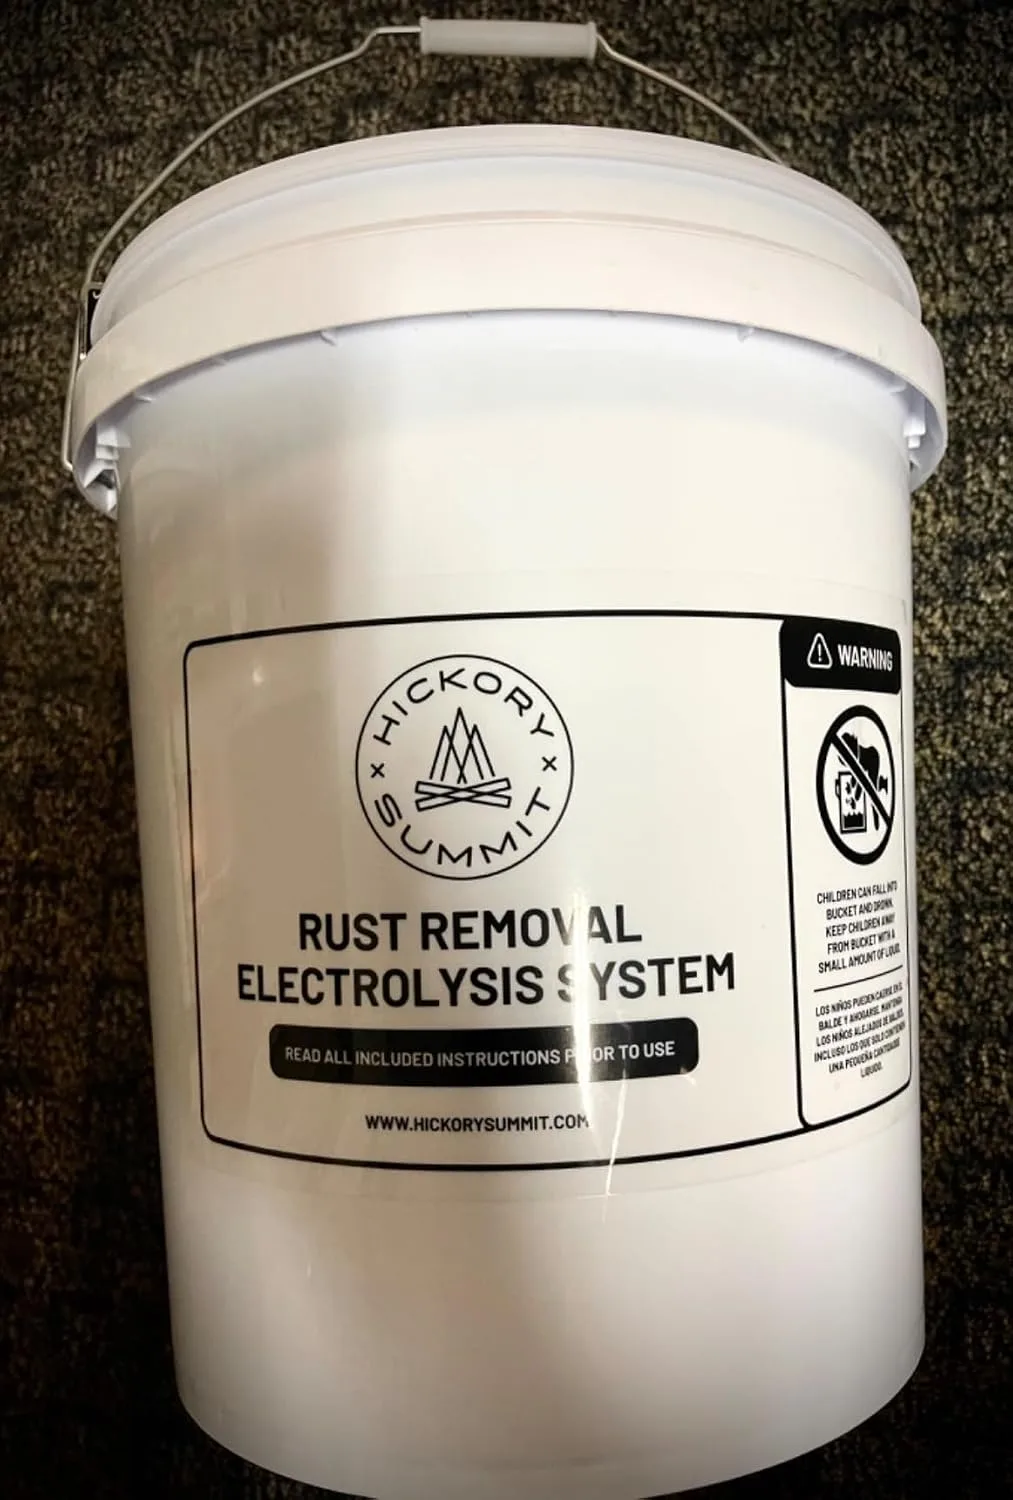
- Commercial electrolysis kits come fully integrated with tank, electrodes, and all necessary components already engineered — you’re not hunting for specialty stainless steel rods or improvising a sodium carbonate bath from scratch.
The limitations
- Requires dedicated bench real estate and a permanent power supply connection you can safely leave energized — this isn’t a grab-and-use method for a spontaneous afternoon project.
- The electrolyte solution darkens and becomes murky after processing several large pieces, requiring solution replacement or maintenance knowledge to extend usable life, which translates to additional spending and operational complexity.
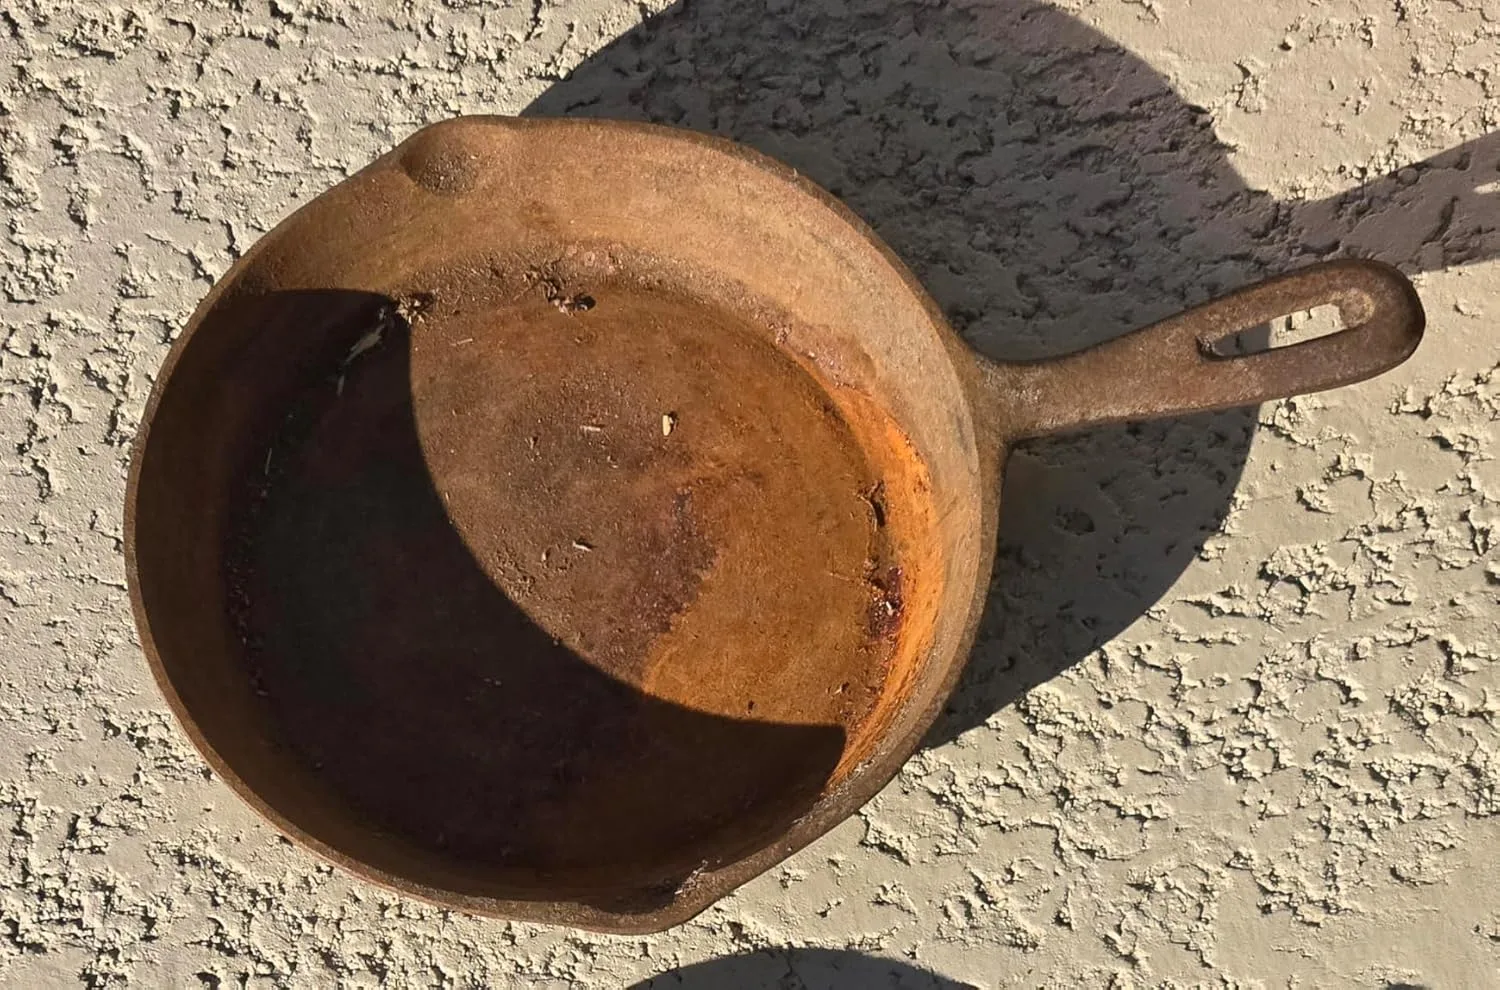
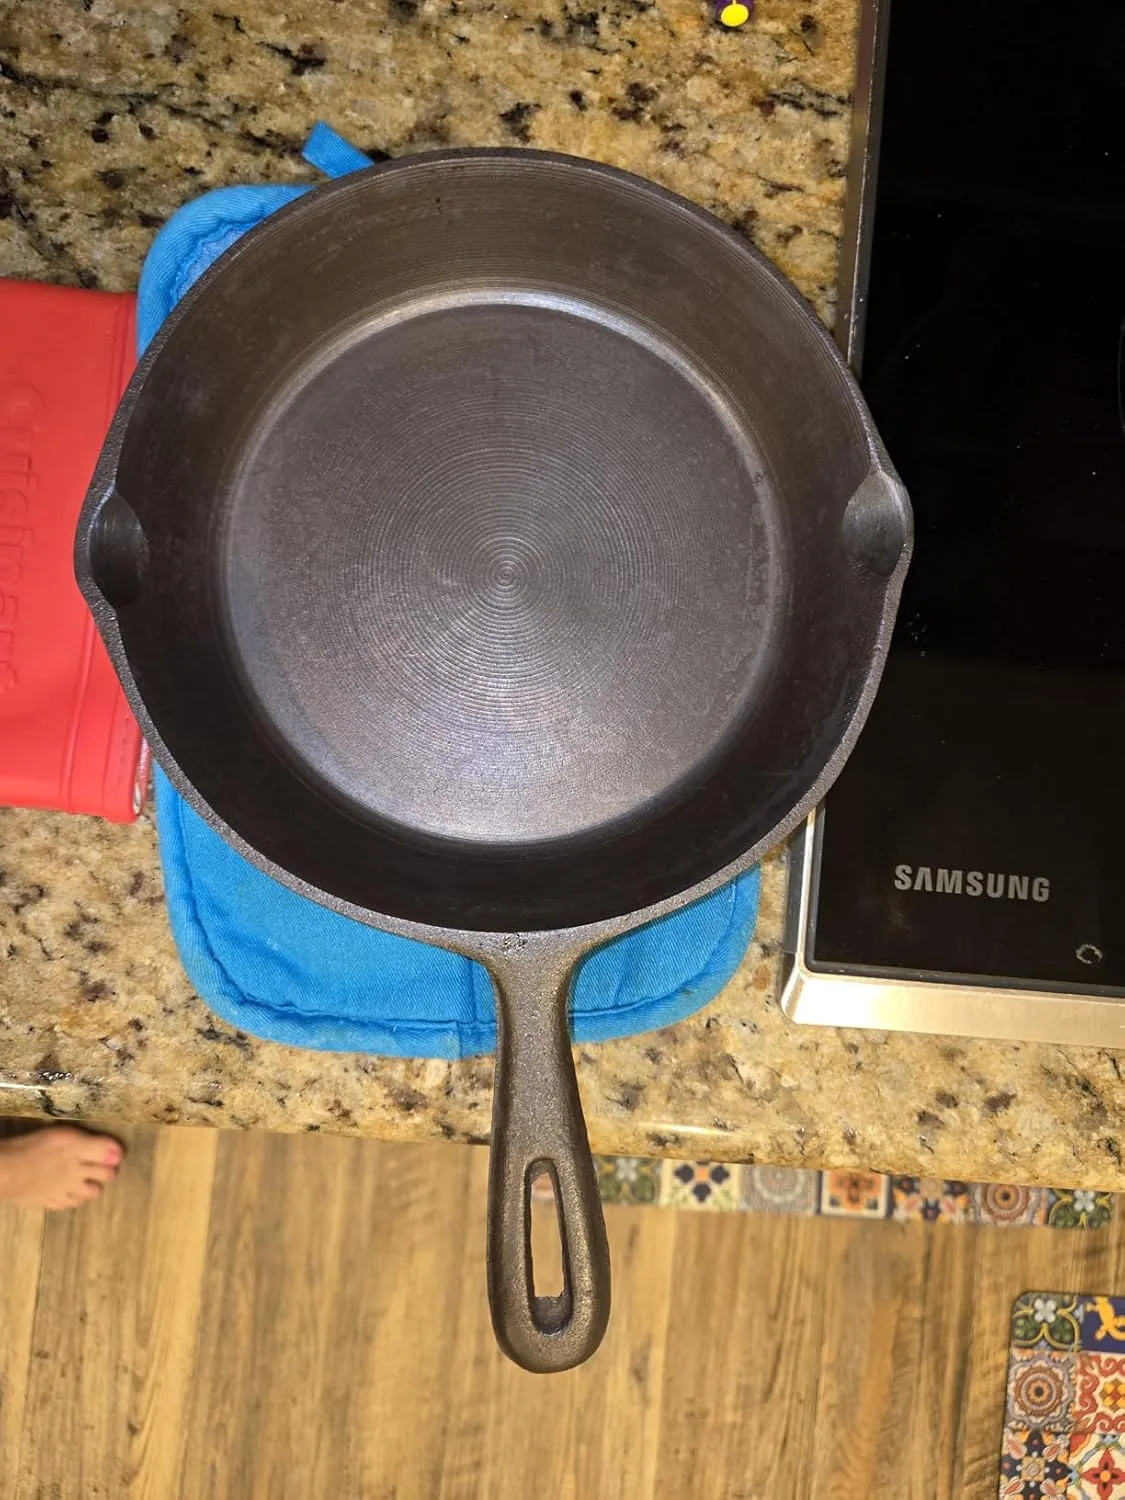
I almost gave up on that Delta table halfway through day one — the vinegar soak was turning the barn smell in my garage into something worse — until I realized electrolysis would actually finish what the other methods couldn’t. Hickory Summit Electrolysis Kit Rust Remover for Metal
This post contains affiliate links. As an Amazon Associate, I earn from qualifying purchases at no extra cost to you.
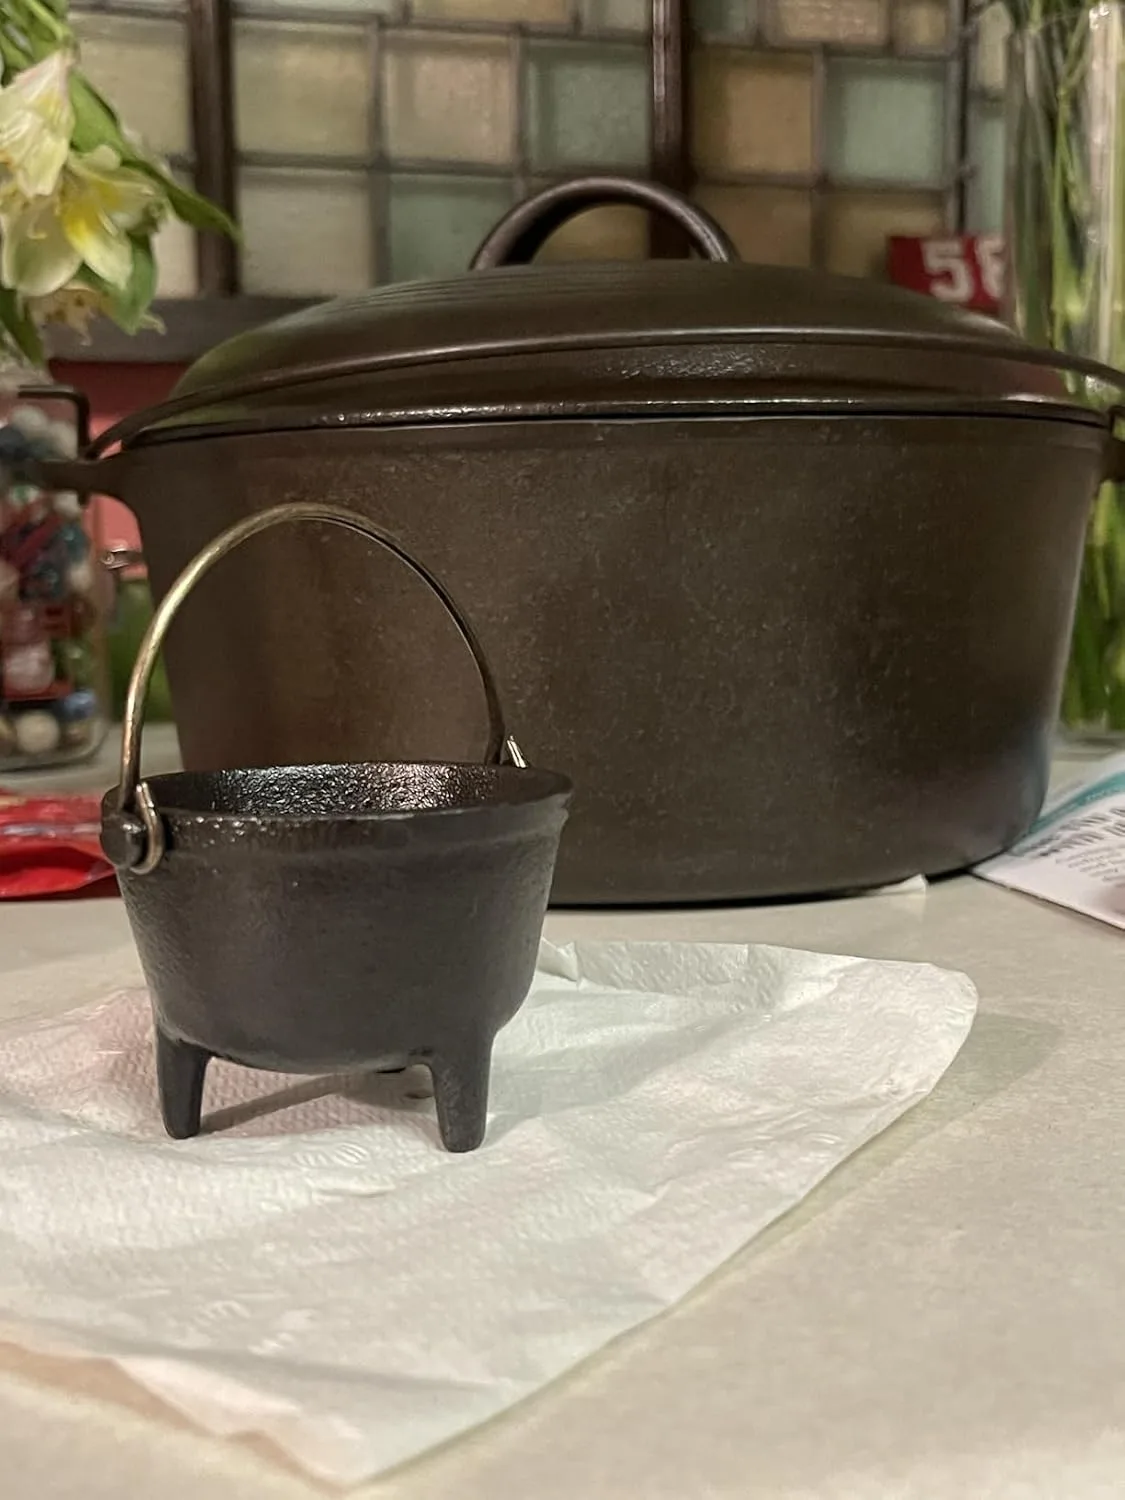
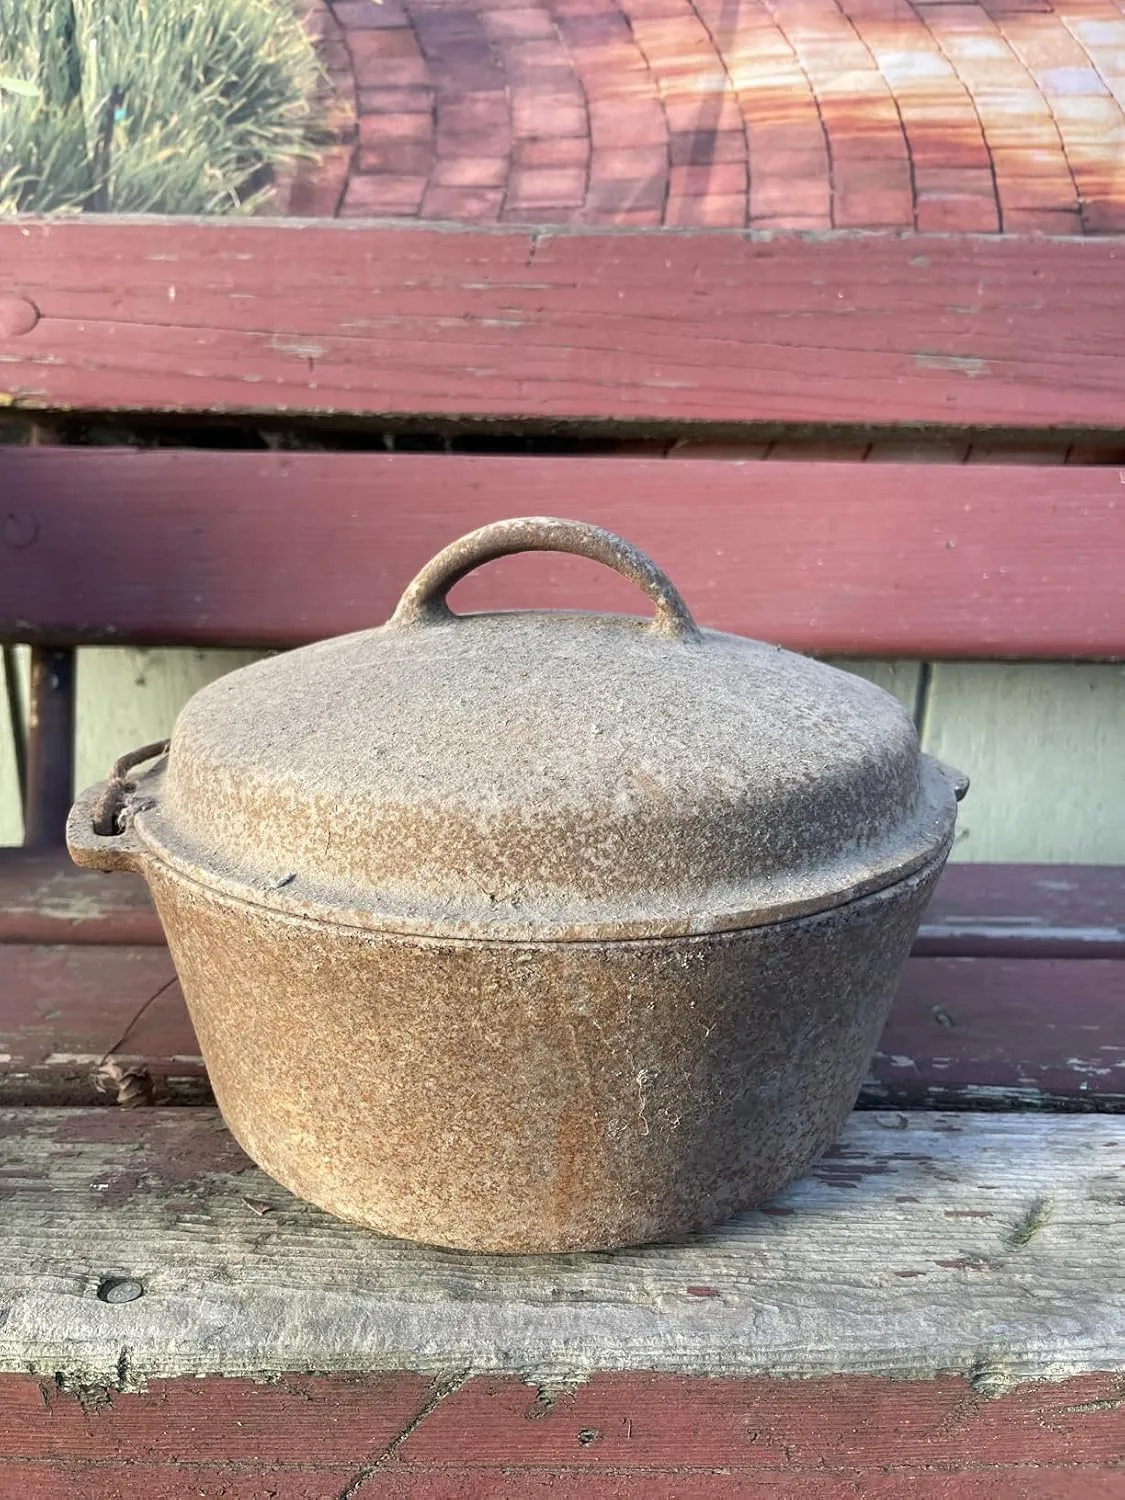
Hickory Summit Electrolysis Kit Rust Remover for Metal
I stopped hand-sanding rust after realizing electrolysis leaves patina intact while I sleep.
Check Price on Amazon →