What’s actually holding you back from setting up a workshop right now? Not someday — right now. I’d guess it’s the same thing that stopped me for years: the belief that you need a pristine 1,200-square-foot detached space, a five-figure budget, and a licensed electrician on speed dial before you can build anything meaningful. I didn’t have any of those things. I had a shared one-car garage, roughly $800 in total capital, and a genuine fear of electrical panels. I cobbled together a functioning shop anyway — and learned, through trial and error, exactly which mistakes were worth making and which ones weren’t.
What follows is the blueprint I wish someone had handed me. It’s built for people operating under genuine constraints: a lean budget, a compact or shared footprint, zero formal training in wiring or building code. I’m not going to paint you a picture of an imaginary perfect garage. Instead, I’ll walk you through the actual choices I made — and the ones I’d reverse if I got a do-over — so you can establish something genuinely usable from week one and expand it over time without needing to rebuild the foundation.
Twelve years of welding, fabricating, and tool restoration work have happened in my central Ohio garage — first in 280 square feet of single-car space, later in a two-car footprint after we relocated. I’ve dumped real money into genuine mistakes. Everything here comes from experience, not from a manufacturer’s catalog or a YouTube channel run by someone with a six-figure shop budget.
| Item | Cost Range |
|---|---|
| Workbench (construct yourself) | $60–$120 |
| Hand tool collection (secondhand) | $80–$150 |
| Corded drill/driver with bit selection | $40–$80 |
| Circular saw or reciprocating saw | $60–$120 |
| Oscillating finishing sander | $40–$70 |
| 4.5-inch angle grinder | $30–$60 |
| Face vise (permanently mounted) | $60–$150 |
| Clamping assortment (minimum 12 clamps) | $80–$140 |
Stop Waiting for Better Conditions and Work With What’s Actually Available
The number-one misconception new builders share is postponing everything until circumstances improve. They’re mentally designing a future basement renovation or imagining a detached garage that will someday appear. In the meantime, zero progress happens. A functional first workshop doesn’t require ideal conditions. It simply requires that it exists.
Start by mapping out what you’ve genuinely got access to. Don’t measure your whole garage — measure the portion you can actually claim after factoring in parking, permanent storage, appliances the family won’t let you relocate, and dead zones. My original usable footprint was roughly 10 feet by 14 feet. Cramped? Absolutely. Did I complete welding cart builds, refinish multiple workbenches, and restore hand planes by the dozen in that footprint over thirty-six months? Also absolutely yes.
Headroom deserves its own mention. Eight feet of vertical clearance is the realistic threshold for comfortable operation of overhead-mounted tools or machines on risers. Drop below 7.5 feet and you’re genuinely managing safety risks every time you move long material. Measure from floor to lowest obstruction before you plan another thing.
Sketch Your Workflow Zones First, Purchase Equipment Later
Visualize your space divided into separate working regions: primary workstation, hand tool storage, a zone dedicated to finishing or glue-ups, and walkway circulation. Stationary equipment requires breathing room — a bare minimum of 36 inches clearance on all sides, though 42 inches is genuinely preferable. This is a safety specification that matters, not a luxury suggestion.
Graph paper becomes your friend here. Sketch at a 1:12 scale, map your existing fixed elements (doors, windows, circuits, lights), then pencil in your major equipment footprints. This one-hour exercise will immediately expose workflow problems that would otherwise take months to notice. For instance, my original plan placed my grinder directly opposite my welding table — a layout that would have meant walking through an arc shower every time I moved between stations.
The Workbench Comes Before Everything Else — Build It Right
Seriously: construct a proper workbench before acquiring your first power tool. Nothing you do later matters if you’re working on an unstable, poorly designed foundation. That folding table with sawdust drifts isn’t a workstation. It’s an accident waiting for a moment to happen.
Target dimensions that work for virtually any task: 6 to 8 feet in length, 24 to 30 inches of depth, and somewhere between 34 and 36 inches tall. Height is deeply personal — relax your arms at your sides and measure from ground to the middle knuckle. That’s your optimal working height. I spent the better part of a year hunched over a 31-inch surface before I finally rebuilt at 34.5 inches. The relief was immediate. Working low for extended periods doesn’t build character — it demolishes your spine.
Laminate two layers of 2x lumber (2×8 or 2×10 stock) glued and fastened together for your top surface — you’ll end up with roughly 1.5 inches of solid thickness. You’re looking at $60 to $80 in materials. This approach gives you a surface that accepts punishment, can be planed flat when inevitable warping happens, and will hold mechanical fasteners reliably for years. Steer clear of MDF as your primary working surface. It absorbs moisture, cups at the edges, and refuses to hold dog holes or threaded inserts with any longevity.
Clamping and Holding Aren’t Optional Features
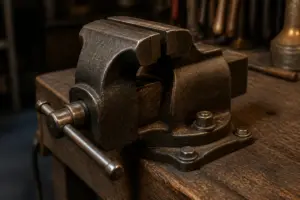
Mount a face vise on whichever end matches your dominant hand — left end if you’re right-handed. A 7-inch or 9-inch model with quick-release mechanism hits the performance-to-cost sweet spot for a starting shop. Leg vises are legitimately fantastic, but that’s a second-iteration upgrade. Prioritize quick-release; you’ll grab it dozens of times daily.
Drill four to six workholding holes along the top’s front edge — these are free if you do the drilling yourself and convert a basic bench into a genuine holding platform. From my experience, superior workholding cuts project duration by 20 percent or more and dramatically reduces the odds of a serious laceration. A workpiece that migrates when you apply downward pressure is a workpiece that will eventually migrate into your body.
Prioritized Tool Acquisitions for a New Workshop — What Actually Matters and What Waits
First-time shop builders consistently acquire too many tools too quickly. The result: a 10-inch sliding miter saw gathering dust while you lack a reliable method for holding wood flat. Buy according to frequency of application, not according to aspirational project ideas.
What follows is my suggested acquisition sequence for a balanced shop handling both wooden and metal projects — roughly $1,000 to $1,500 total starting outlay. Adapt this list to your specific focus area, but the underlying progression remains sound.
- Workbench (construct it yourself): $60–$120 in material cost
- Hand tool collection — chisels, combination squares, marking apparatus, crosscut saw: $80–$150 via secondhand sources
- Corded drill/driver with comprehensive bit selection: $40–$80
- Circular saw or reciprocating saw: $60–$120
- Oscillating finishing sander: $40–$70
- 4.5-inch angle grinder (essential for metalwork): $30–$60
- Face vise (permanently mounted to bench): $60–$150
- Clamping assortment — minimum 6 parallel bar clamps, 6 C-style clamps: $80–$140
That total reaches roughly $700 to $850. Use your remaining $150 to $650 to establish solid electrical safety, adequate task lighting, and dust protection before considering any stationary machines. I cannot overstate this. A well-lit, safely wired shop equipped with basic hand and portable tools outperforms a dimly lit, overextended shop packed with expensive stationary equipment in almost every measurable way.
Machines Worth Postponing
Table saws, bandsaws, drill presses, turning equipment, and compound miter saws belong in phase two — typically six to twelve months later, once you’ve developed a clear understanding of your actual working patterns and needs. Newcomers frequently default to table saw as the essential first machine, largely because it appears essential as soon as you’re processing rough lumber regularly. Before that point hits, a corded circular saw paired with a straightedge guide accomplishes identical work.
Welding equipment follows the same logic. A flux-cored welder genuinely delivers immediate utility if your focus is metalwork. Conversely, TIG welders, plasma cutters, and torch setups are logical third or fourth steps — long after you’ve accumulated serious hours on a basic MIG or wire-feed machine and clearly understand what capability gap you’re trying to bridge.
Electrical Infrastructure — The Detail Most Rookies Delay Until Disaster Strikes
Let me be completely frank: undersized circuits and overloaded electrical service represent the most frequent and most hazardous initial-shop blunder. In my first setup, I was pulling current from a single 15-amp circuit routed through dual power strips for more than twenty months. Breaker trips were constant. One afternoon I ran both a grinding wheel and shop vacuum simultaneously and witnessed arcing at the outlet face. That’s when I finally broke down and hired a professional electrician.
At absolute minimum, your workshop requires two isolated 20-amp, 120-volt branch circuits. Reserve one for bench power, the other for air movement and dust collection. If metalwork is planned — even a compact 120V flux-core machine — that equipment demands its own isolated circuit as a non-negotiable requirement. The majority of 120V welders max out near 20 amps continuous. Sharing that load with other devices is recipe for nuisance tripping at best, catastrophic failure at worst.
When 240-Volt Service Becomes Necessary
Most hobby workshops benefit from at least one 240-volt branch at either 30 or 50 amperage. This accommodates serious MIG/stick welders, table saws above 1.75 horsepower ratings, or industrial-strength dust management. Rough in your conduit during initial construction — it costs less than $80 when walls are open. Retrofitting conduit through finished walls runs closer to $350 to $400. I discovered this the expensive way.
Contract with a licensed electrician for panel modifications, new-circuit installations, and service upgrades. I mention this not as a legal disclaimer but as genuine practical guidance. Outlet and switch installation sits comfortably within DIY capability, especially in detached structures. Service panel work, rough-in wiring behind finished surfaces, or subpanel installation belongs in professional hands. Permitting and inspection also creates documentation that protects you in future property transactions.
The moment I completed my electrical overhaul, my entire operational approach transformed. I stopped engineering projects around power limitations and simply started executing them.
Air Quality and Particle Management — Your Respiratory System Can’t Be Upgraded
Fine sawdust isn’t merely inconvenient — it’s a documented health threat, and wood dust itself is classified as carcinogenic. Arc welding produces respirable particles and volatile compounds that deposit in lung tissue over accumulated exposure. This isn’t fear-mongering rhetoric. It’s why industrial facilities deploy serious air handling systems and why you need a basic air management strategy from day one.
For a launching shop, stack your dust control measures in this sequence of priority. First: acquire a solid half-mask respirator with P100 cartridges for dust, plus organic vapor cartridges if you’re spraying finish. Commit to wearing it consistently. Budget $30 to $60. Second: procure a shop vac with HEPA or equivalent filtration, and hook it to your sander and routers whenever practical. Budget $60 to $150. Finally, if substantial volume woodworking is in your future, add a small single-stage collector — 1 to 1.5 horsepower is plenty for single-car footprints. Budget $150 to $300 new, or less than $100 used.
Air Movement for Welding and Chemical Finishing
Arc fumes and solvent vapors demand circulation beyond what a collection system supplies. Welding requires ambient fresh air circulation across your workspace — not merely extraction positioned above your arc. A standard box fan positioned in an open window or garage door, angled to move air across your body and away from your face, handles small-shop requirements. However, don’t point ventilation directly at your weld pool. Moving air strips shielding gas and ruins bead integrity.
Applying stain, paint, polyurethane, or lacquer demands fully open garage door, cross-ventilation from a rear opening if available, and your respirator fitted with organic vapor cartridges in place. Solvent fumes become both toxic and explosive beyond certain concentrations. Here is one domain where I genuinely cannot endorse shortcuts.
Organizing Your Space — Design It Around Your Actual Habits, Not Your Aspirations
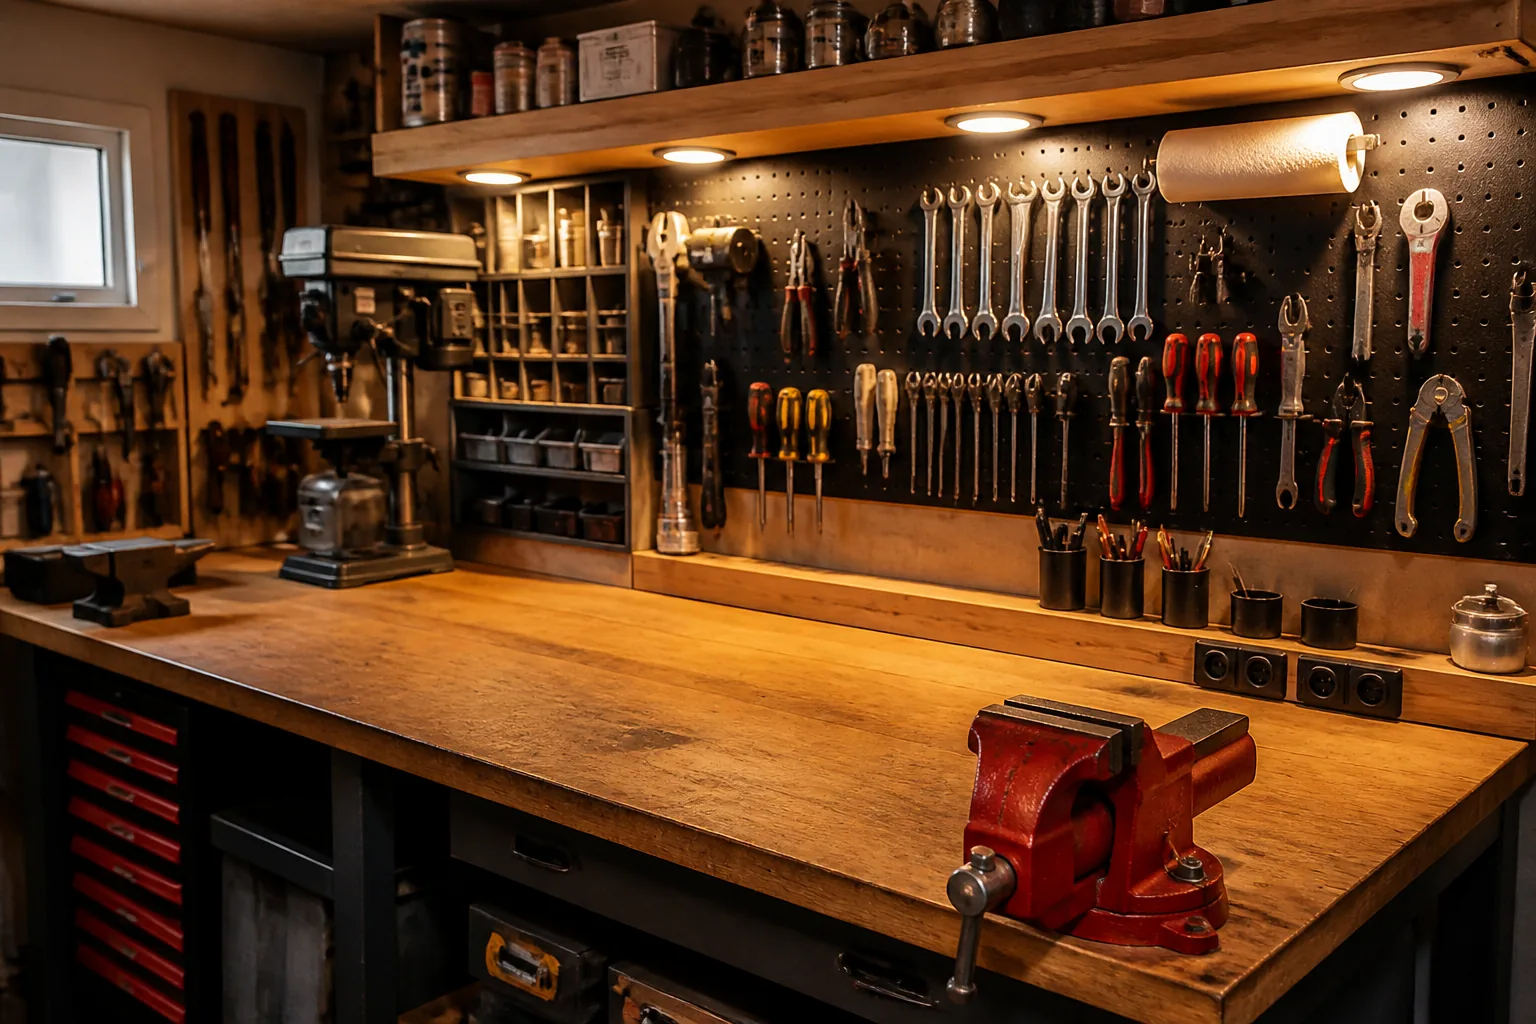
The most functional organization method is the one you’ll genuinely maintain consistently. I’ve experimented with pegboard walls, magnetic tool strips, shadow-board layouts, and mobile cart systems. What genuinely works in my space is likely wrong for yours, but underlying principles stay consistent.
Position frequently accessed tools within arm’s reach of your primary bench. In my setup, that translates to a wall-mounted magnetic surface for cutting implements, a horizontal shelf directly above work surface for measuring instruments and layout tools, and a single bench-mounted drawer containing fasteners I’m currently consuming. Secondary items live in labeled storage boxes or wall-hung cabinets — sorted by function rather than by specific project association.
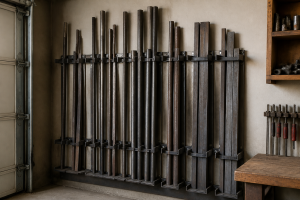
Forty-five-degree wall-mounted storage cleats genuinely work well in constrained footprints. Take a 3/4-inch plywood sheet, rip lengthwise along a 45-degree angle, and you’ve got a modular hanging system for approximately $40 to $60 in materials. Add storage brackets infinitely without new holes. I constructed mine in one Saturday and recovered nearly 12 square feet of usable floor by relocating a router table from horizontal space to vertical.
Walkways Aren’t Bonus Storage Space
Internalize this: floor space is for walking, not stashing. Clutter on the ground creates tripping hazards, presents fire risks (especially accumulated sawdust), and makes tight spaces feel genuinely unusable. Maintain a walkway — at least 36 inches clear — connecting your entry to every major machine. I sweep my floor after each work session, and that routine does something crucial beyond tidiness: it forces me to see what doesn’t belong and put it back where it does.
Frequent Missteps When Launching a First Workshop — Prevention Strategies
Misstep 1: Tool Accumulation Before Space Creation
I observe this pattern repeatedly. Someone gets motivated, drops two grand on tools, and still has no functional location to arrange them. Build your bench first. Get basic circuits operational. Only then start sourcing equipment as specific work demands emerge. Tools purchased in hopeful anticipation of future projects have a tendency to languish while essential basics remain conspicuously absent.
Misstep 2: Overlooking Light Until Vision Becomes an Issue
Poor visibility directly causes poor output and increases accident risk substantially. A solitary incandescent fixture suspended from your garage ceiling won’t cut it. Aim for at least 50 foot-candles at bench height, ideally 70 to 100 foot-candles when detailed work is underway. LED task lights are affordable and standard-outlet compatible. Plan $80 to $150 for two or three solid units, and get them hung before beginning actual projects. I wasted countless hours straining to see under inadequate illumination in my early days and rationalized it as building character. It wasn’t character-building. It was poor preparation.
Misstep 3: Underestimating Setup Duration
Getting a shop to genuine functionality takes three to six months, not a single weekend. Your workbench alone demands a full weekend for proper construction. Electrical service requires scheduling and coordination. Storage organization emerges through iterative refinement as you learn your patterns. In my observation, shops that ultimately perform well are those where the builder accepted that setup itself comprises a legitimate long-term project, distinct from the production work that follows.
Misstep 4: Disregarding Thermal Conditions
Climates with genuine winter seasons will shut down an unheated garage operation for months. Glues won’t set properly below approximately 50°F. Finishing systems fail in cold. Hands lose dexterity before clear thinking vanishes. A compact propane or natural gas unit heater — 30,000 to 45,000 BTU capacity for standard single-car garages — runs $150 to $250 and operates at approximately $15 to $30 monthly during heating season (geographically dependent). Absolutely justified investment. Remember: maintain ventilation continuously when combustion heat is running in enclosed spaces, and prohibit open-flame heaters entirely in areas where chemical finishing occurs.
Misstep 5: Neglecting Fire Suppression Equipment
Hang a 5-pound ABC-rated dry-chemical extinguisher near your exit — not in a back corner, not underneath your bench. Position it adjacent to your door, always accessible. Typical cost: $30 to $50. Monitor the gauge monthly and keep it current. Incorporate a second unit positioned near welding or grinding stations if you’re operating those regularly. This represents the most cost-effective insurance available, and I mention it as someone who once had a small welding fire ignite within steel wool I’d carelessly positioned beside my work area. Extinguishing it took seconds because the device was immediately accessible. Without it, the outcome differs dramatically.
Wrapping Up — Excellence Isn’t a Prerequisite for Starting
This guide exists because countless people rationalize themselves into paralysis. They’re holding out for superior conditions, a fatter budget, or perfect timing. These conditions simply materialize. What demonstrably works is beginning with available resources, establishing foundations correctly, and incrementally advancing through successive builds.
Your launching workshop will be imperfect. Mine absolutely was. Inadequate overhead illumination, overextended circuits, a work surface sitting four inches lower than optimal, and a particle situation I preferred ignoring. I still built genuinely useful items in that space. Expertise accumulated. Mistakes became the most effective instructors. The critical element was launching — and then continuously refining.
Distill everything into simplest practice: measure and design your footprint upfront. Construct a durable, stable workbench. Install appropriate electrical support and task lighting as baseline requirements. Let particular tools enter your inventory as specific work demands them. Institute serious respiratory and skin protection from the first hour. Keep floor circulation unobstructed and fire suppression within immediate reach. All remaining details are customization.
Your completed shop doesn’t need glossy magazine aesthetics. It requires genuine functionality — a location where creation occurs, expertise develops, and the occasional ruined experiment becomes a lesson. That’s the full specification. Stop planning and start constructing it.
Frequently Asked Questions
What size workbench should I build for my first shop?
Target 6 to 8 feet in length, 24 to 30 inches of depth, and 34 to 36 inches tall. Find your optimal height by relaxing your arms at your sides and measuring from ground to your middle knuckle. Laminate two layers of 2×8 or 2×10 lumber glued and fastened together for roughly 1.5 inches of solid thickness, costing $60 to $80 in materials.
How many electrical circuits does a hobby workshop need minimum?
Your workshop requires at least two isolated 20-amp, 120-volt branch circuits—one for bench power, one for air movement and dust collection. If you’re running metalwork with a 120V flux-core machine, that equipment demands its own isolated circuit as a non-negotiable requirement, since these machines max out near 20 amps continuous.
What’s the smallest usable footprint for a functional shop?
Ten feet by 14 feet is genuinely workable for a starting shop. Measure your actual available space after accounting for parking, permanent storage, and appliances your family won’t relocate. Eight feet of vertical headroom is the realistic threshold for comfortable operation; drop below 7.5 feet and you’re managing safety risks every time you move long material.
Should I buy a table saw before starting my first workshop?
No—postpone table saws, bandsaws, and drill presses for phase two, typically six to twelve months later, once you understand your actual working patterns. A corded circular saw paired with a straightedge guide accomplishes identical work before that point. Prioritize hand tools, a workbench, and proper electrical infrastructure first.
Sources and further reading
About This Article

Written by Garrett Dunn. Hobbyist metalworker and garage workshop builder. I restore old tools, weld custom furniture, and document my projects and mistakes so other makers can learn from both. More about this site.
Scope and limits. Garrett is a hobbyist metalworker, not a certified welder or machinist. Welding, grinding, and solvent work carry real injury risk — use the correct PPE and ventilation, and follow the manufacturer safety guidance for your own equipment.
Verify this against a primary source
Specifics change, and your situation may differ from the one described here. These are the authorities worth checking directly:
- OSHA — machine guarding, PPE and shop safety standards
- American Welding Society — welding procedure and safety standards